
Hell break loose when Takara Tomy announced to recall Ginbu from the Transformers GO! series toy line. Consumer in Japan has the privilege to get the fix from Japanese retailer. For the rest of Jinbu owner in the rest of the world, need to do the good old DIY. For the original news of the recall :
- http://www.seibertron.com/transformers/news/takara-tomy-recall-for-transformers-go-g02-jinbu/27698/
- http://www.tfw2005.com/transformers-news/japanese-transformers-40/transformers-go-jinbu-recall-and-replacement-piece-177855/
- http://www.fullmetalhero.com/content/takaratomy-recalling-transformers-go-jinbu-7051/
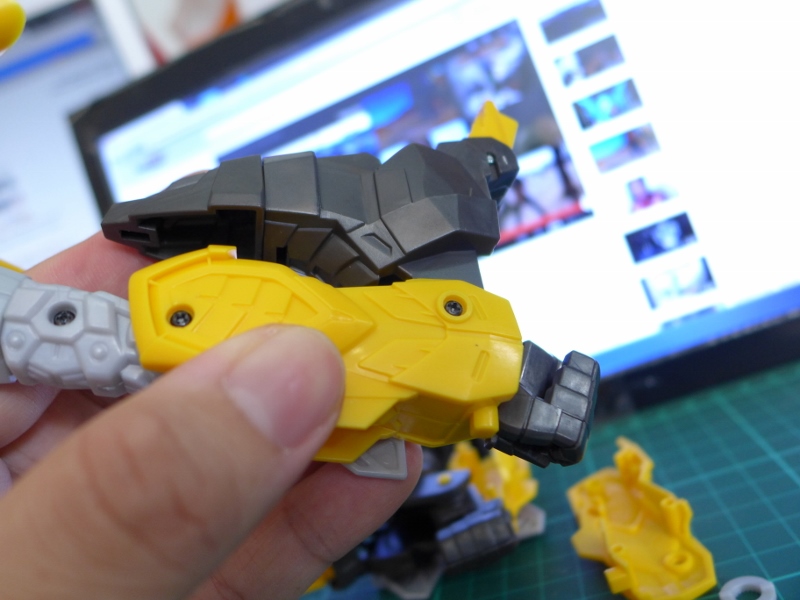
Unfortunately, the Transformers GO! G02 Jinbu that I owned faced the problem.
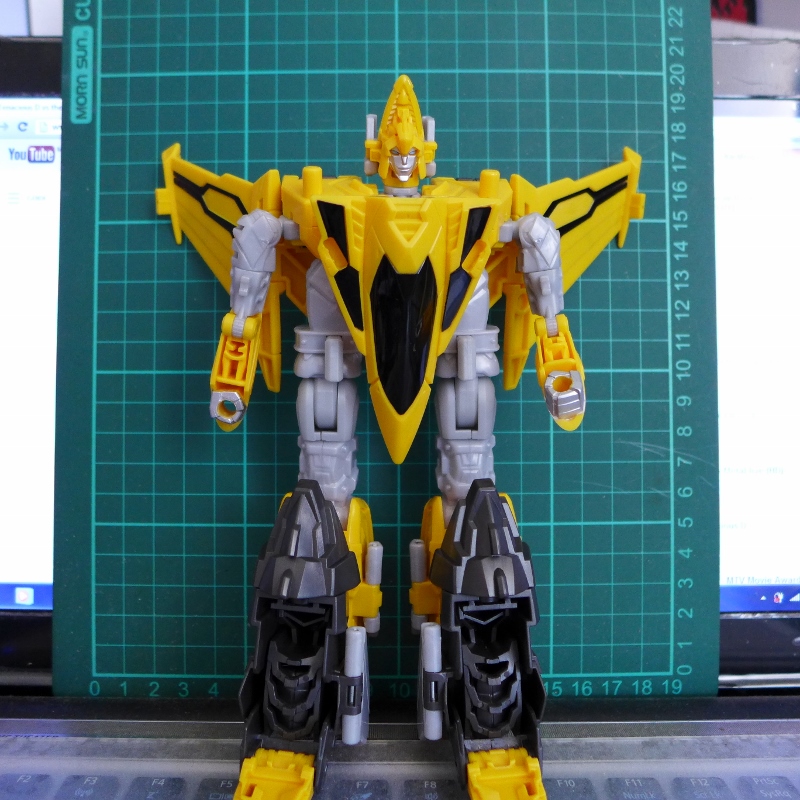
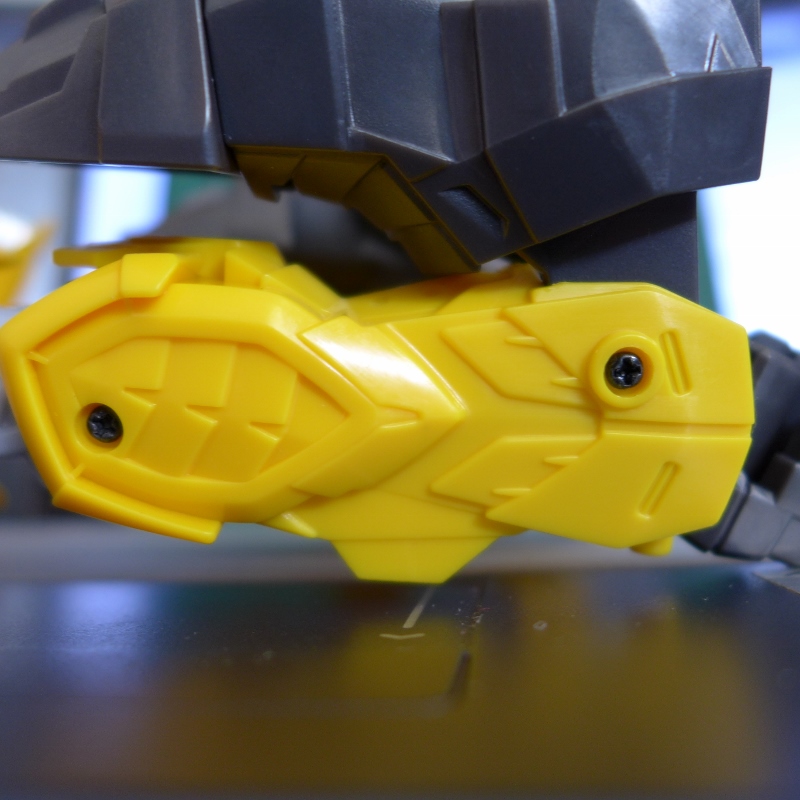
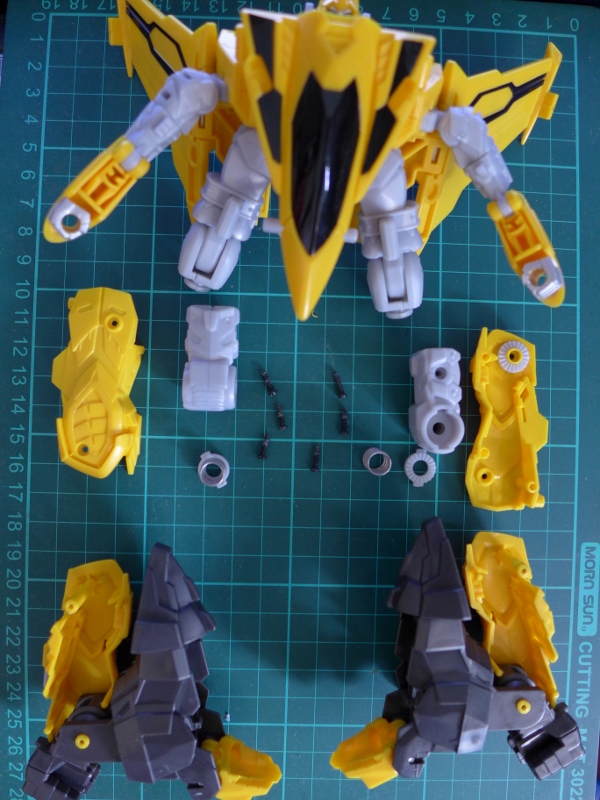
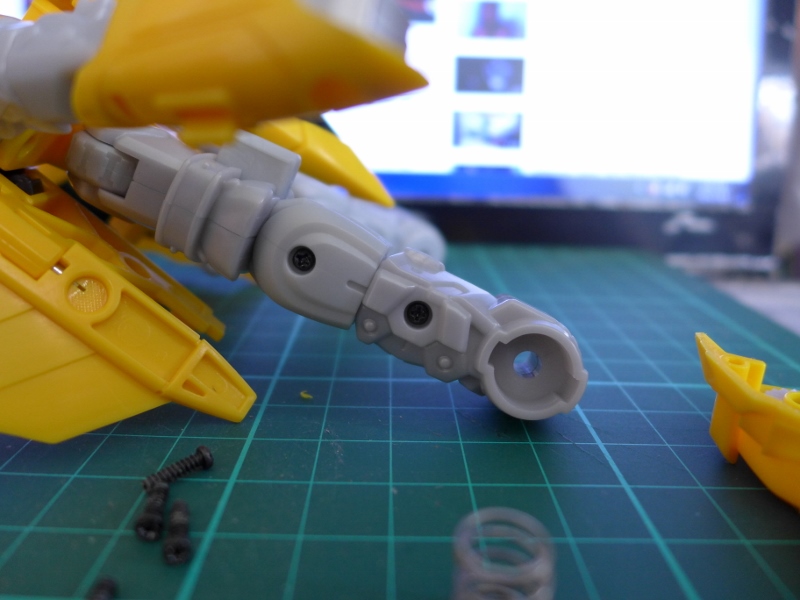
Jinbu with assembly problem.
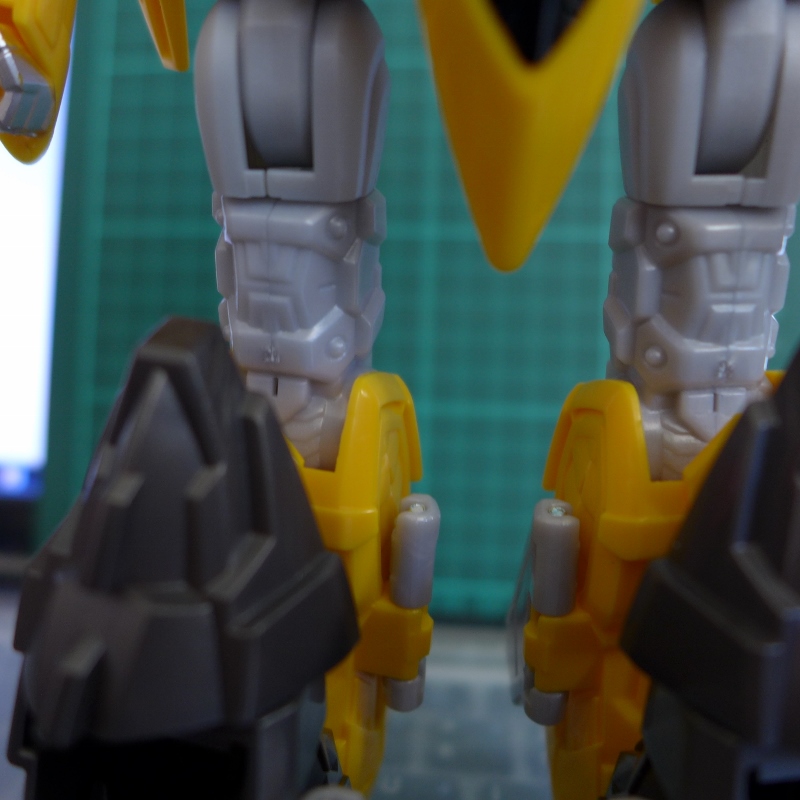
Close up of incorrect assembly of Jinbu knee
To fix the assembly flaw, I had taken 30 minutes to complete the fix.
The tools which is needed to fix the assembly is a 2.5mm phillip head screw driver.
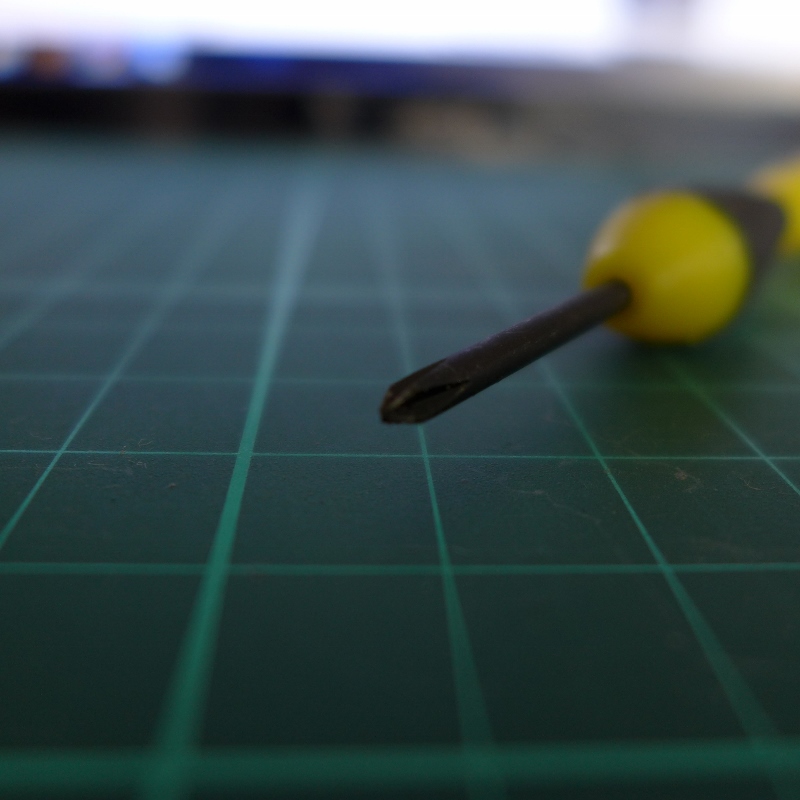
Close up of phillip screwdriver.
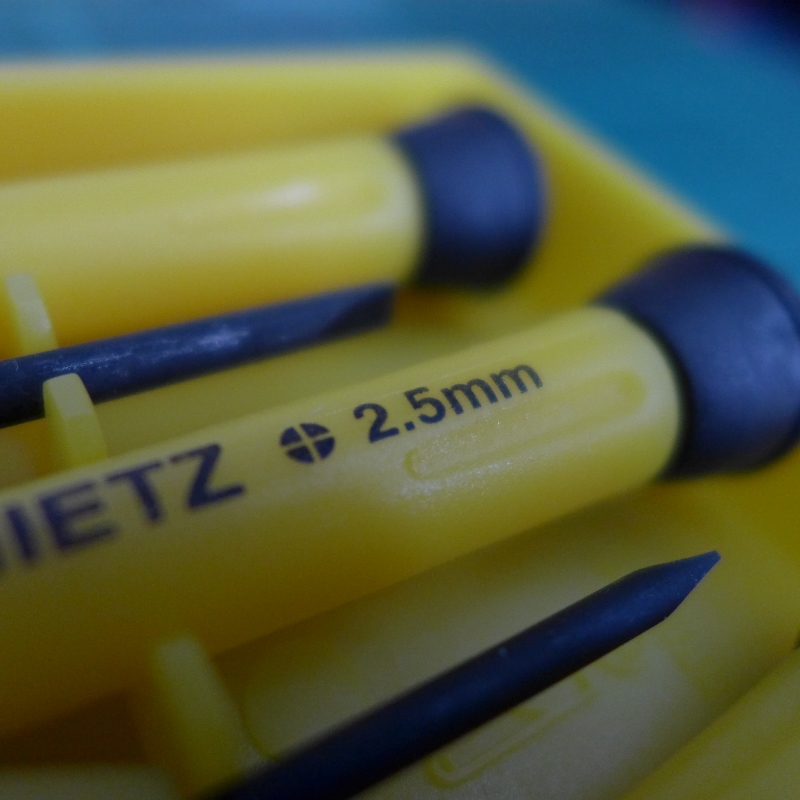
Phillip head screwdriver, 2.5mm.
In order to fix the assembly flaw of Jinbu, you will need to work your way by removing the screw nearest to the foot. Another second note to assemble the legs correctly, the screw of legs must be facing outward at the side.
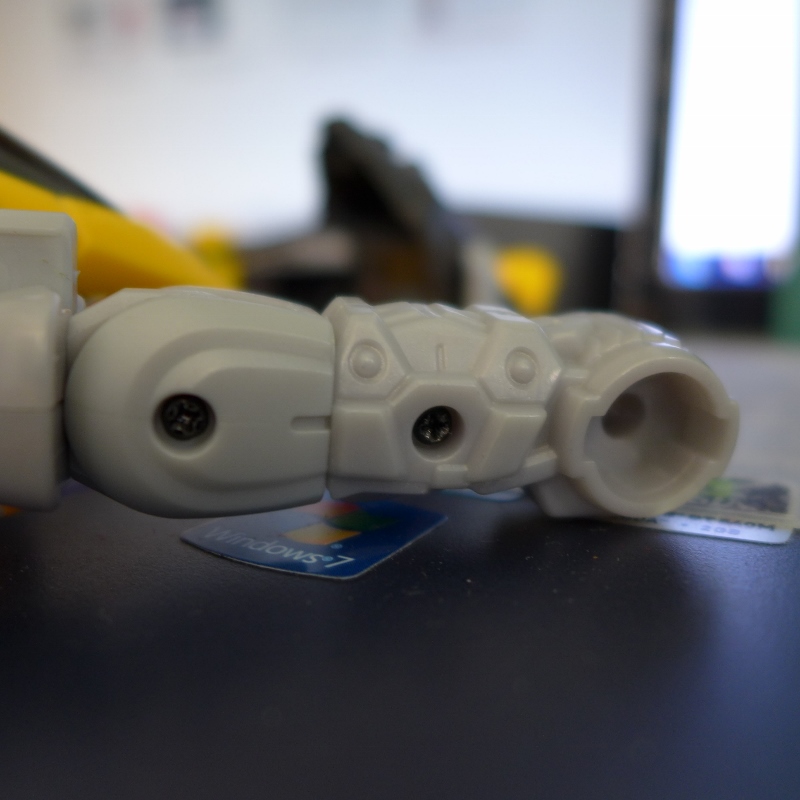
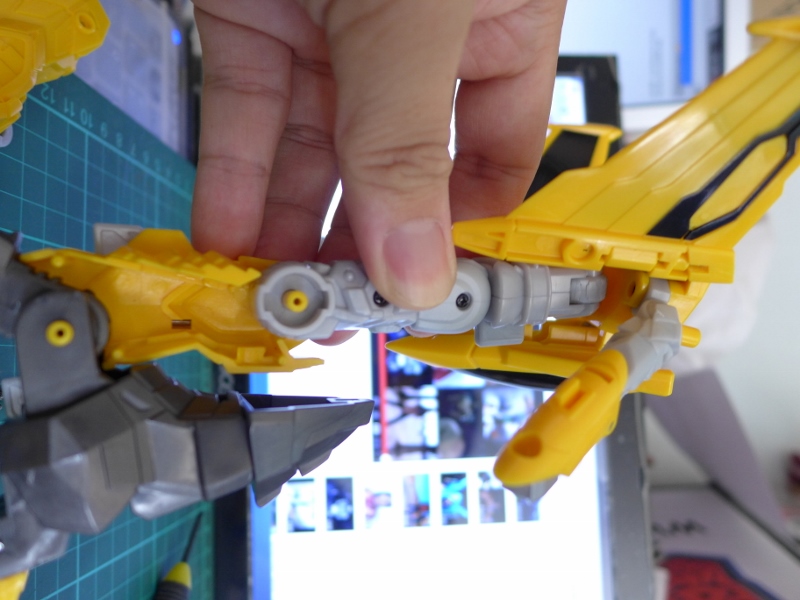
Close up of Jinbu lower leg.
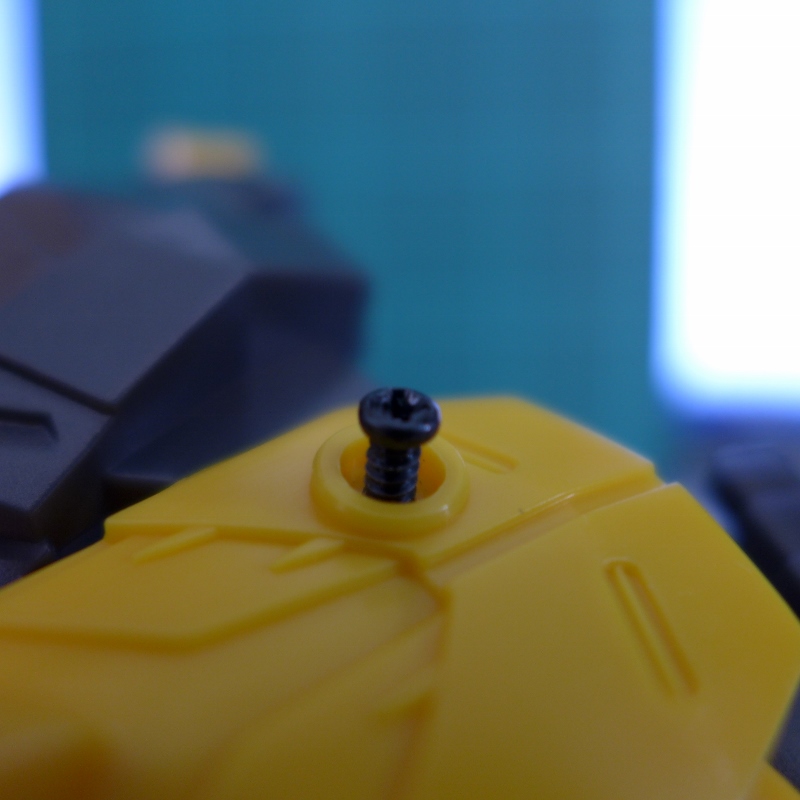
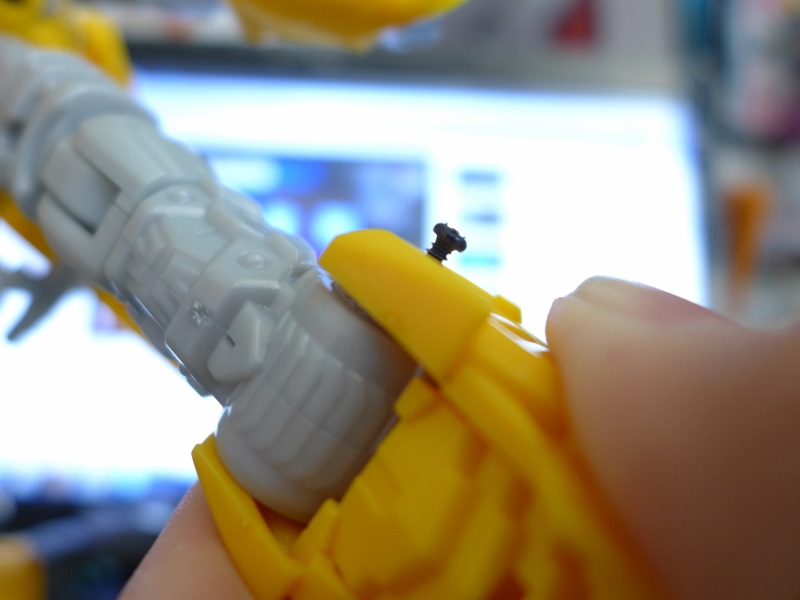
Start by remove the screw nearest to Jinbu’s foot.
From the fixing process, only total of 3 screws is needed to be removed from the lower legs up to the knees.
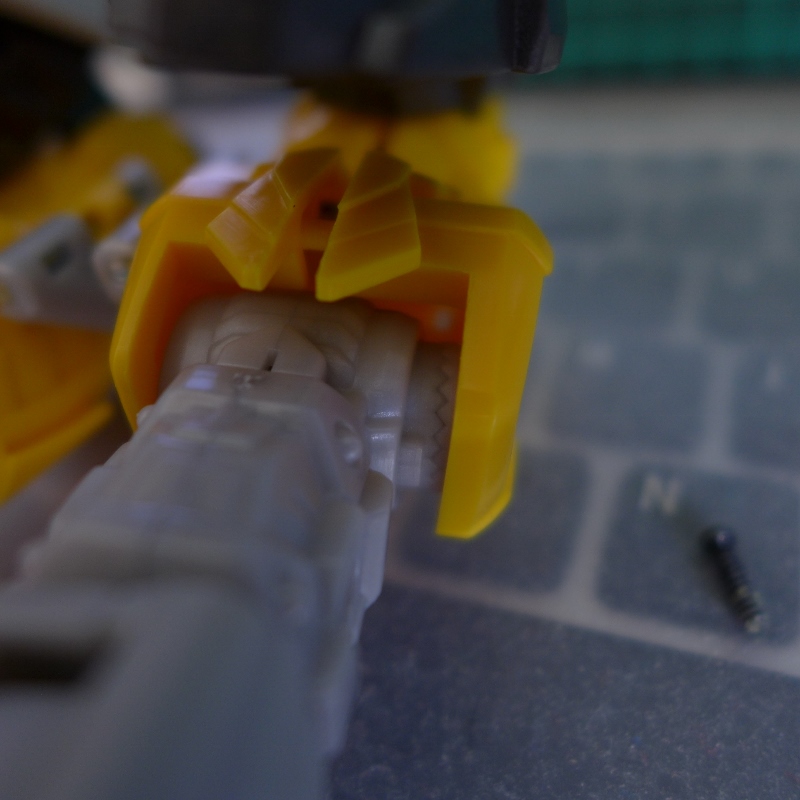
Taking a part Jinbu lower leg.
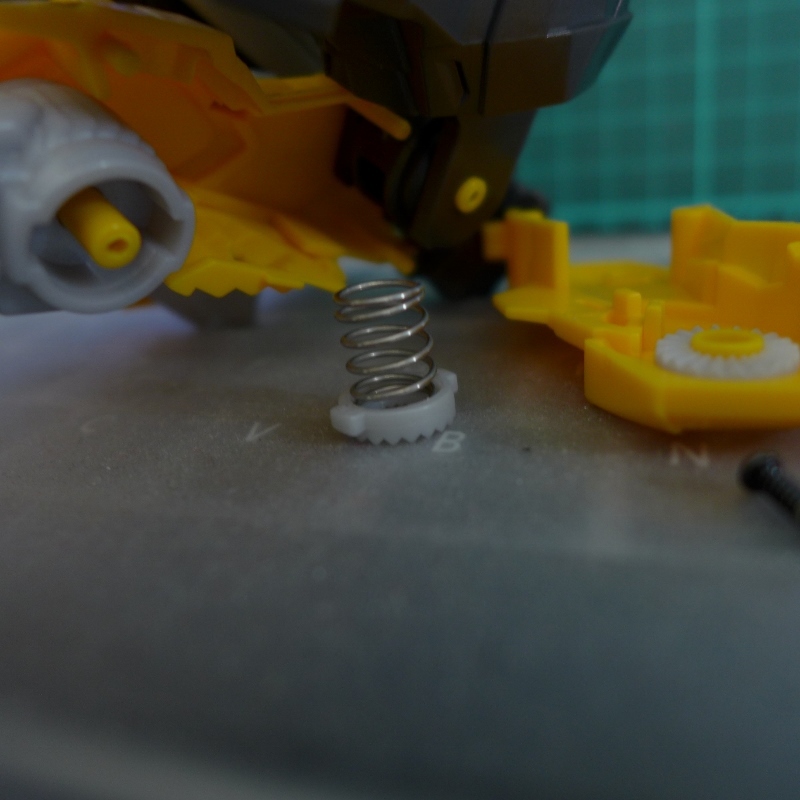
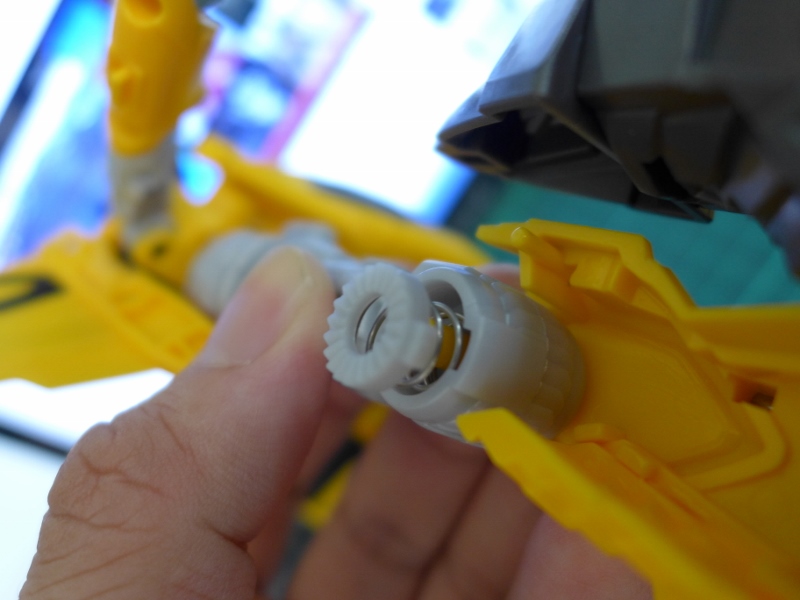
Knowing how the ratchet joints of Jinbu goes together.
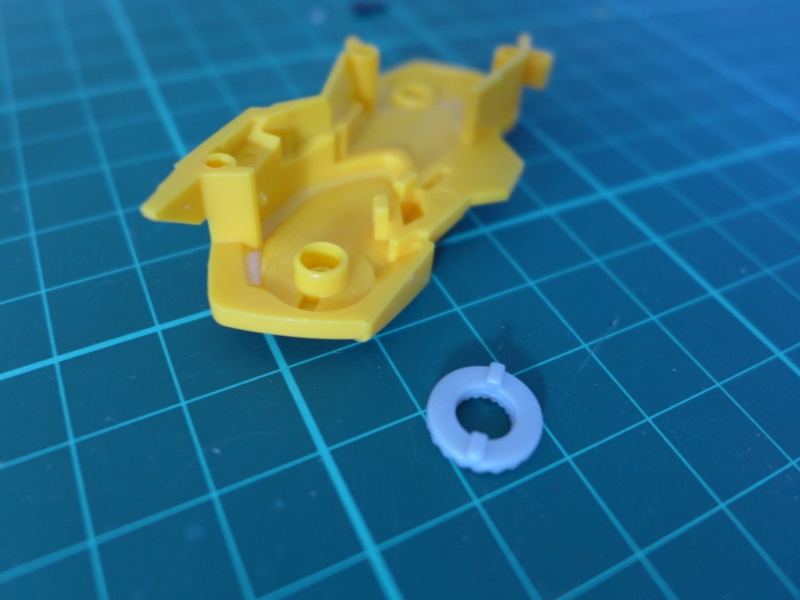
Jinbu lower leg ratchet parts.
Jinbu upper leg, remove the last screw for the leg at the thigh.
Take apart the thigh part once the screw is unfastened. In order to complete the fix. You will need to disassemble the other leg of Jinbu. To fix Jinbu, the thigh on the right needs to be placed on the left; vice versa.
Both Jinbu legs disassembled and Jinbu as a double amputee.
Before proceeding to the assembling part, ensure that when you are tightening the screws, do not use excessive force or risk breaking the connector pegs which needs screw to secure.
Swap the thigh from left to right; vice versa.
Jinbu thigh fixed after swapping and screw secured.
Reattaching Jinbu lower leg step number 1.
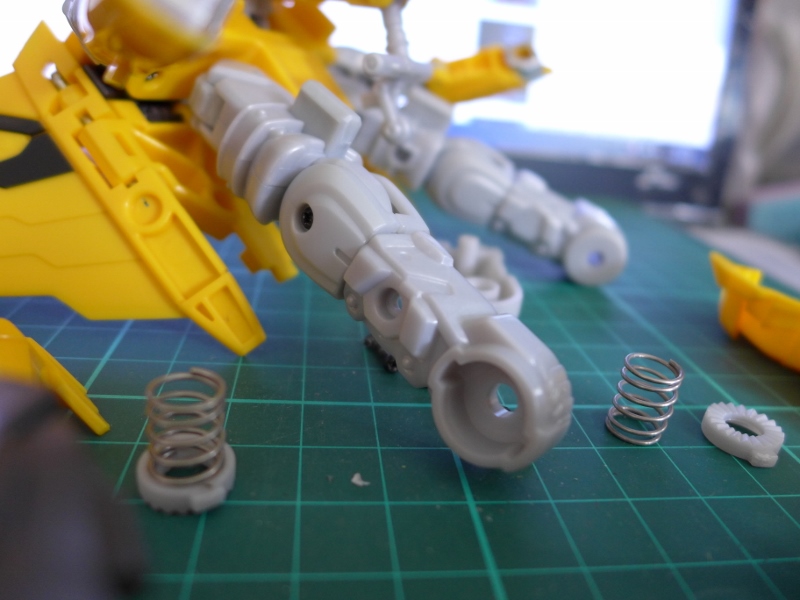
Step 2, carefully placing spring and part of the ratchet joint.
Using finger grip to suppress spring when tightening the screw of Jinbu knee.
Completing the lower leg by finally tightening the last screw at Jinbu lower leg.

Once the last screw is tightened, check at both side of Jinbu’s legs.
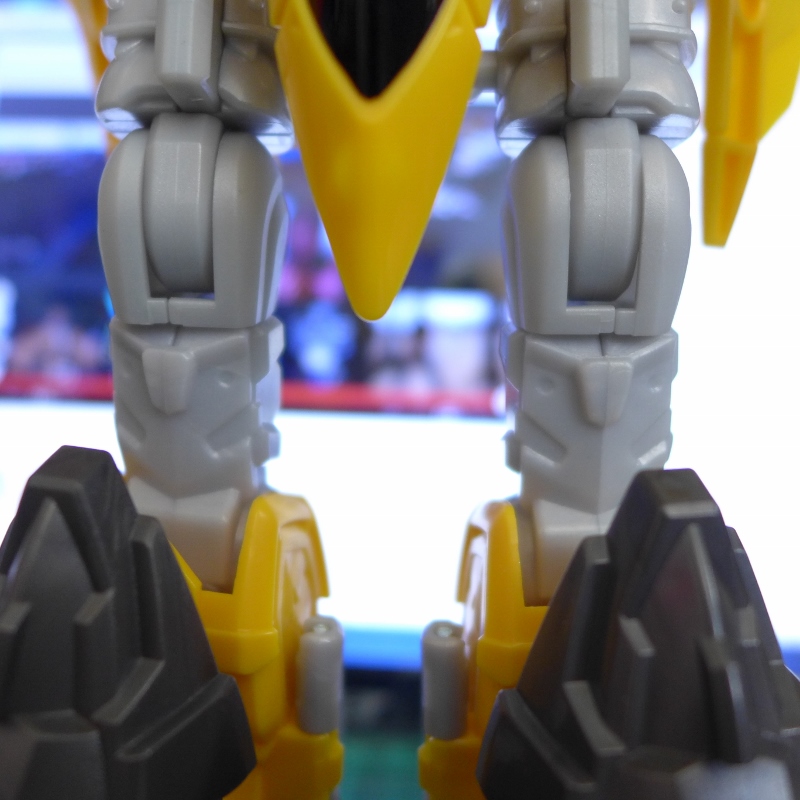
Jinbu leg fixed close up shot.
The fix for Jinbu mis-assembled leg is pretty straight forward :
- Unfasten 3 screws of Jinbu leg from foot to knee on both legs.
- Swap Jinbu thigh.
- Fasten the screw first from thigh.
- Put together the lower legs.
- Tighten the last 2 screw at each legs, first from the knee then last screw near foot/ankle.