
At the time of this post, the compatibility matrix of vagrant and VirtualBox is as follows:
| Vagrant version | VirtualBox version | |
| 2.3.7 | 7.0.10 | |
| 7.0.12 |
Unfortunately, Vagrant 2.4.0 does not work well with VirtualBox 7.0
This post was created using Vagrant 2.3.7 and VirtualBox 7.0.10
To make Vagrant possible, after installing the Vagrant from hashicorp webpage, a Vagrant file needs to be created. The most basic file that needs to exist in your Vagrant to work is a folder with Vagrantfile
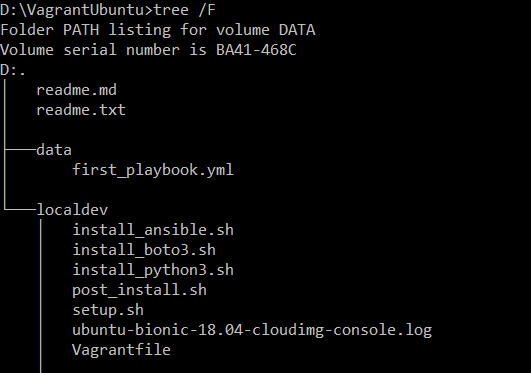
Additional post start up scripts to complete the installations that are used in this example are setup.sh, install_ansible.sh, install_boto3.sh and install_python3.sh
Vagrantfile file content
# Check and install plugin to orchestrate vbox
unless Vagrant.has_plugin?("vagrant-vbguest")
  exec "vagrant plugin install vagrant-vbguest"
end

unless Vagrant.has_plugin?("vagrant-hostmanager")
  exec "vagrant plugin install vagrant-hostmanager"
end
VAGRANTFILE_API_VERSION = "2"
Vagrant.configure(VAGRANTFILE_API_VERSION) do |config|
  # ubuntu 20.04 LTS
  config.vm.box = "ubuntu/focal64"

  config.vm.define "docker-ubuntu"

  config.vm.hostname = "dockerized-ubuntu-vm"

  config.vm.network "private_network", type: "dhcp"

  # Commented as its a standalone ubuntu box which has no web services
  #config.vm.network :forwarded_port, guest: 80, host: 80
  #config.vm.network :forwarded_port, guest: 443, host: 443

  config.vm.provider "virtualbox" do |vb|

    # Boot with headless mode
    vb.gui = false    # Tweak the below value to adjust RAM
    vb.memory = 2048

    # Tweak the number of processors below
    vb.cpus = 2

    # Create link of virtualbox with host folder, vagrant-vbguest plugin are required
    config.vm.synced_folder ".", "/vagrant", type: "virtualbox"
    config.vm.synced_folder "../data", "/data", type: "virtualbox"

    # Get IP of vm booted from virtualbox
    config.hostmanager.ip_resolver = proc do |vm, resolving_vm|
      if vm.id
        `"C:\\Program Files\\Oracle\\VirtualBox\\VBoxManage.exe" guestproperty get #{vm.id} "/VirtualBox/GuestInfo/Net/1/V4/IP"`.split()[1]
      end
    end

    config.hostmanager.enabled = true
    config.hostmanager.manage_host = true
    config.hostmanager.ignore_private_ip = false
    config.hostmanager.include_offline = true
    config.hostmanager.aliases = ["dockerized-ubuntu-vm.local"]

  end
  # post script to update, ubuntu, install python, ansible and boto
  config.vm.provision :shell, :path => "setup.sh"
  config.vm.provision :shell, :path => "install_python3.sh"
  config.vm.provision :shell, :path => "install_ansible.sh"
  config.vm.provision :shell, :path => "install_boto3.sh"
end
setup.sh file contents
apt-get update -y

apt-get upgrade -y

apt-get install -y vim telnet dos2unix git zip unzip
install_python3.sh file contents
sudo apt-get update -y

sudo apt-get install -y python3-pip

python3 -m pip install pipx
install_ansible.sh file contents
sudo pip3 install ansibleinstall_boto3.sh file contents
pip3 install boto

pip3 install boto3

pip3 install --upgrade awscli
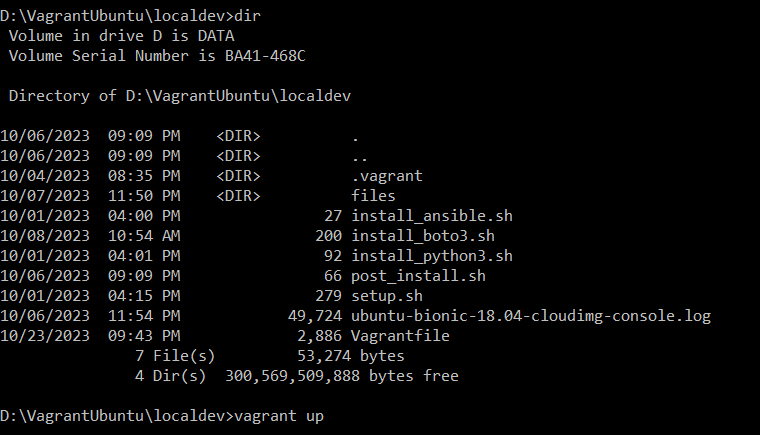
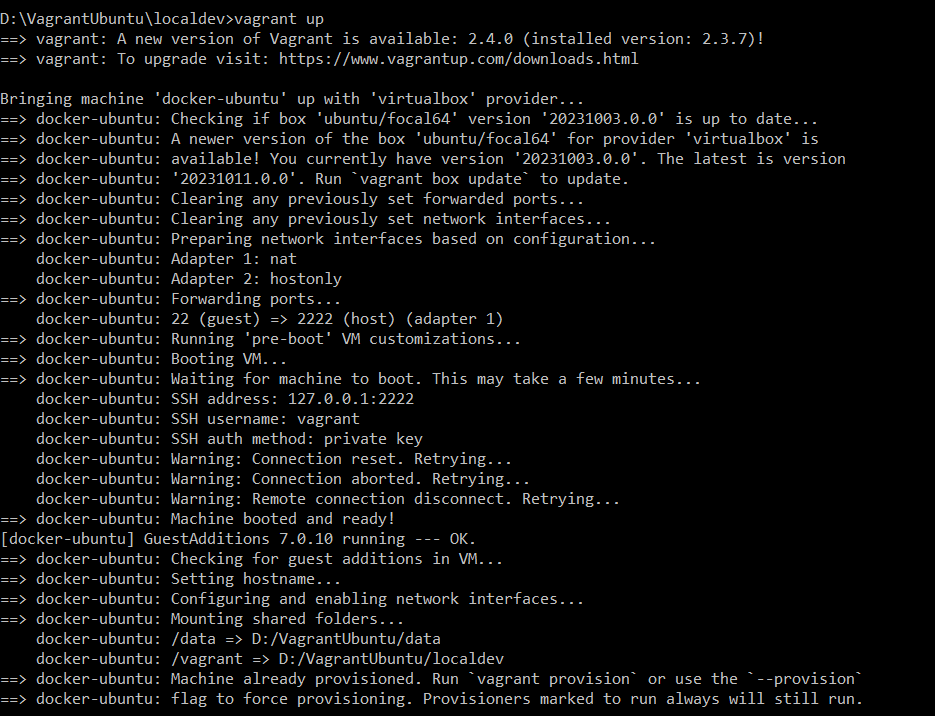
Once the files are ready, open a command prompt at the directory which contains the Vagrantfile, then type “vagrant up”.
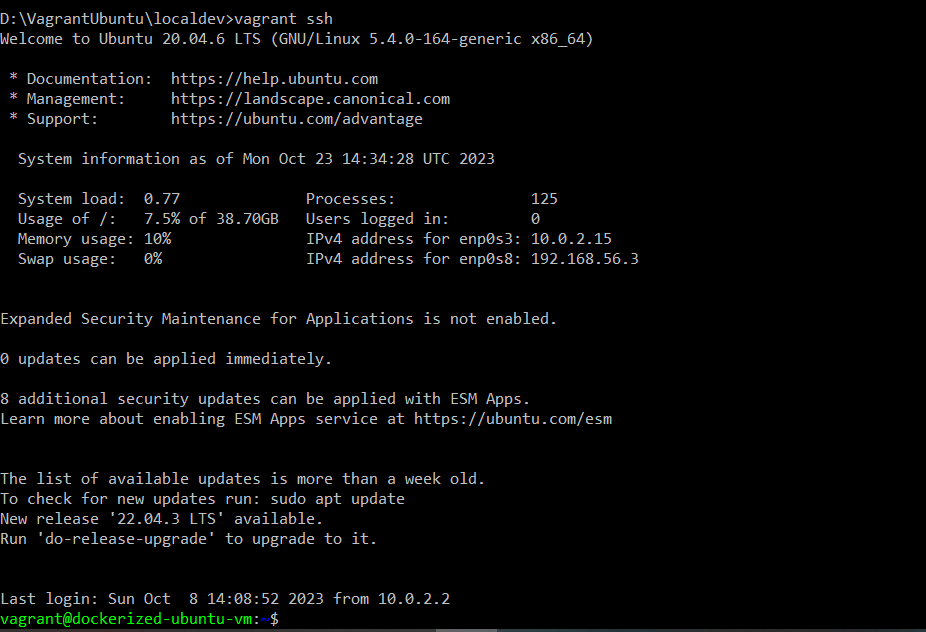
After the “vagrant up” is completed, type “vagrant ssh” to access to the shell of the vm.
Finally, configure aws to be usable by the vm, refer to the link Configuration and credential file settings – AWS Command Line Interface (amazon.com) and search for “aws configure”
To exit into comand prompt “Ctrl+d” . When you are done with vagrant, type “vagrant halt” to stop the VirtualBox vm.