
Pre-requisite:
– VirtualBox 7.0.14
– Vagrant 2.4.1
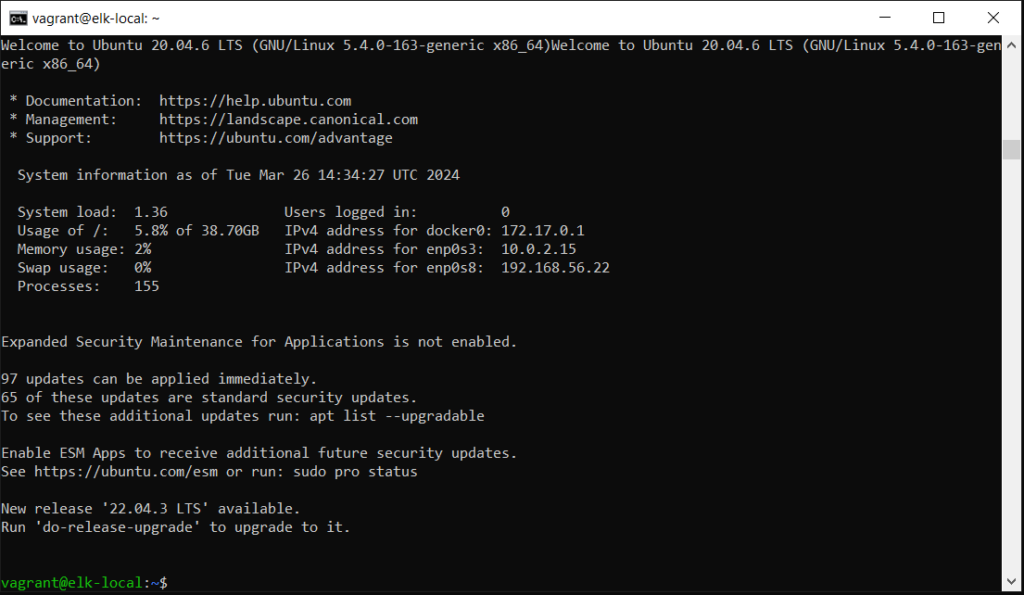
– Windows 10 or better OS
– 16GB RAM (10GB RAM are required for creating ElasticSearch with kibana; 1GB and 2 x ElasticSearch node; 4GB each, rest of the RAM for VM host OS)
Overview:
There are 2 layers of virtualization, first the Virtual Box, then the docker engine running in the Virtual Box VM running on Ubuntu 20.04 focal.
Orchestration used in the host OS level; Windows 10 are the hashicorp vagrant. The vagrant is used to configure the VM Ubuntu OS to be configured to run properly configured docker and Ubuntu 20.04.
Then docker compose v2 are used to create the ElasticSearch 8.12 cluster or stack.
The downside of this example, vagrant up needs to be run initially to configure the VM Ubuntu 20.04 OS. I have yet to discover if Vagrant has the ability to bootstrap grub and configuring the sysctl to allow the docker engine to run properly with the ElasticSearch 8.12 stack.
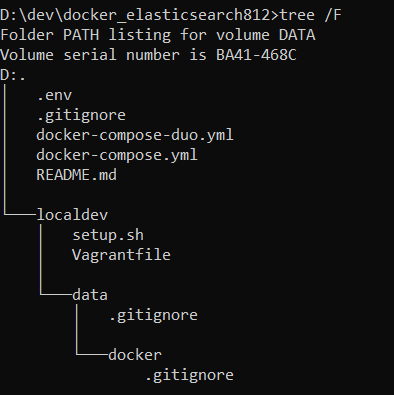
Here are the bitbucket repository that contains the codes that is mentioned in this post.
Overview of this repo is as follows.
Steps:
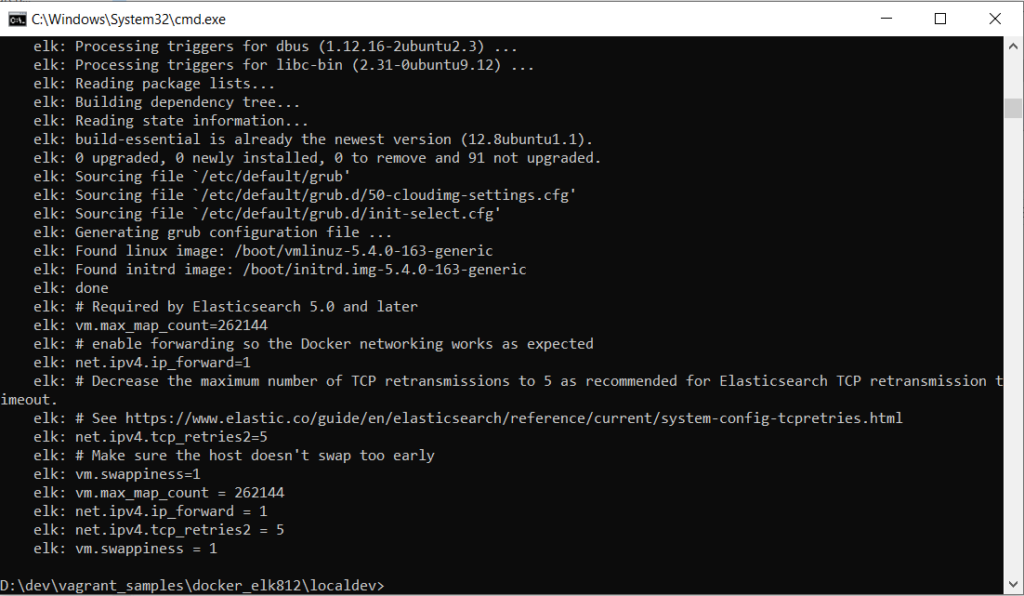
1. Run the vagrant up in the project localdev
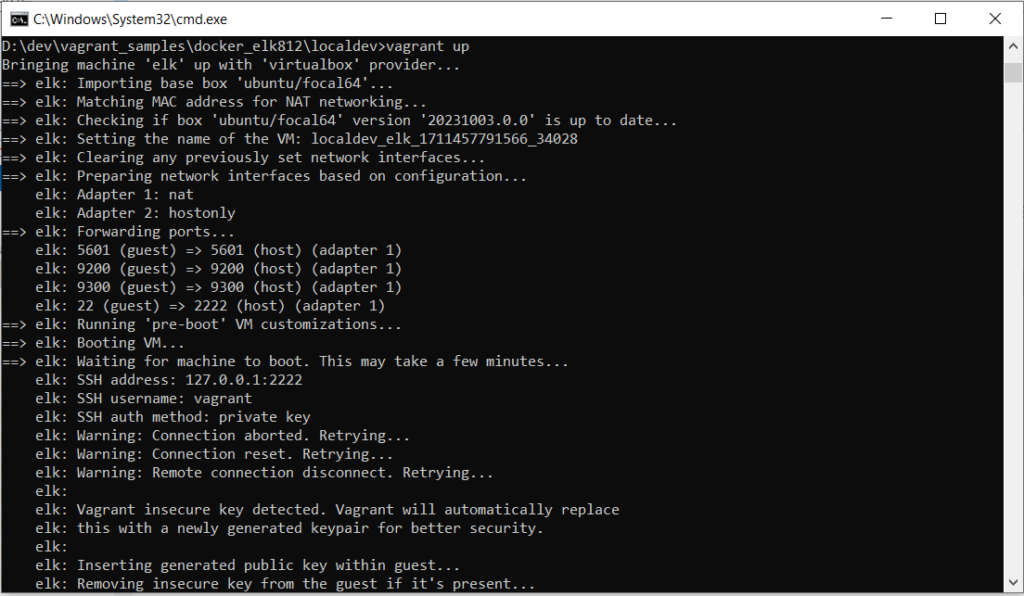
2. Wait for the vagrant up to complete
3. Confirm the provision script complete by running “vagrant status”
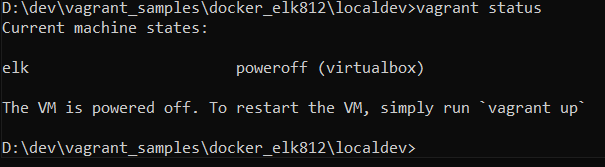
4. If the VM is powered off, rerun “vagrant up”, then run “vagrant ssh” to login into the VirtualBox VM.
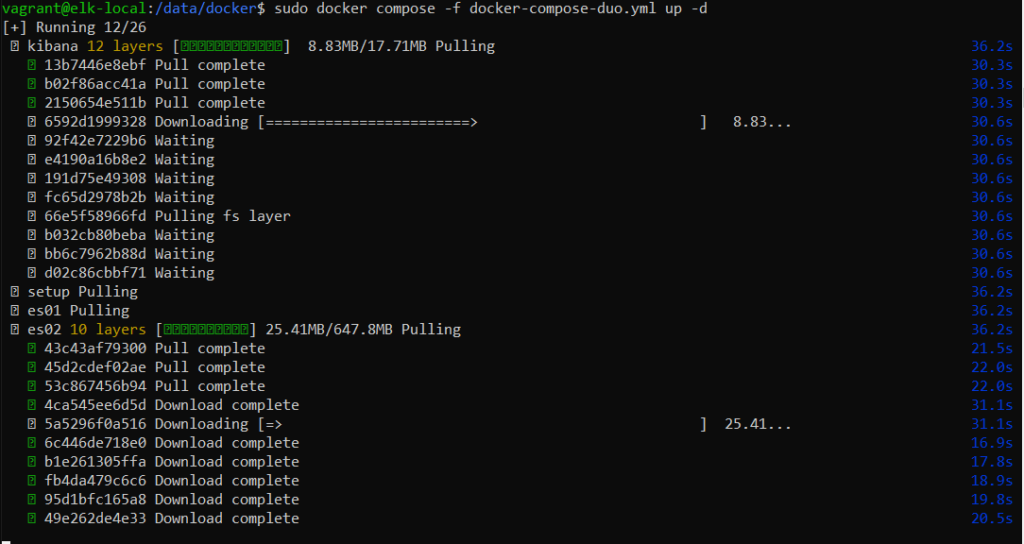
5. Start up the ElasticSearch 8.12 with 2 ElasticSearch nodes in docker container, cd into /data/docker, then run “sudo docker compose -f docker-compose-duo.yml up -d”

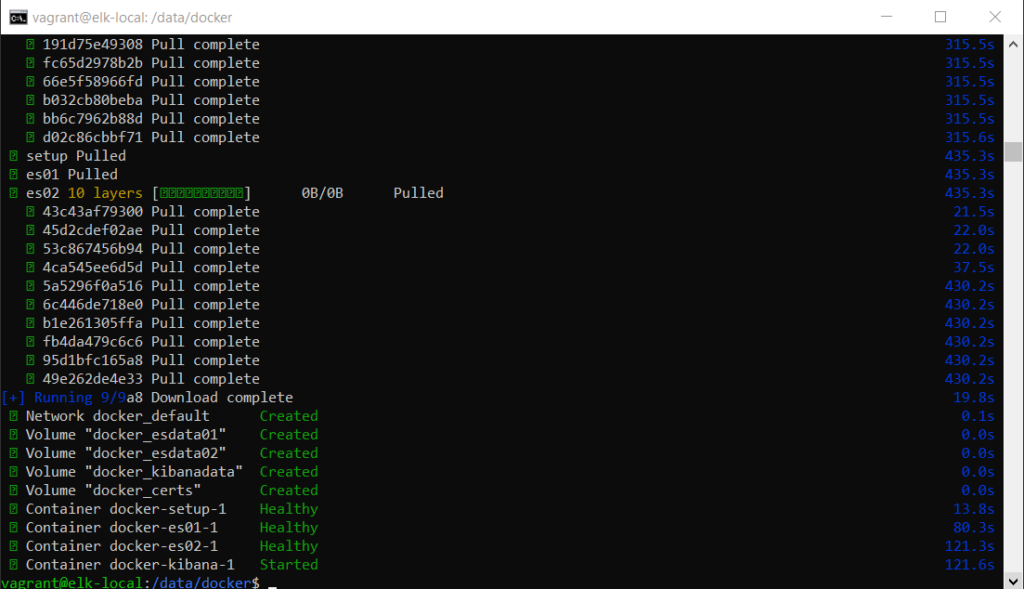
6. Confirm the status of the containers, run in the terminal “sudo docker ps”

This however does not proof that the stacks are completed correctly.
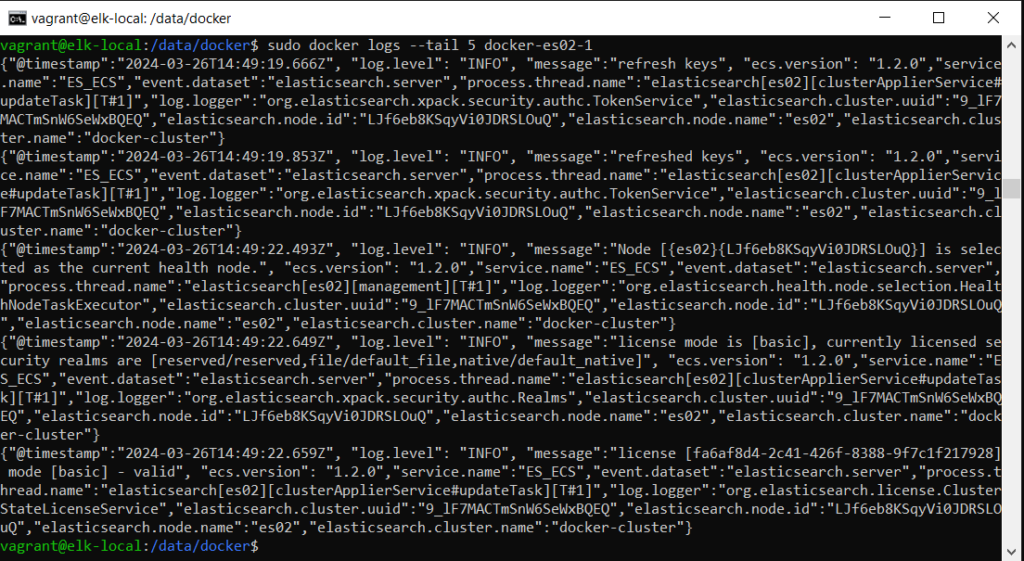
Use the “docker logs” to check all the containers.

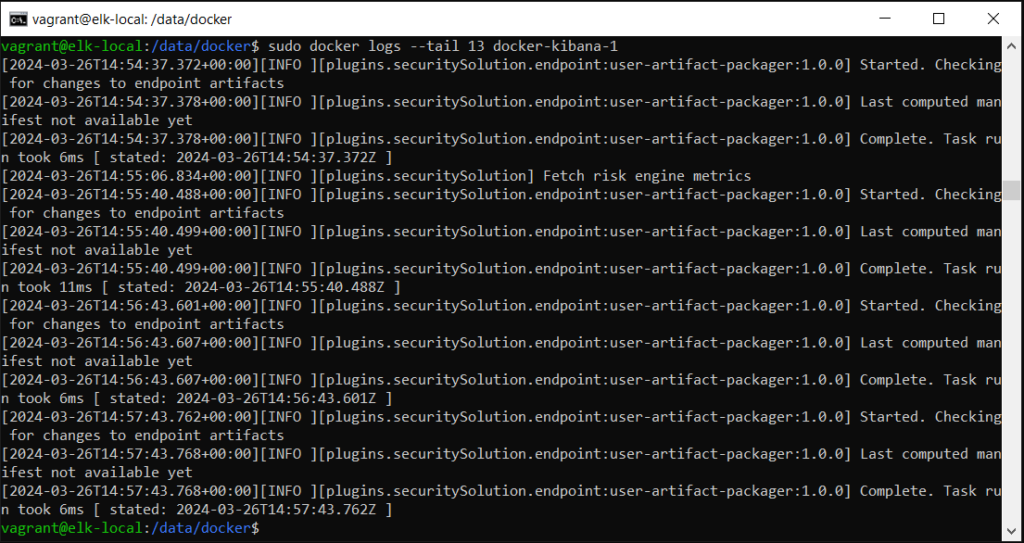
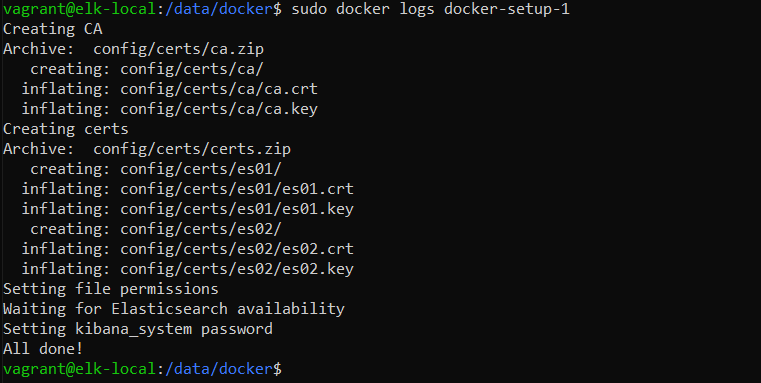
Other than the checking all the ElasticSearch containers, and kibana, the setup container will be stop running and provide the logs as seen to indicate the configuration of the ElasticSearch is completed.
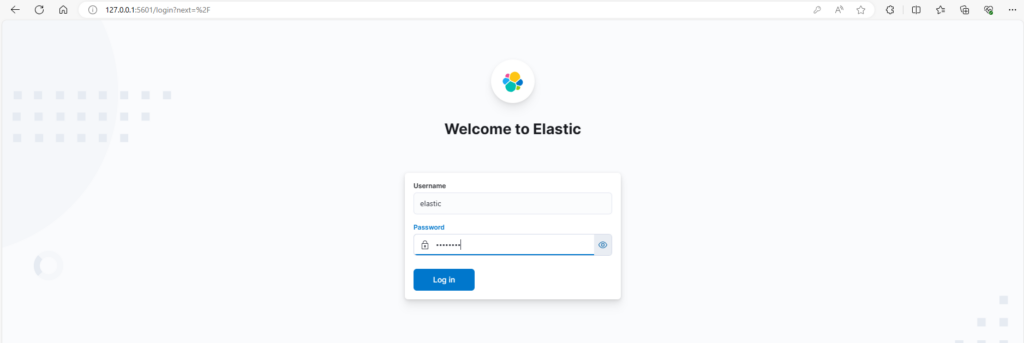
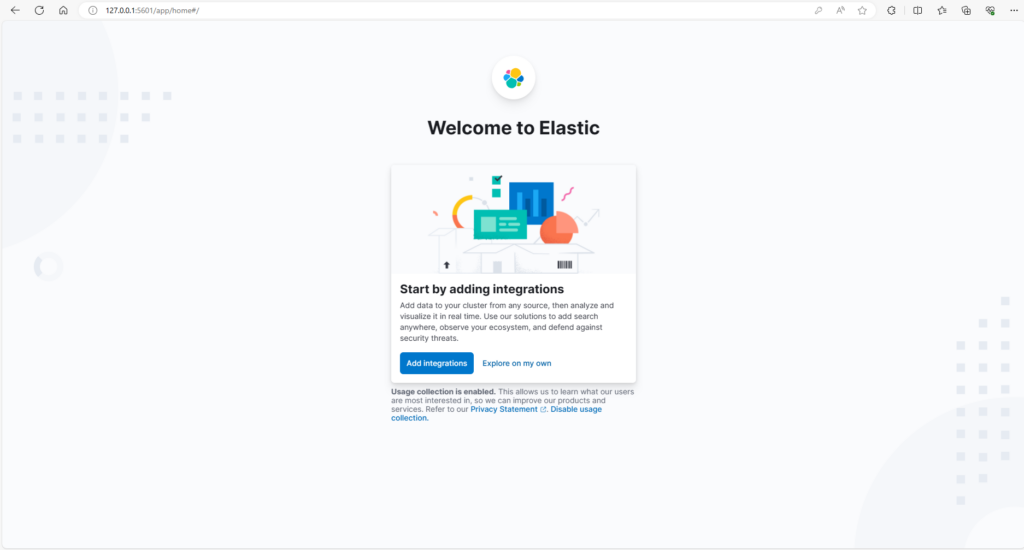
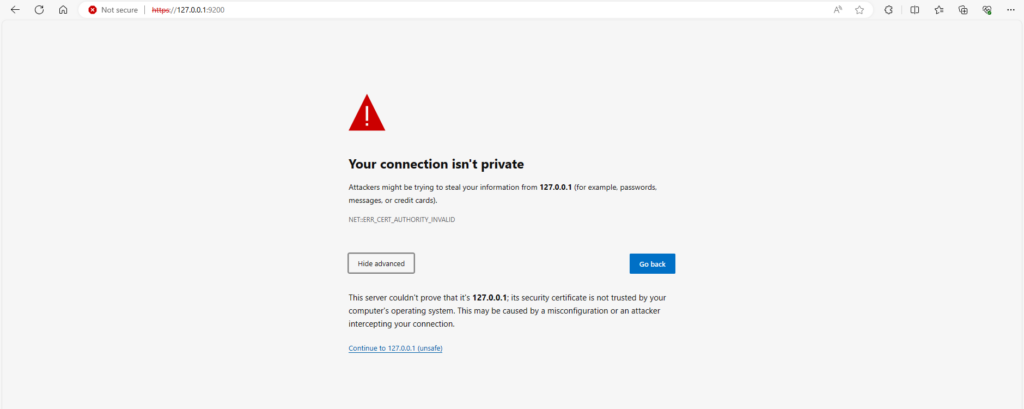
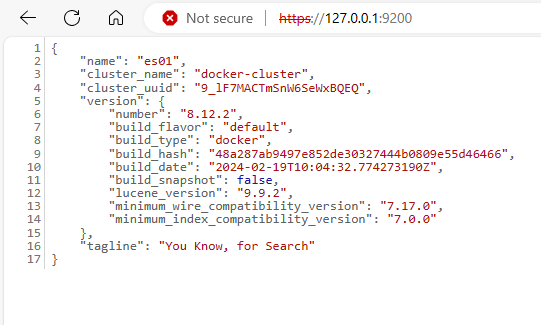
Finally, to put all into a complete conformation, use browser to visit the kibana and ElasticSearch interface.

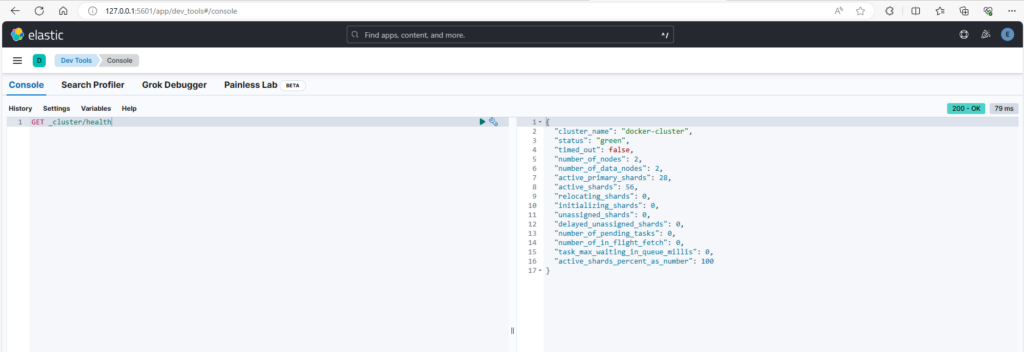
To truly ensure that the Elastic (kibana) are working well, go into the Dev Tools -> Console. Type “GET _cluster/health”, run the console command, on the right panel of the console, you should receive similar result.
Will add more post on details how to make the example from ElasticSearch 8.13 works. At the time of the post, the example provided by ElasticSearch does not work as expected.
The steps that I was doing to get this ElasticSearch running is akin to Hal trying to fix the light bulb.
Reference:
Install Elasticsearch with Docker | Elasticsearch Guide [8.12] | Elastic