AliExpress Not Gundam, the KMR figures comes as a model kit that the selling point is a diecast frame that comes with a BFG. Gotten the model without box to save a few bucks.
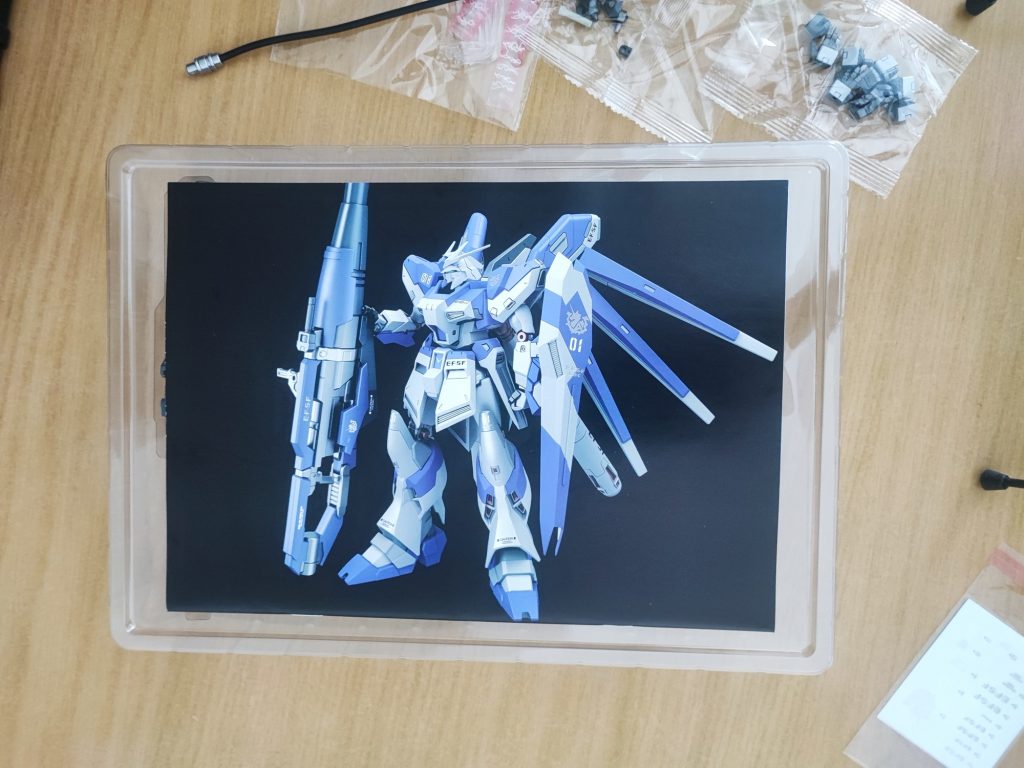
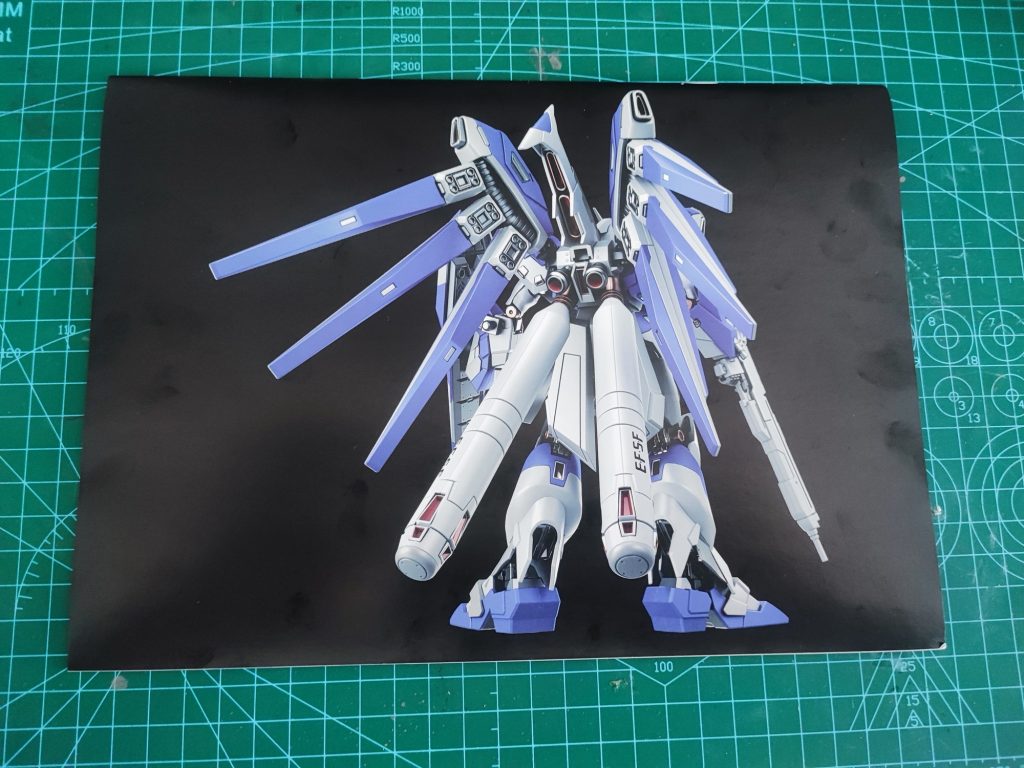
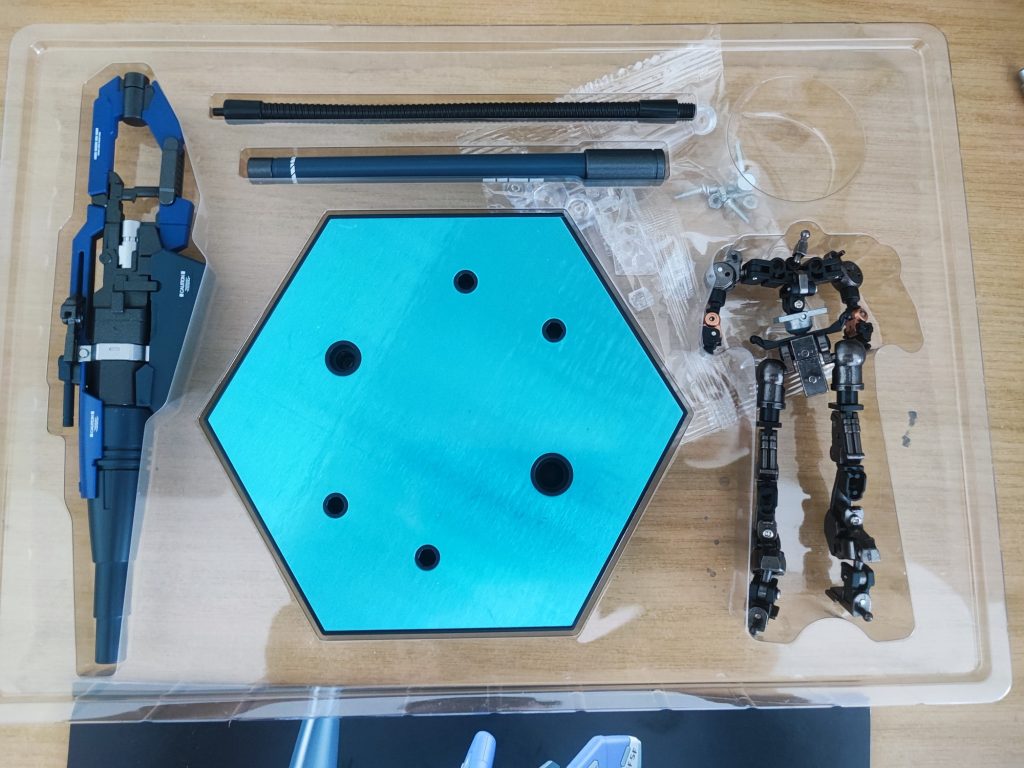
After unpacking and removing bubble wrap, the instruction bookletThe other view of the instructions booklet for assemblyThe reason of purchase, diecast body and the BFGComes with water slides
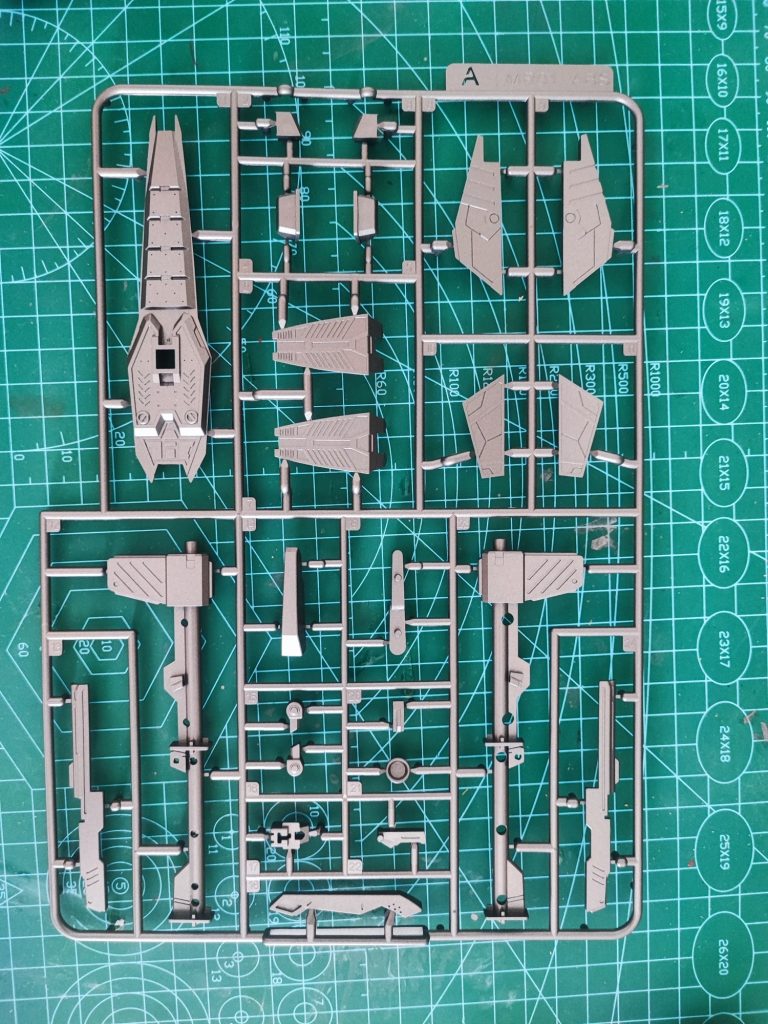
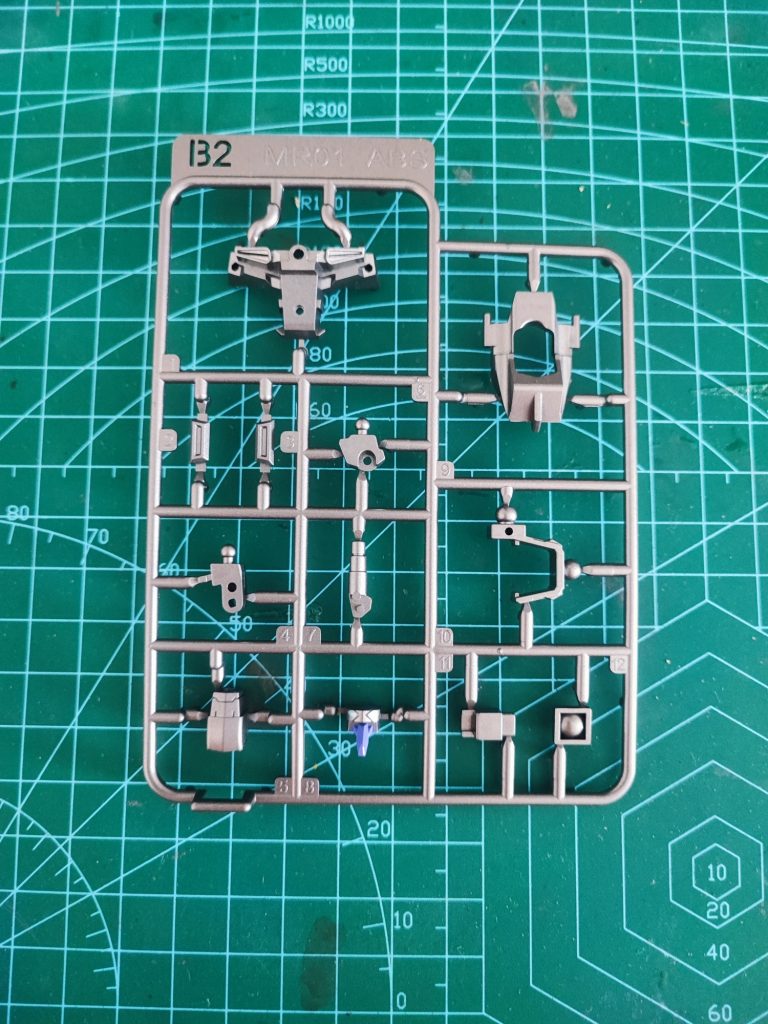
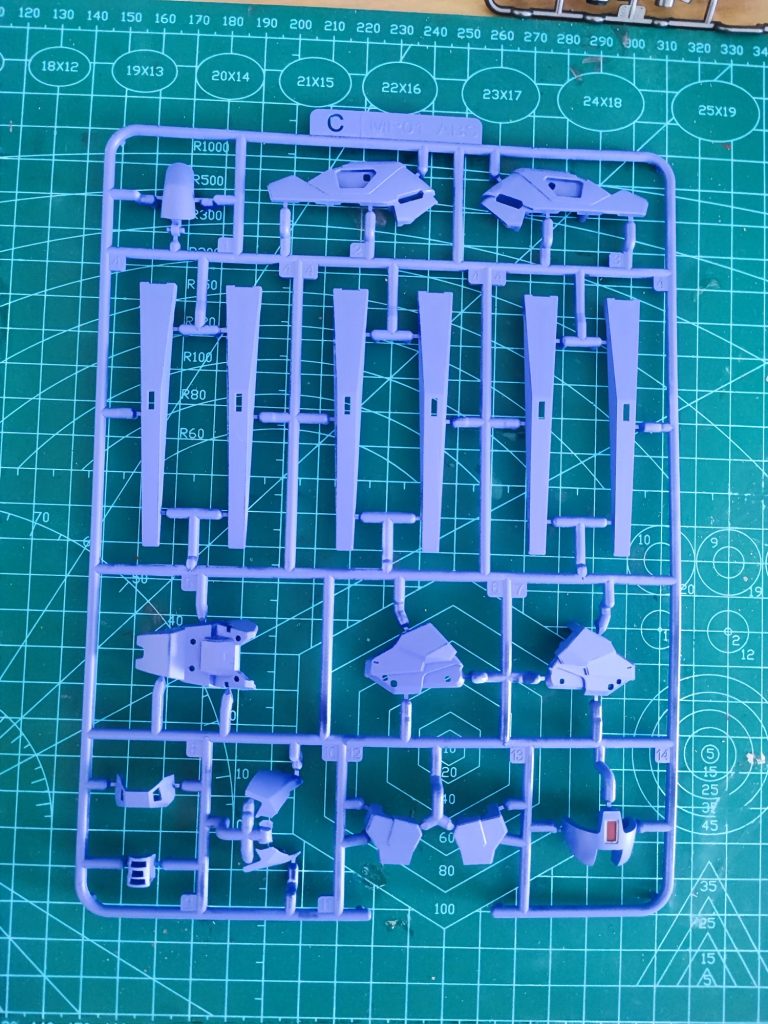
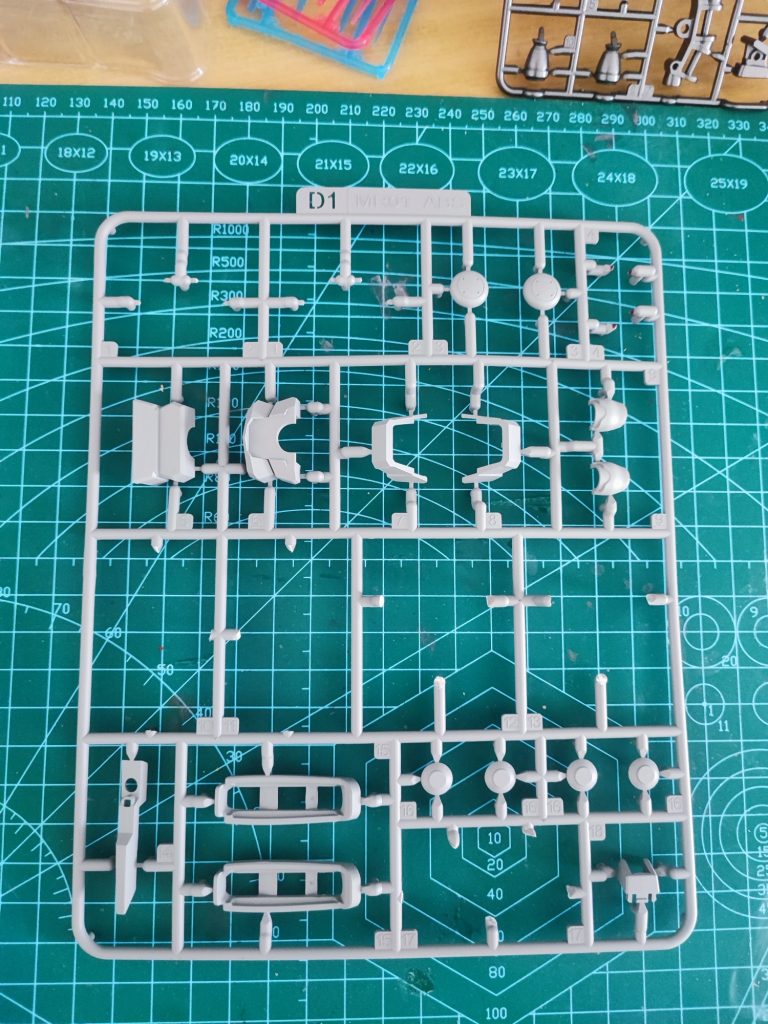
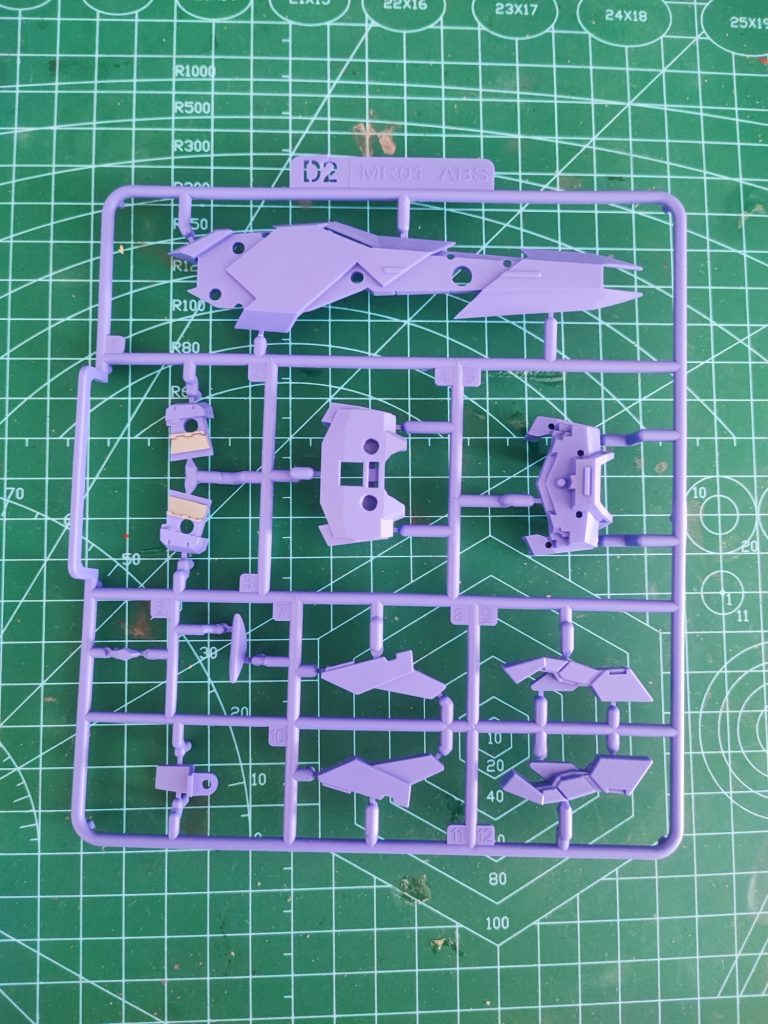
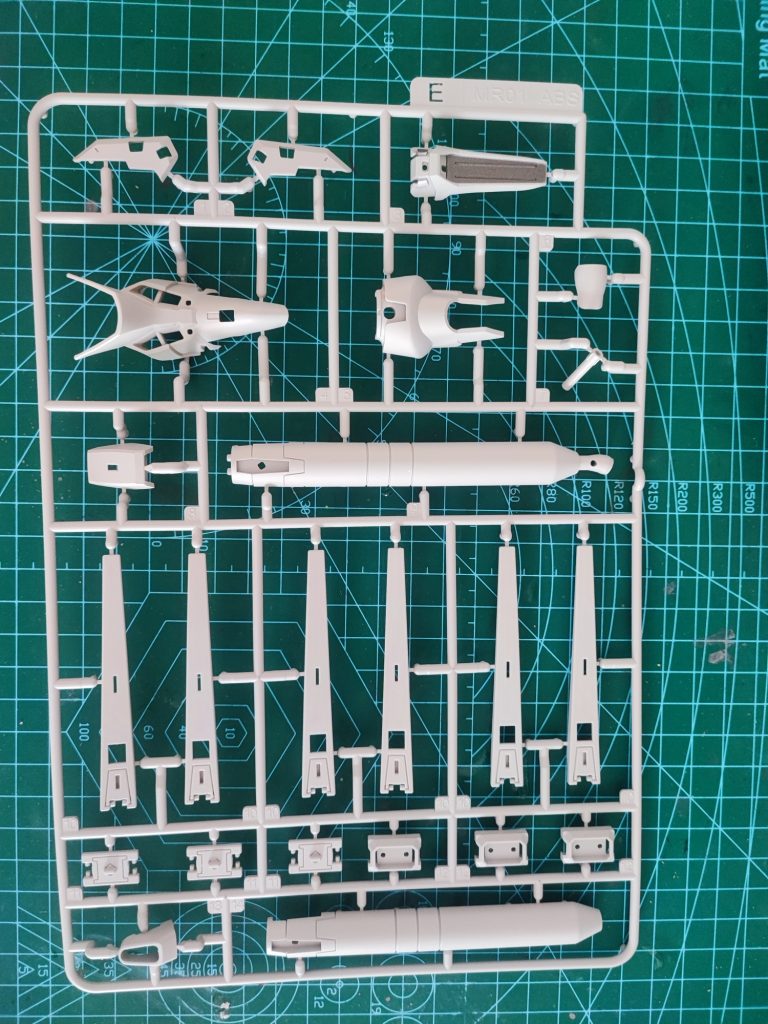
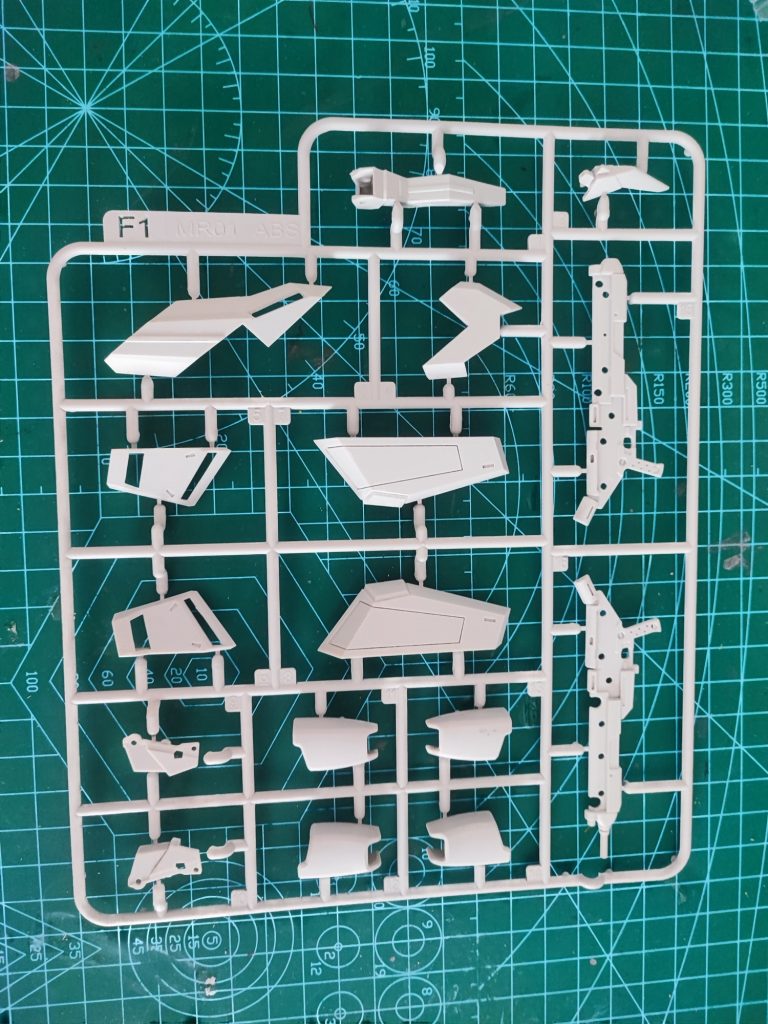
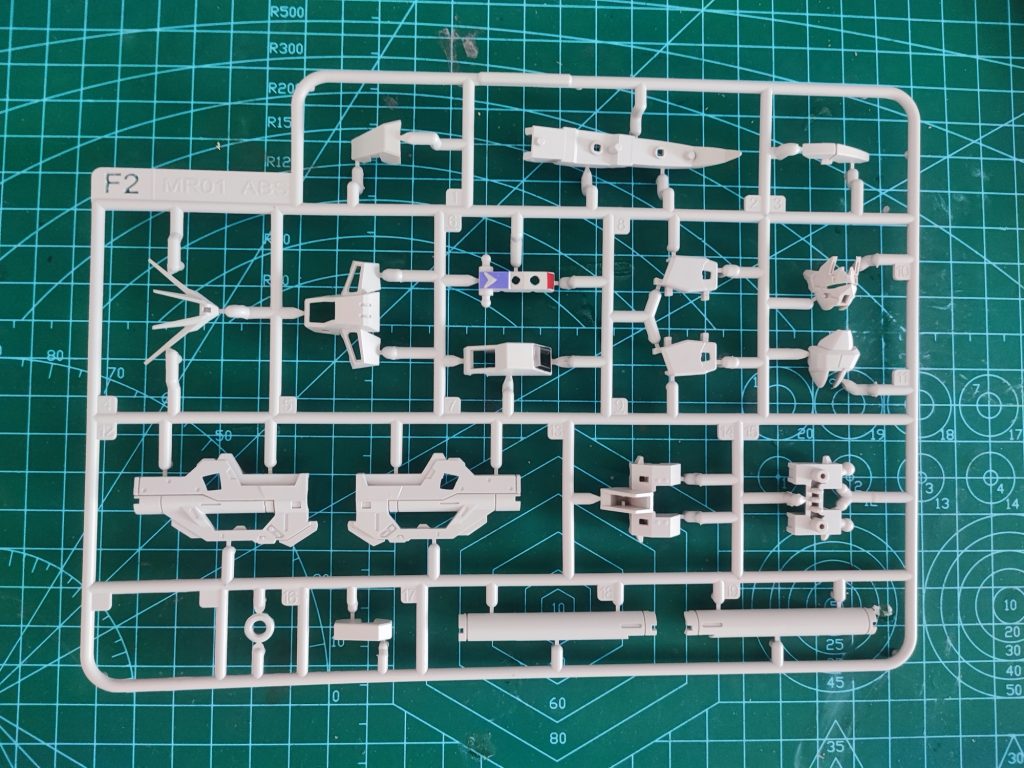
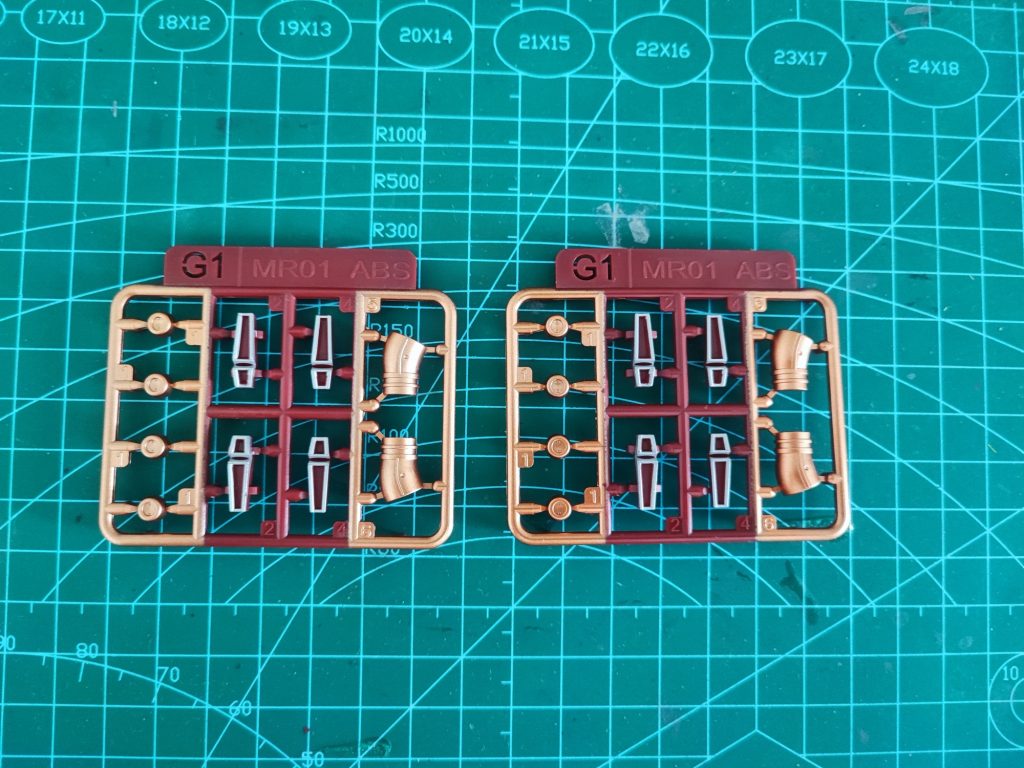
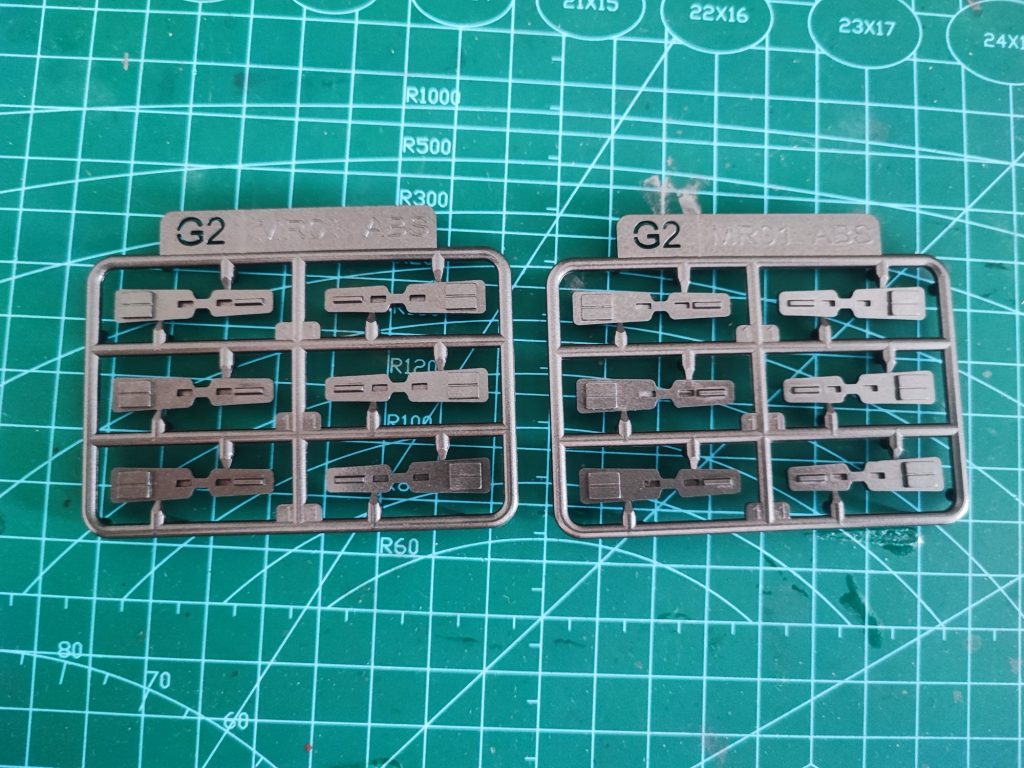
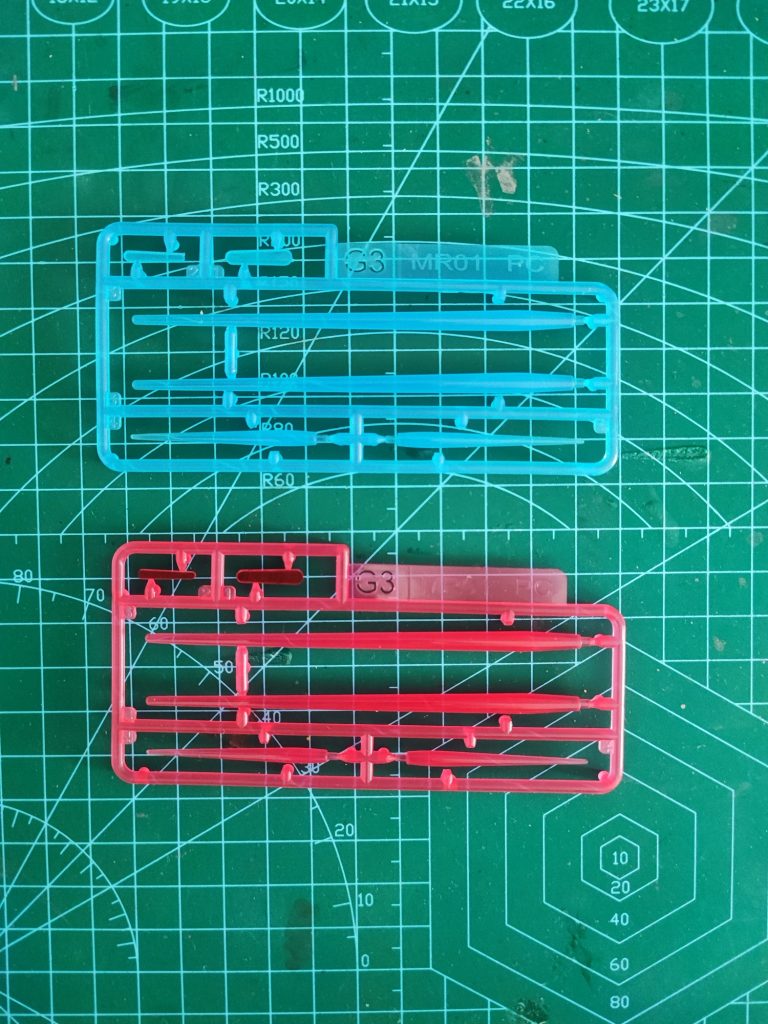
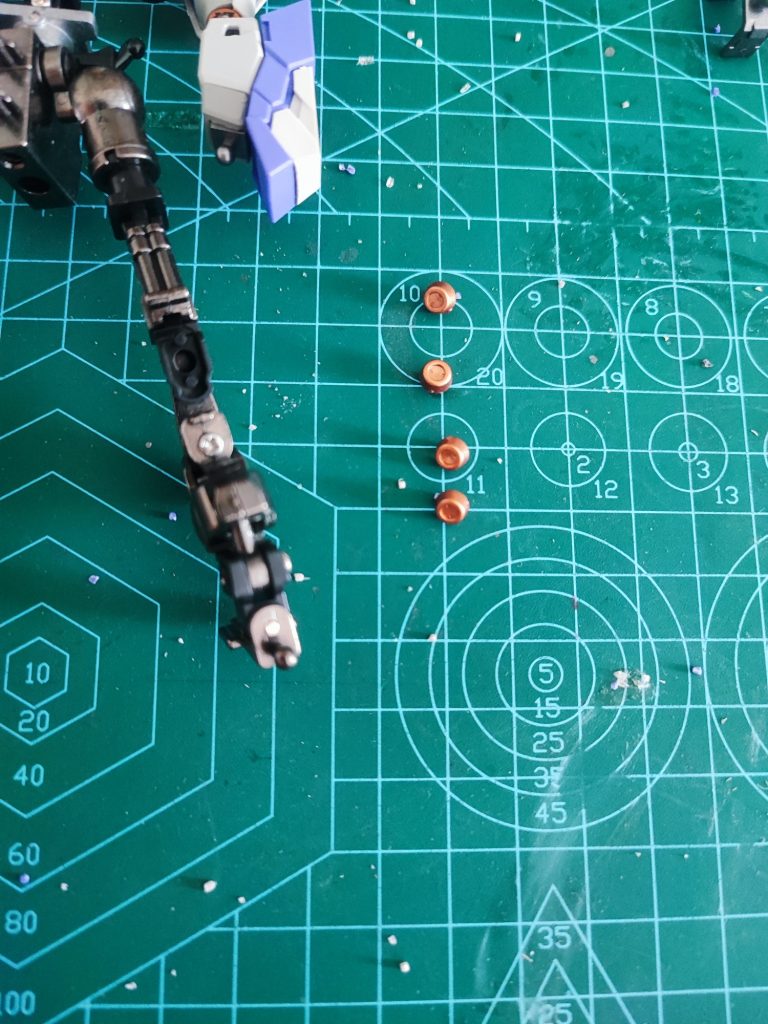
Runners, more than 10.
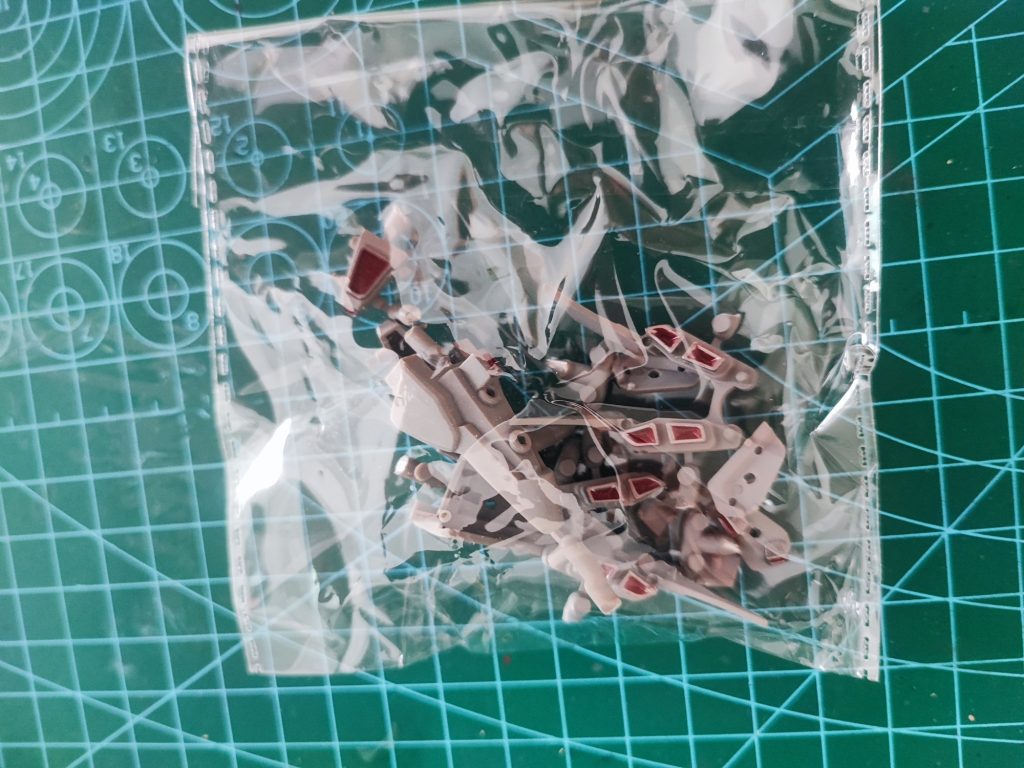
Some of the parts that are more complex are cut out and pack into individual packets to prevent damage during shipment.
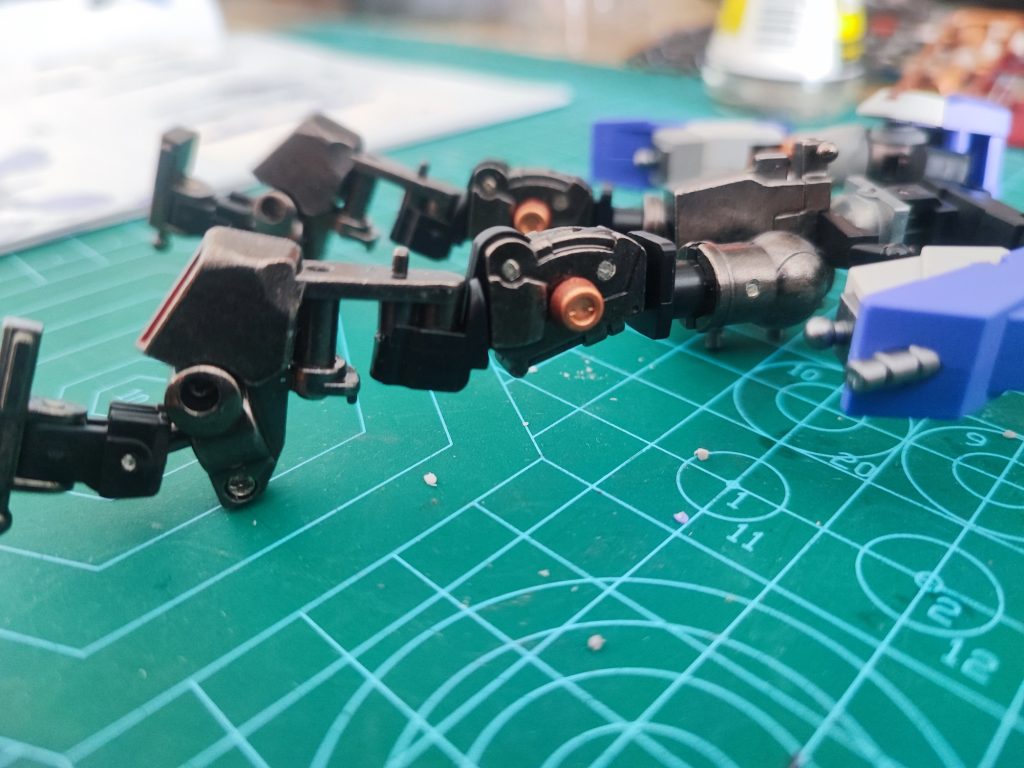
The metal frame.
Metal frame frontMetal frame back
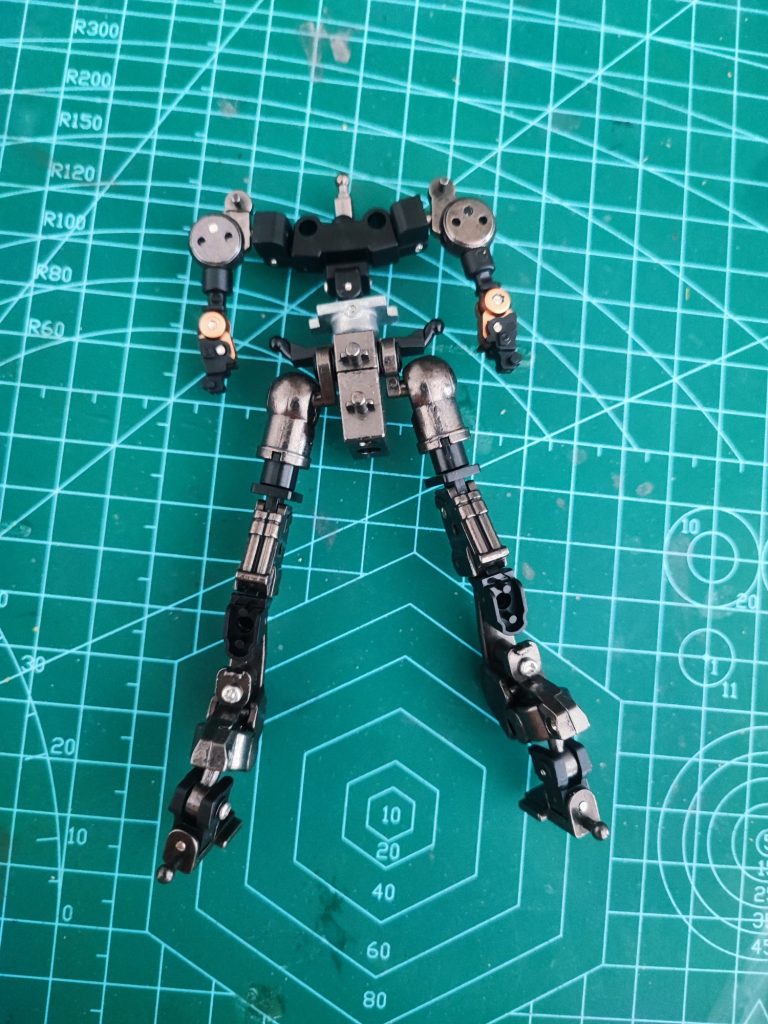
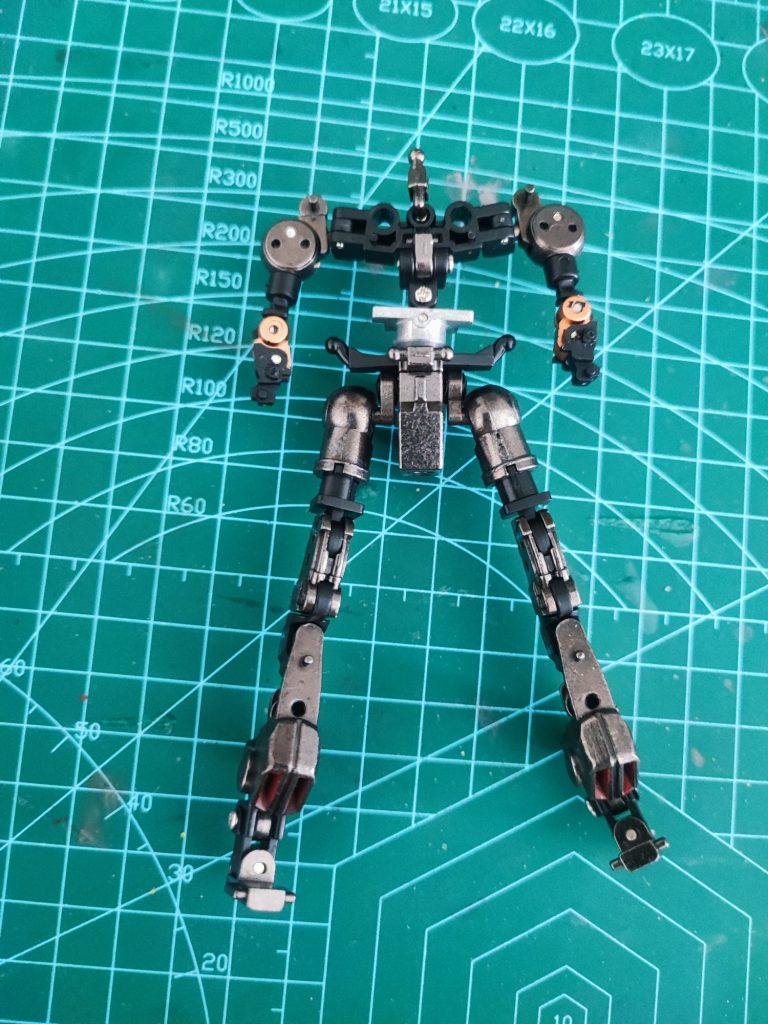
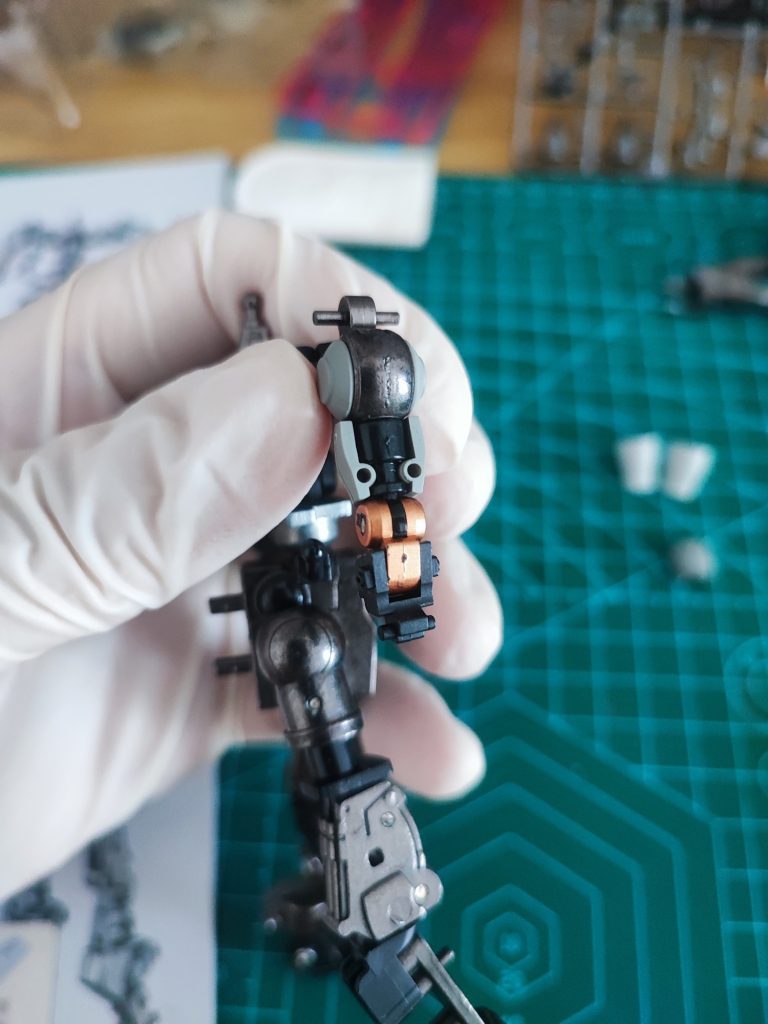
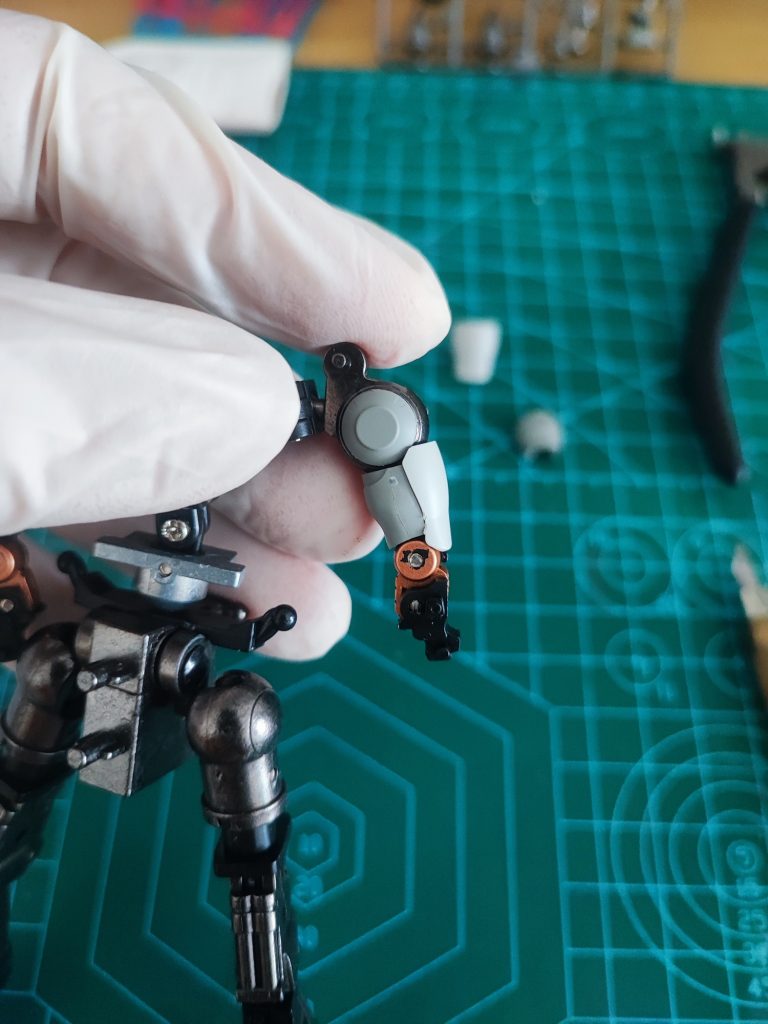
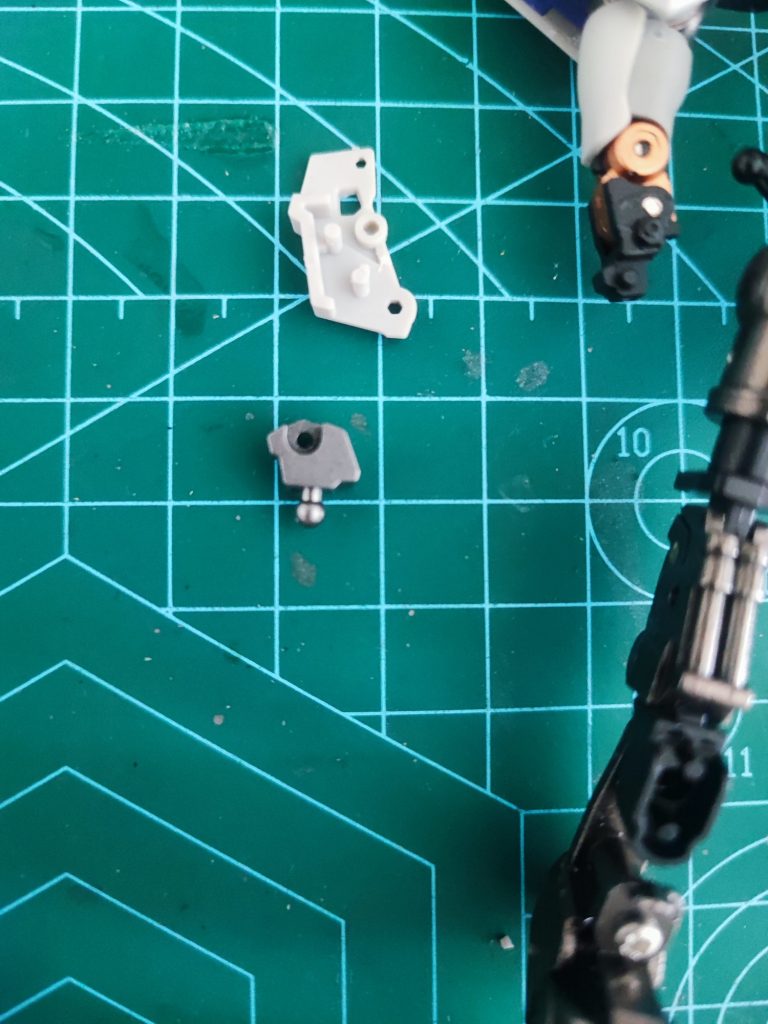
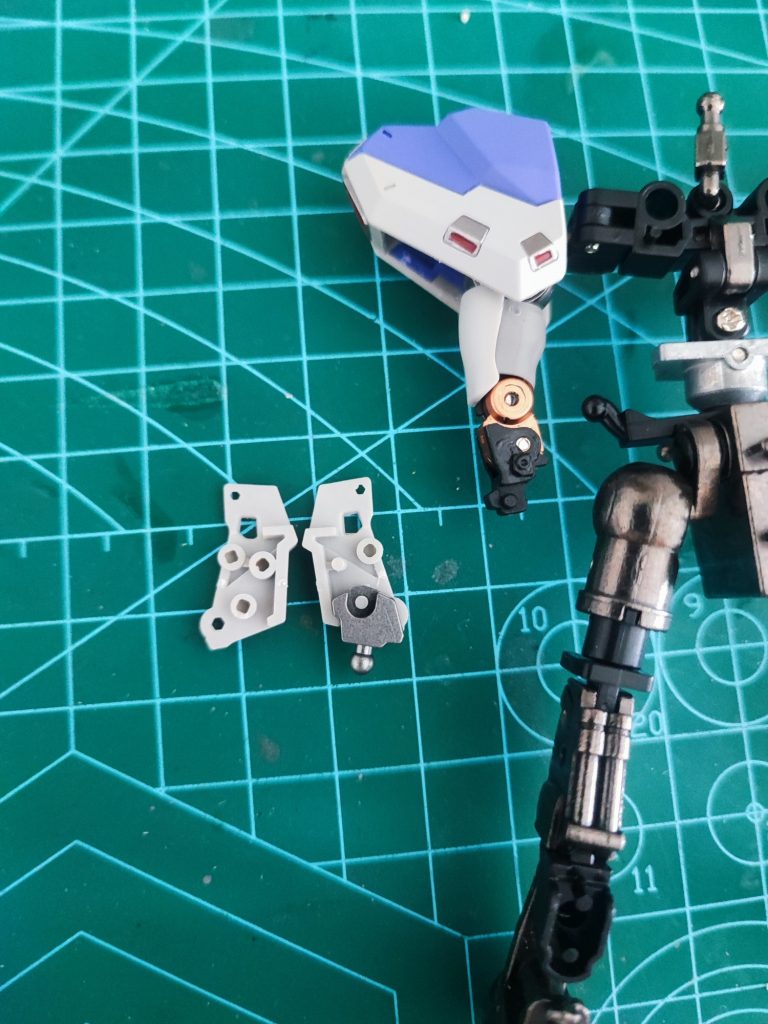
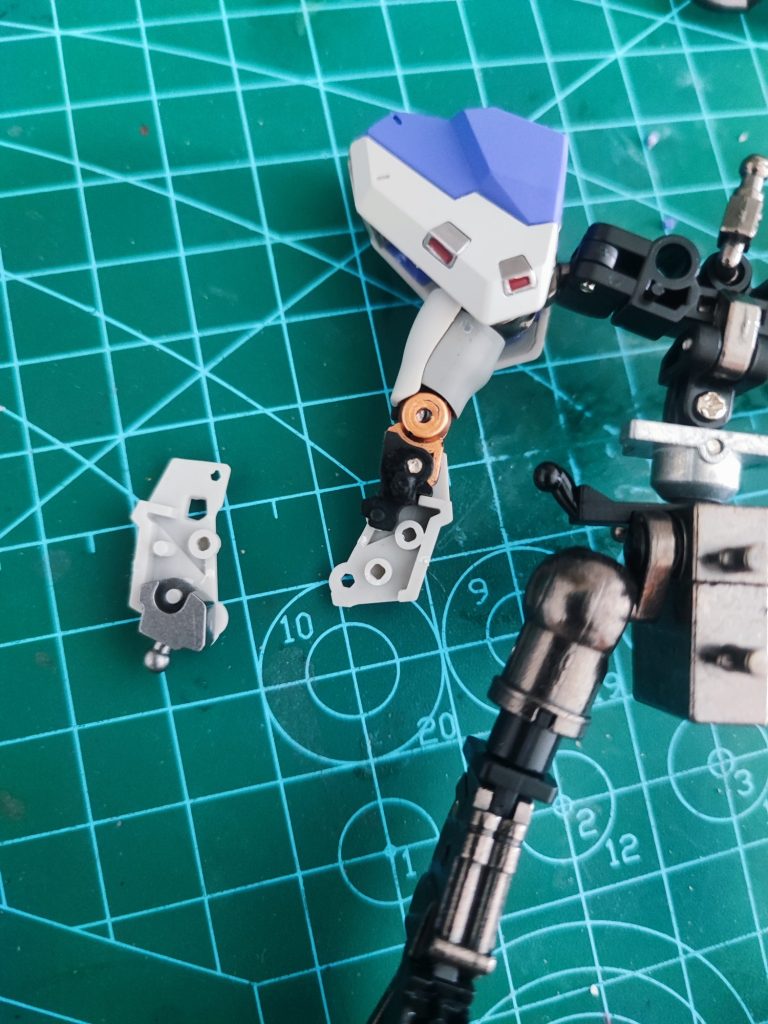
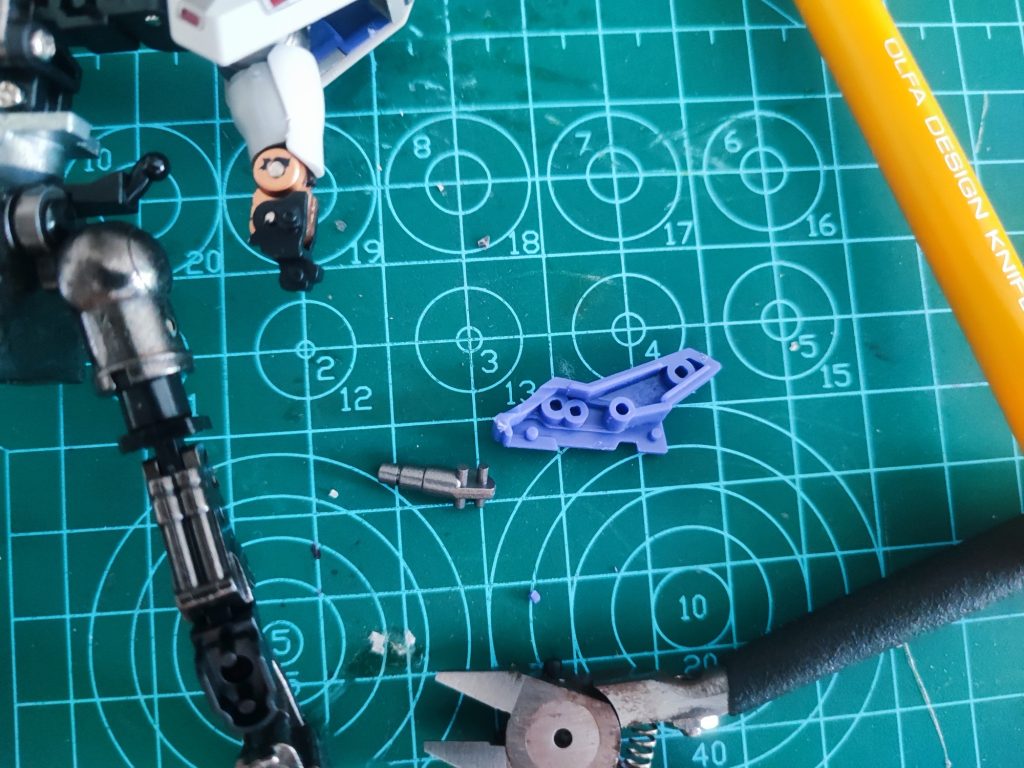
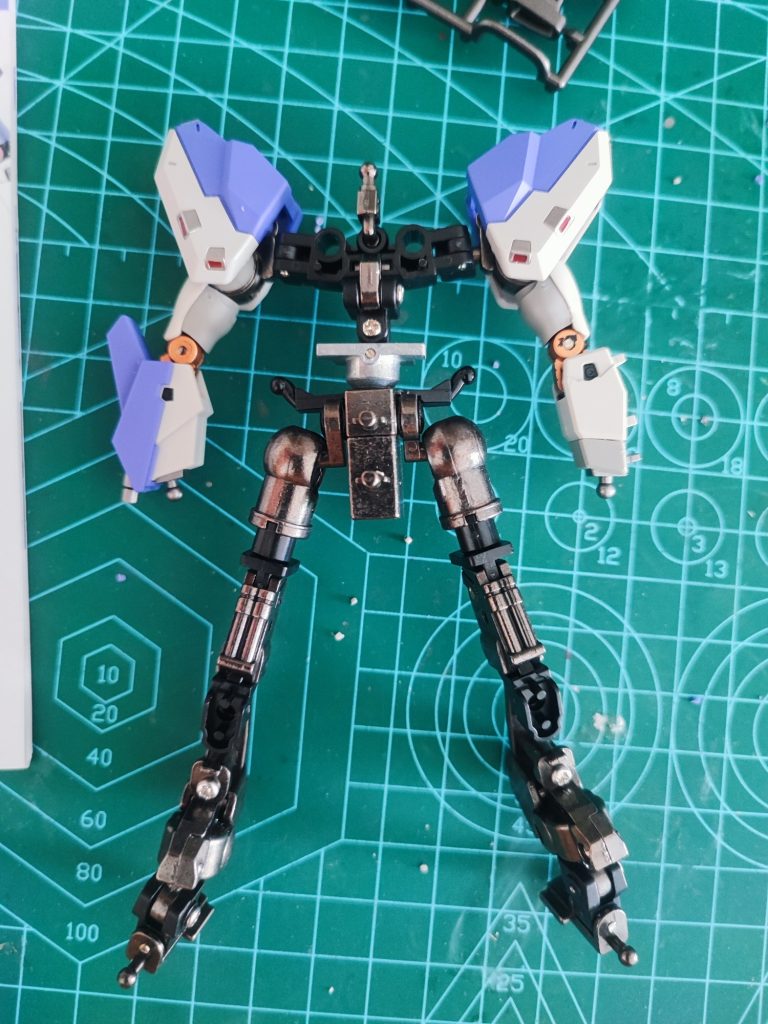
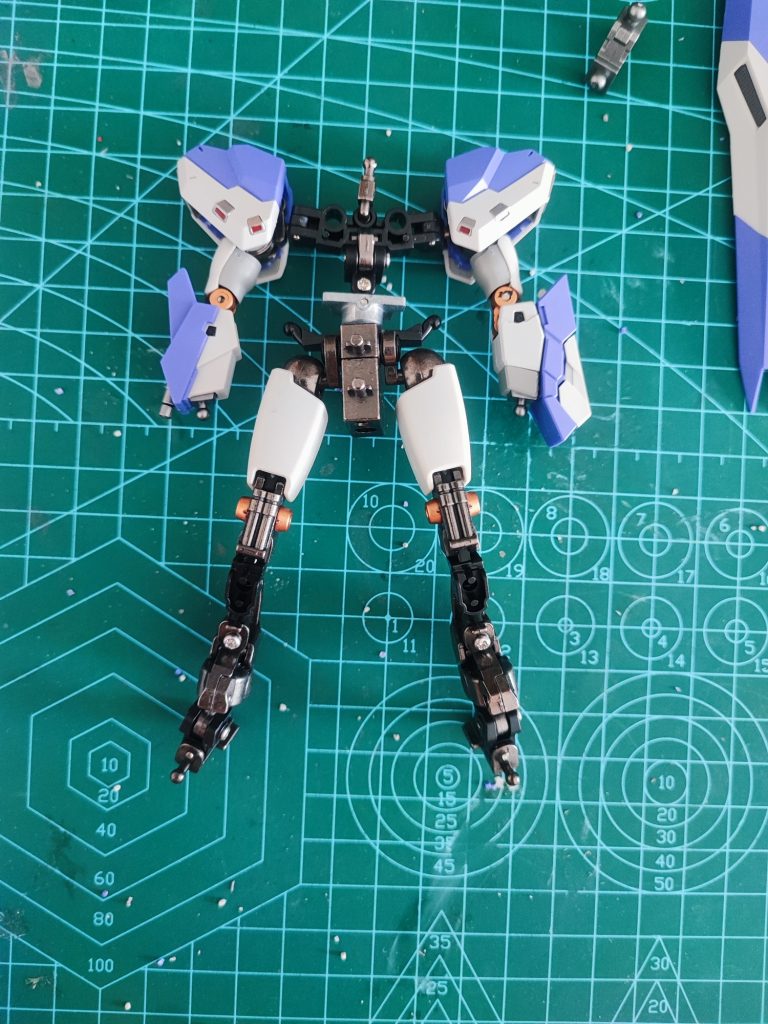
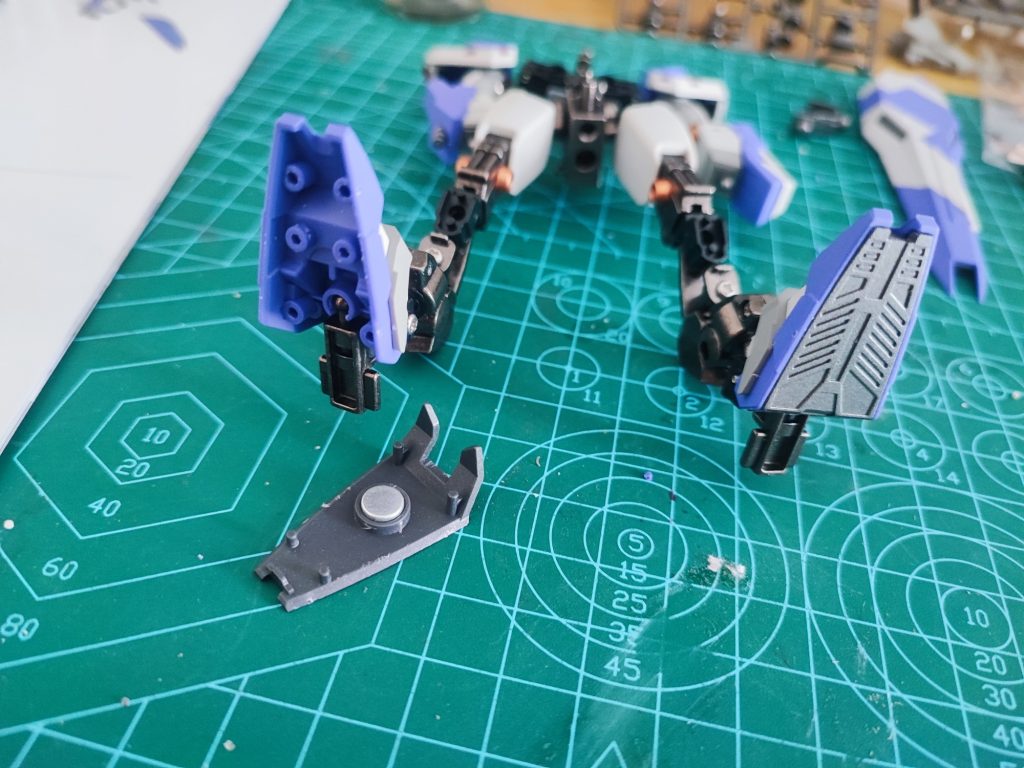
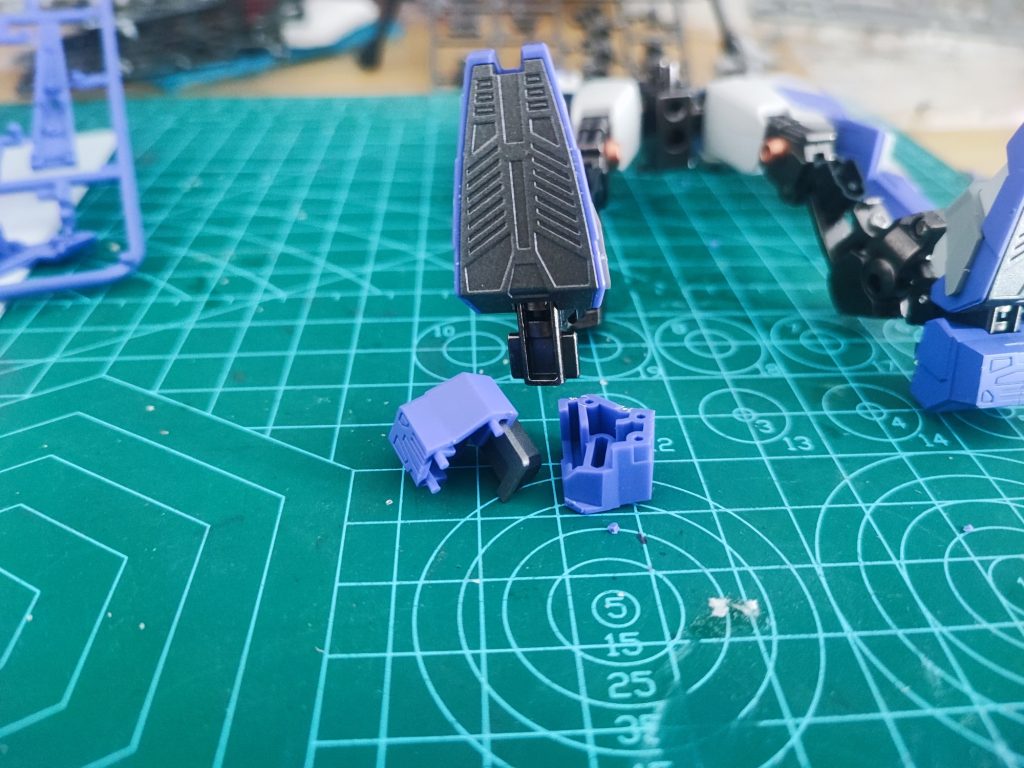
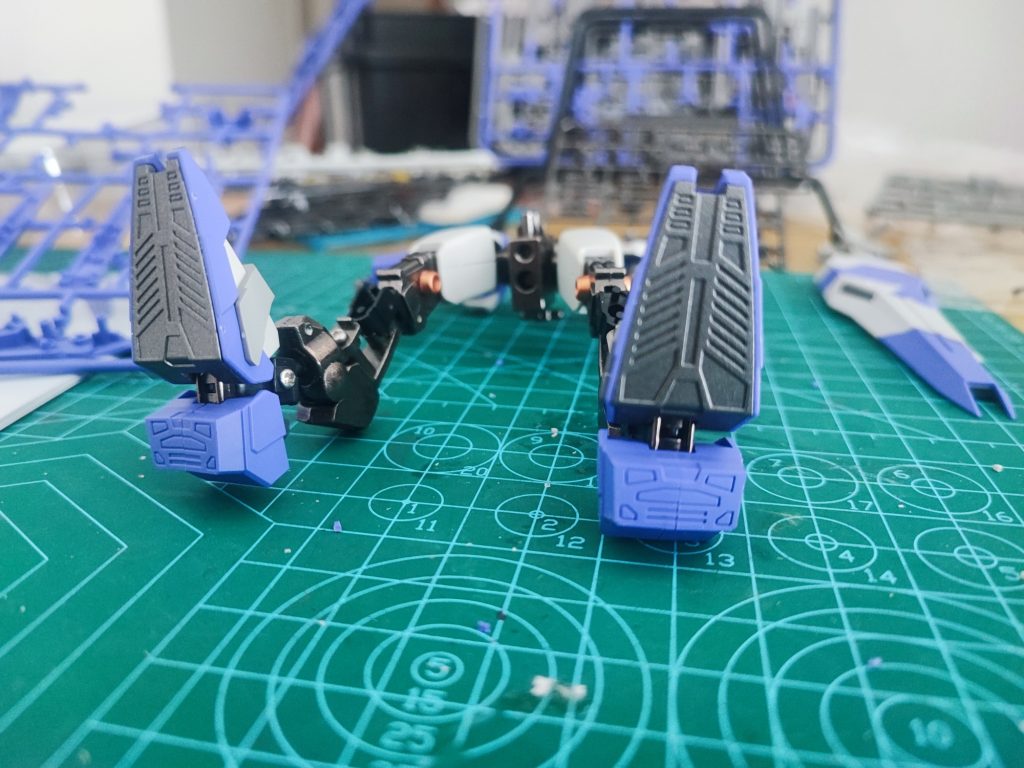
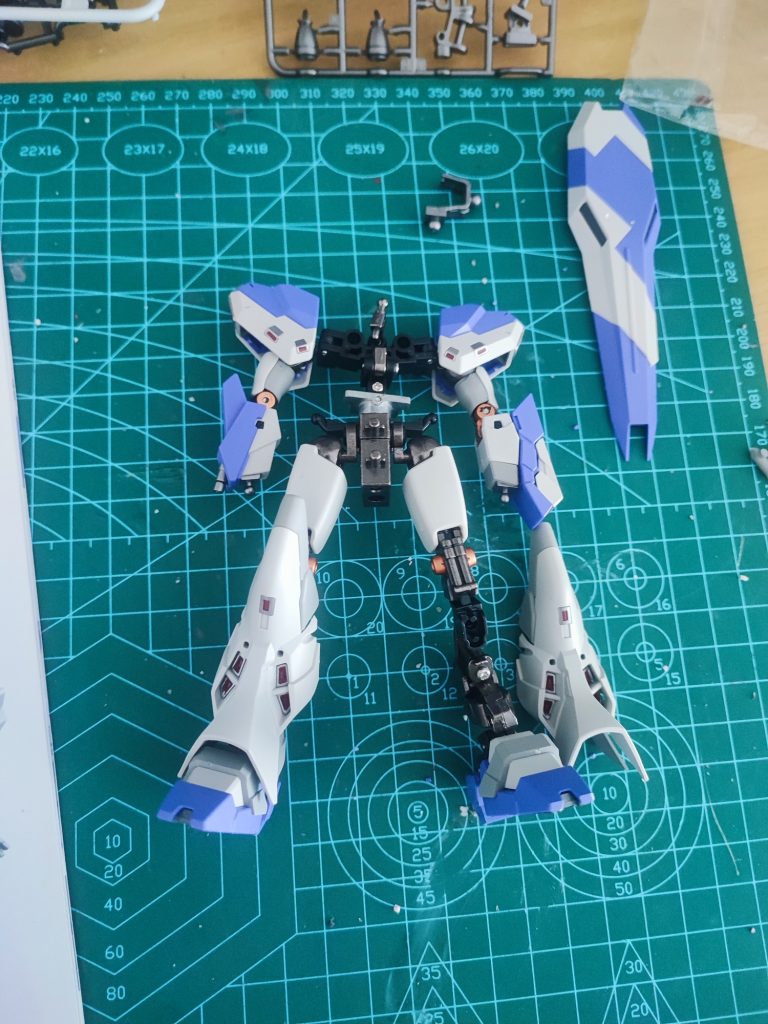
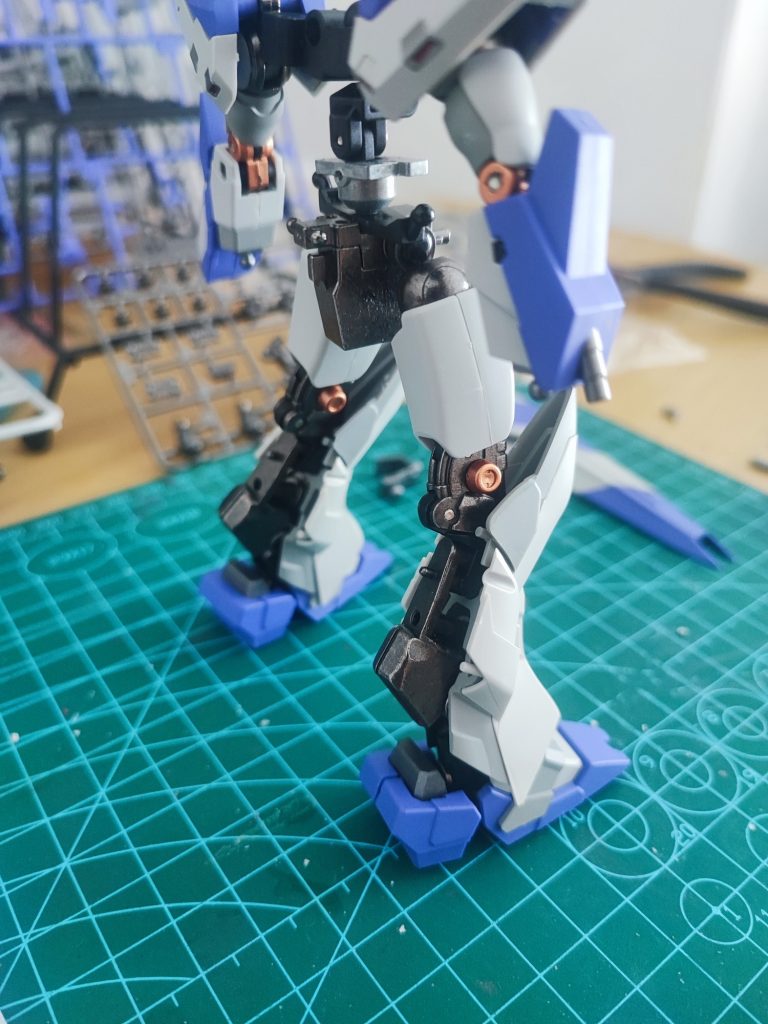
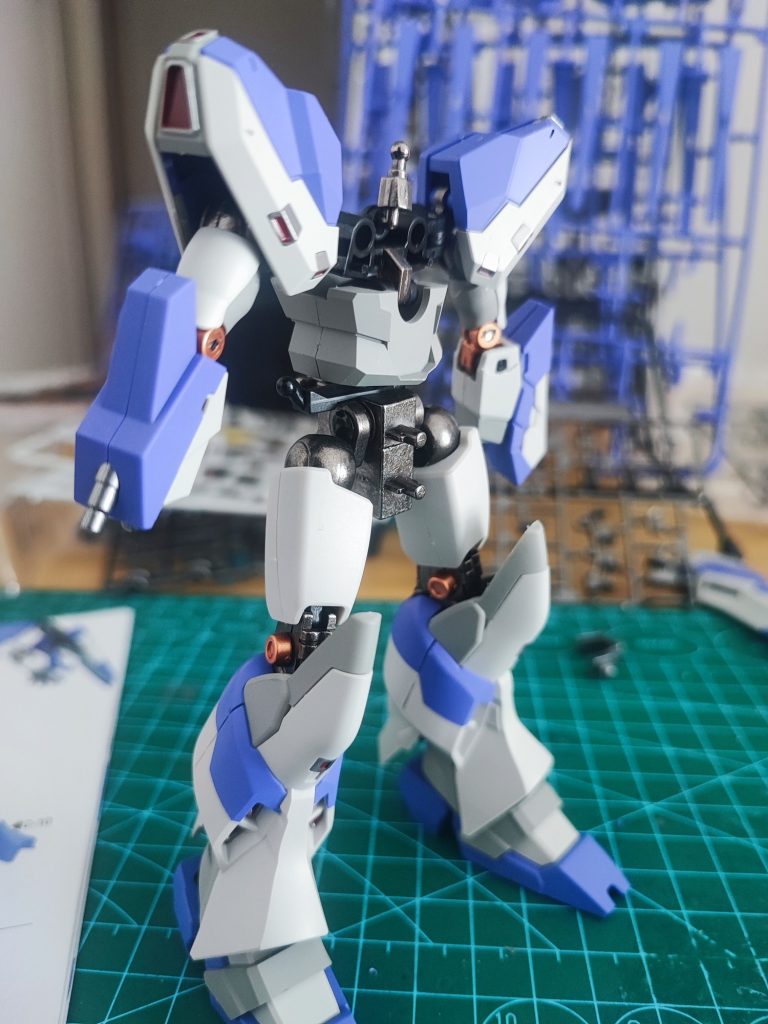
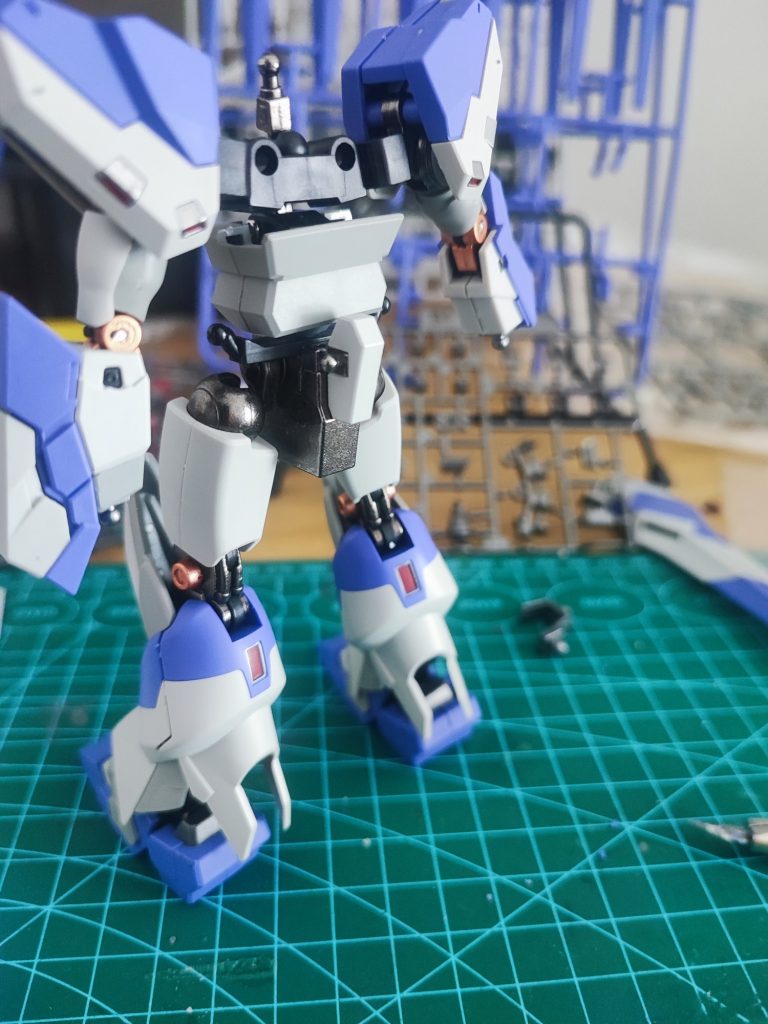
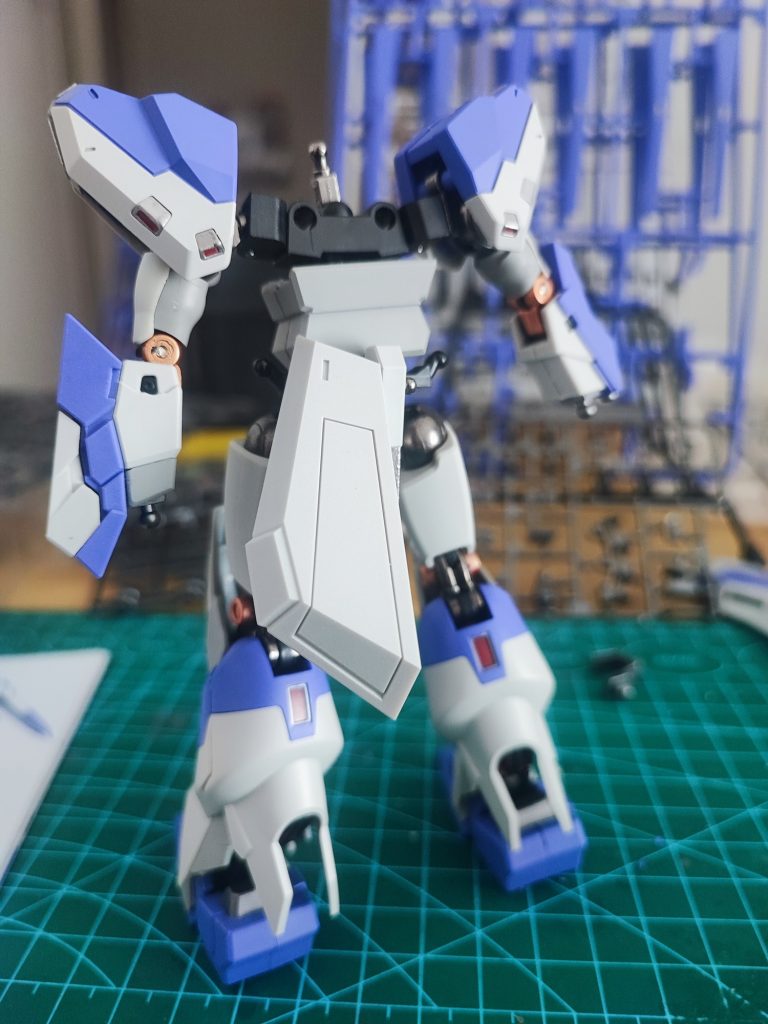
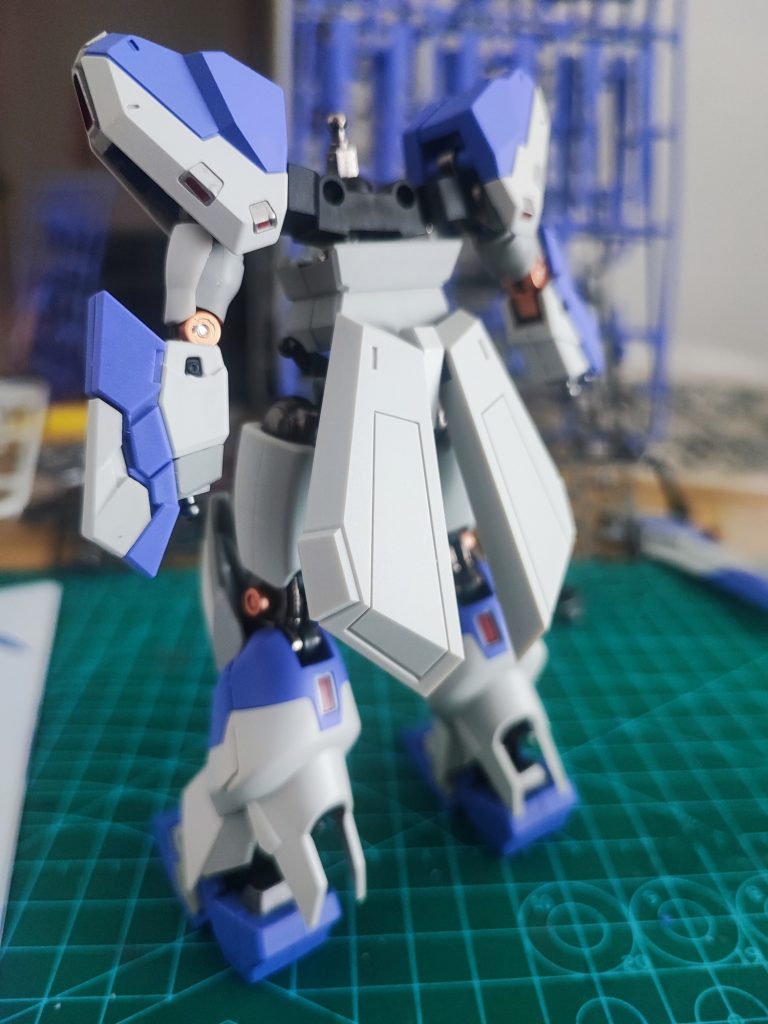
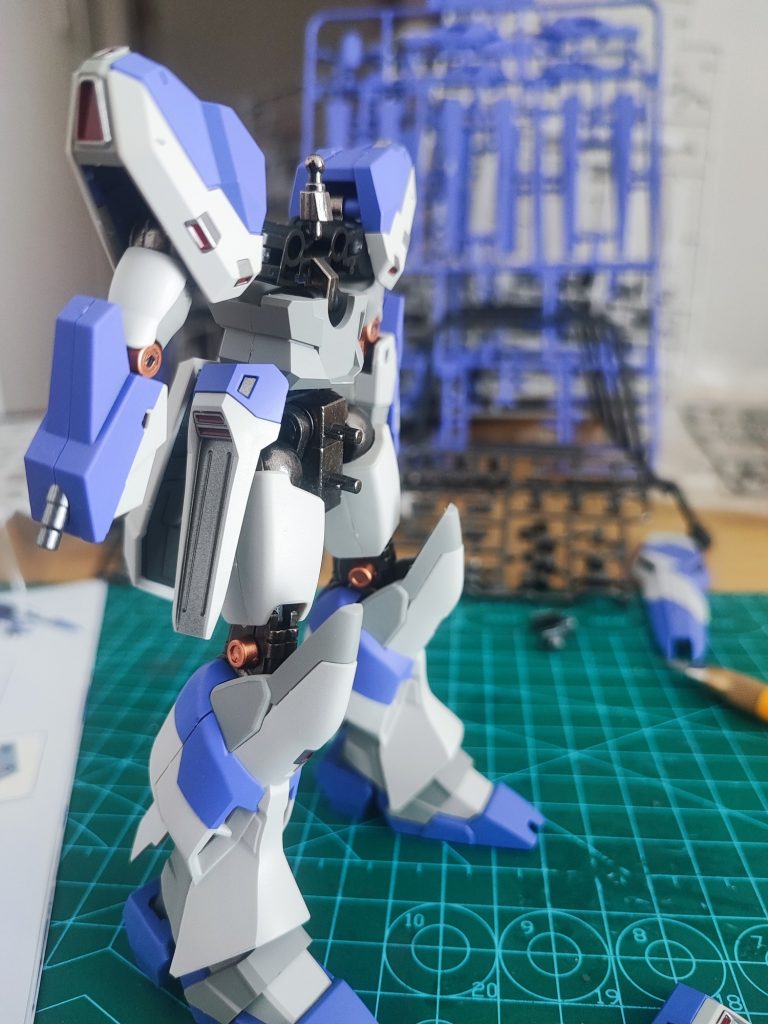
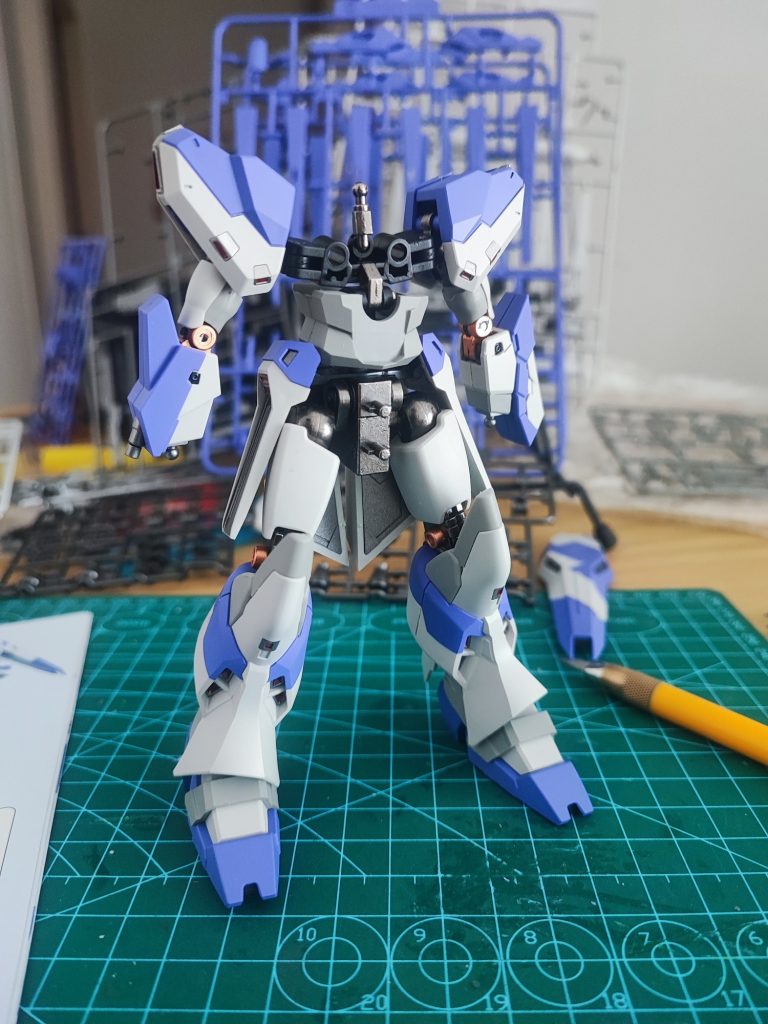
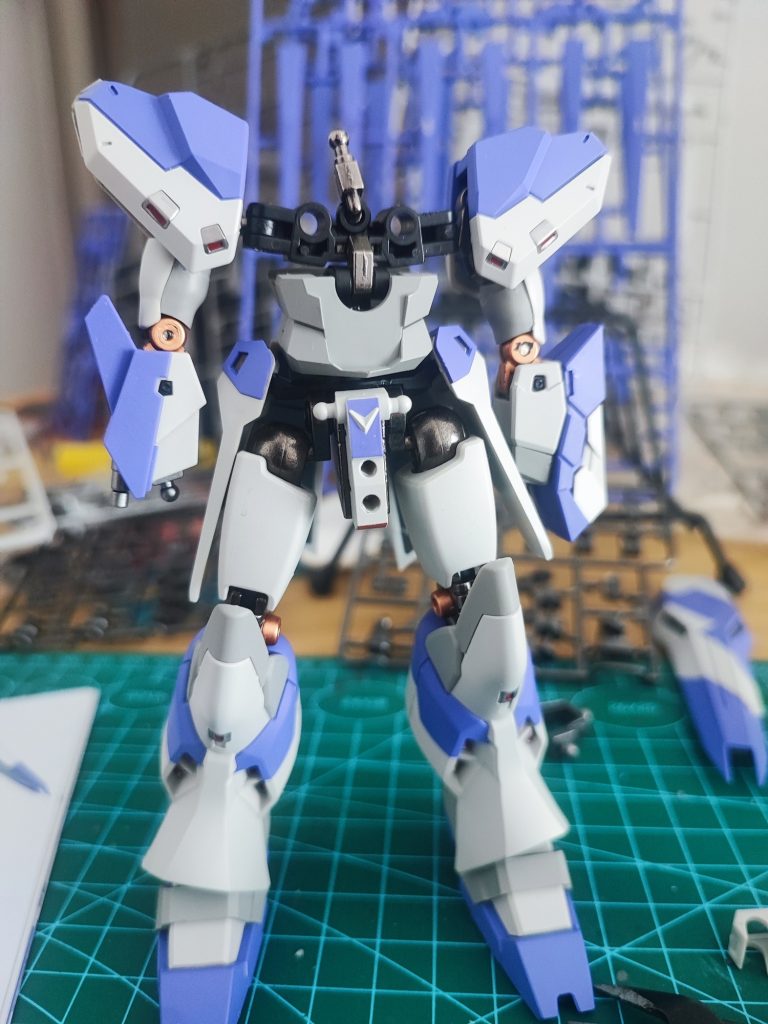
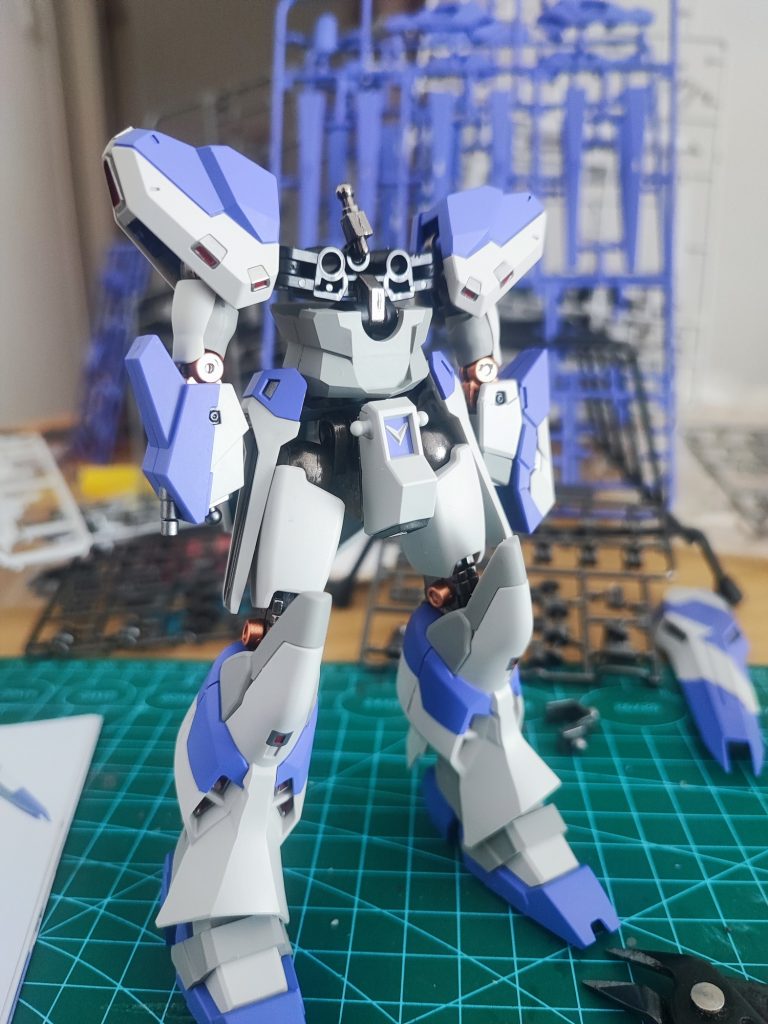
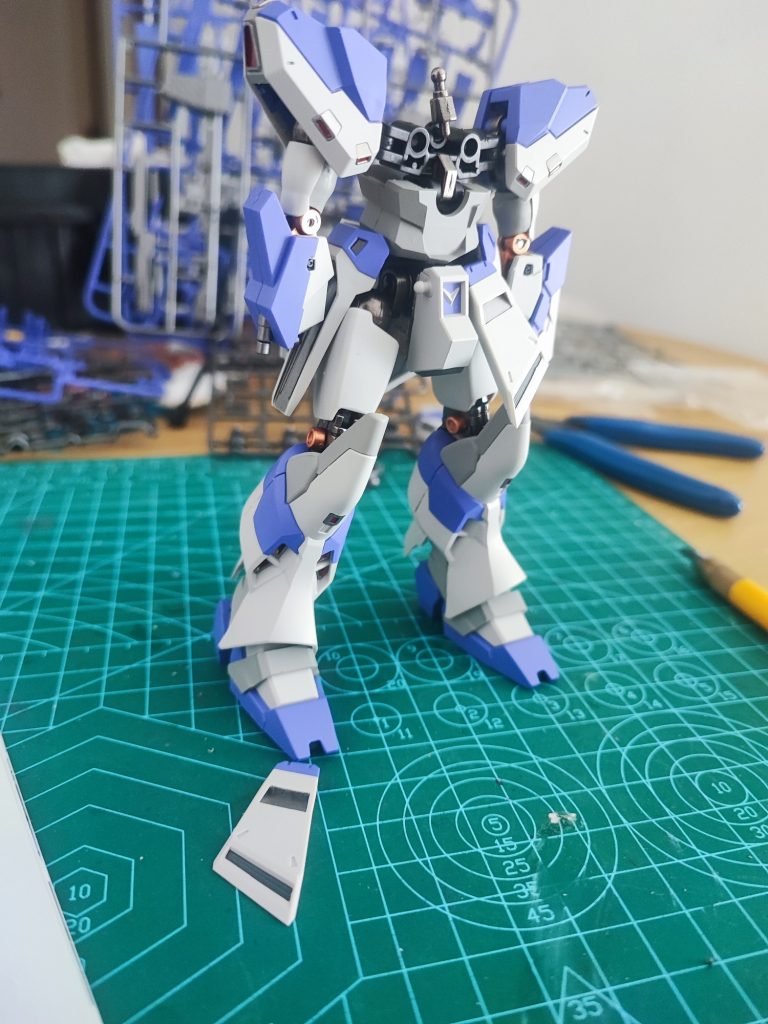
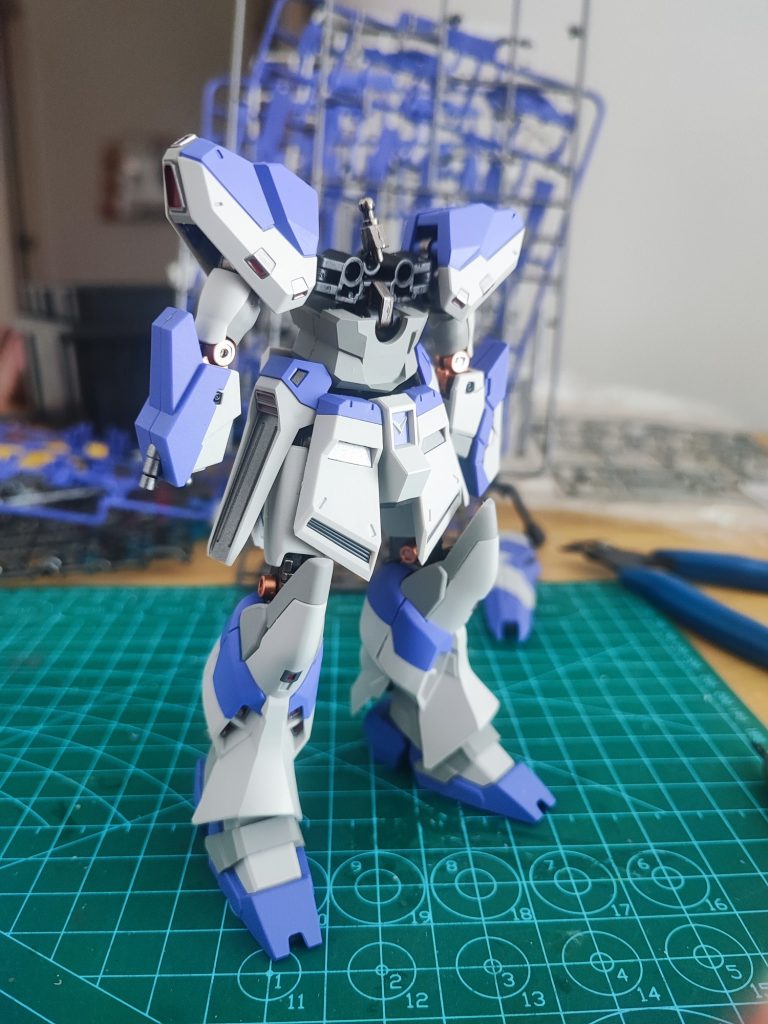
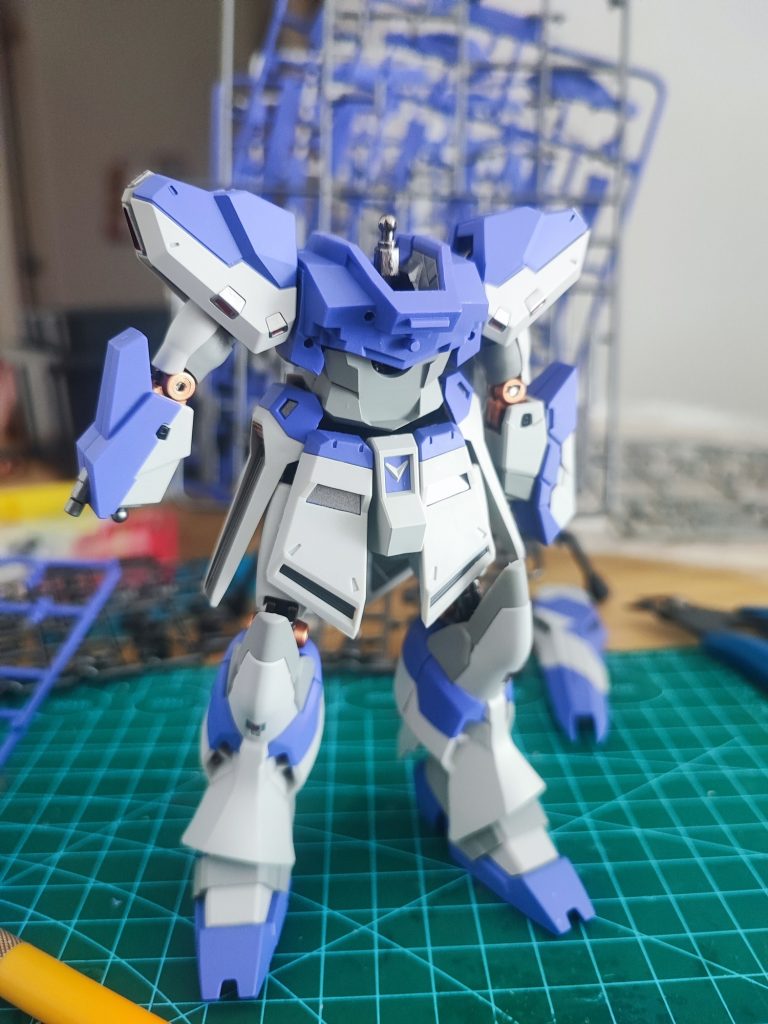
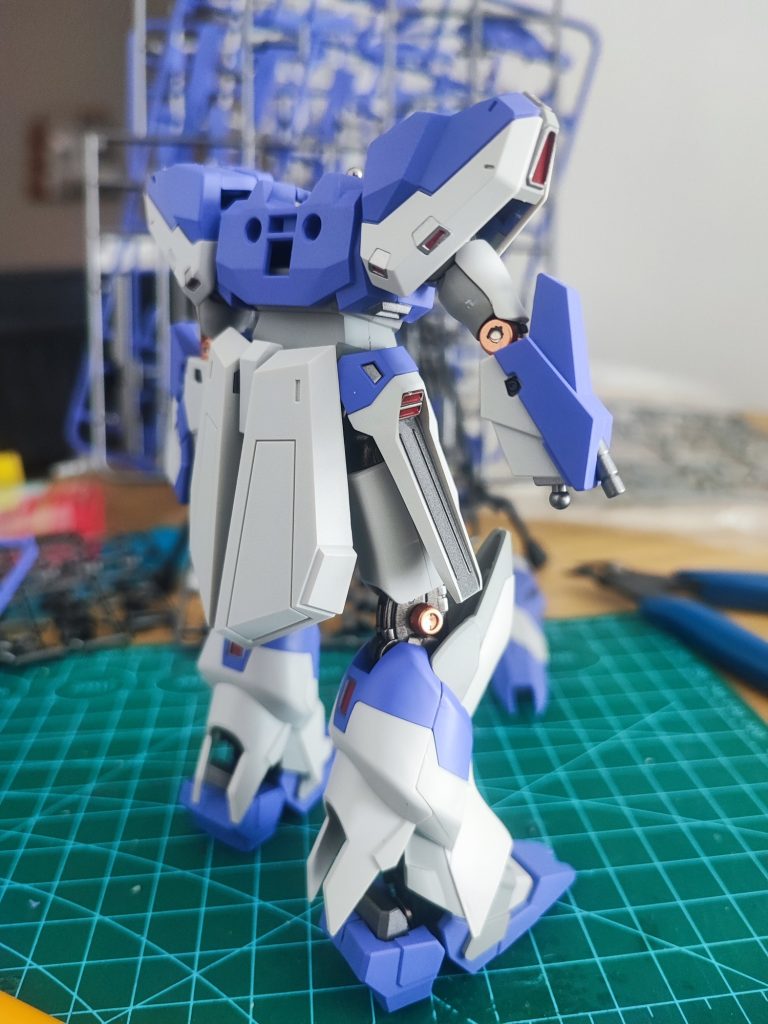
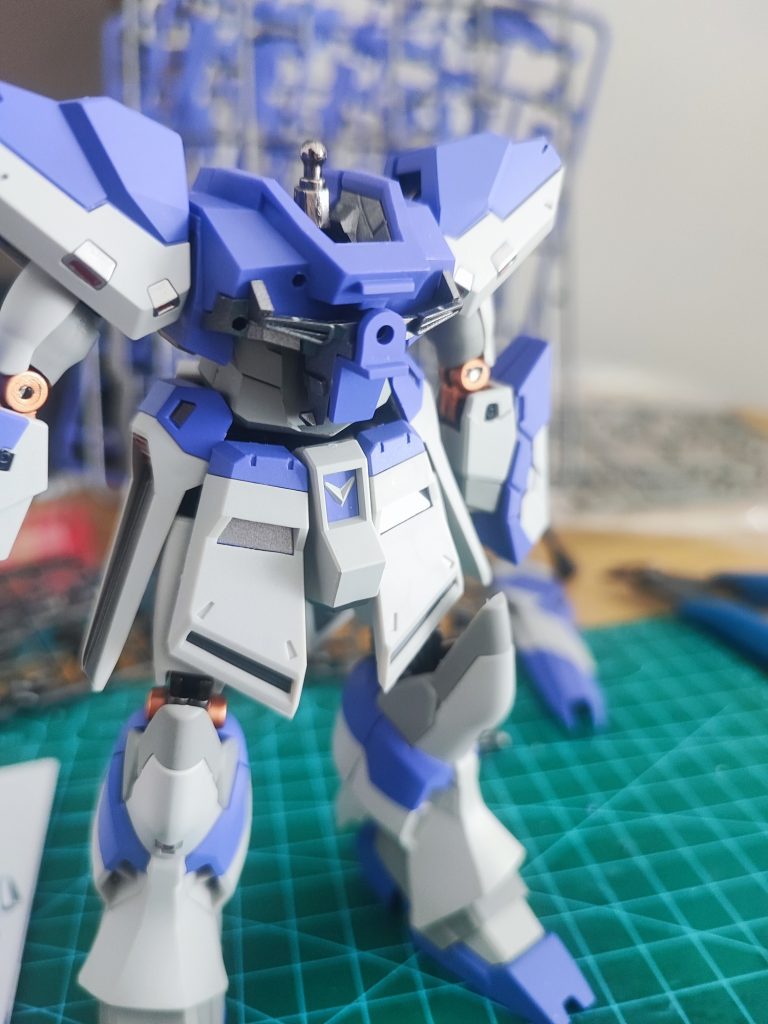
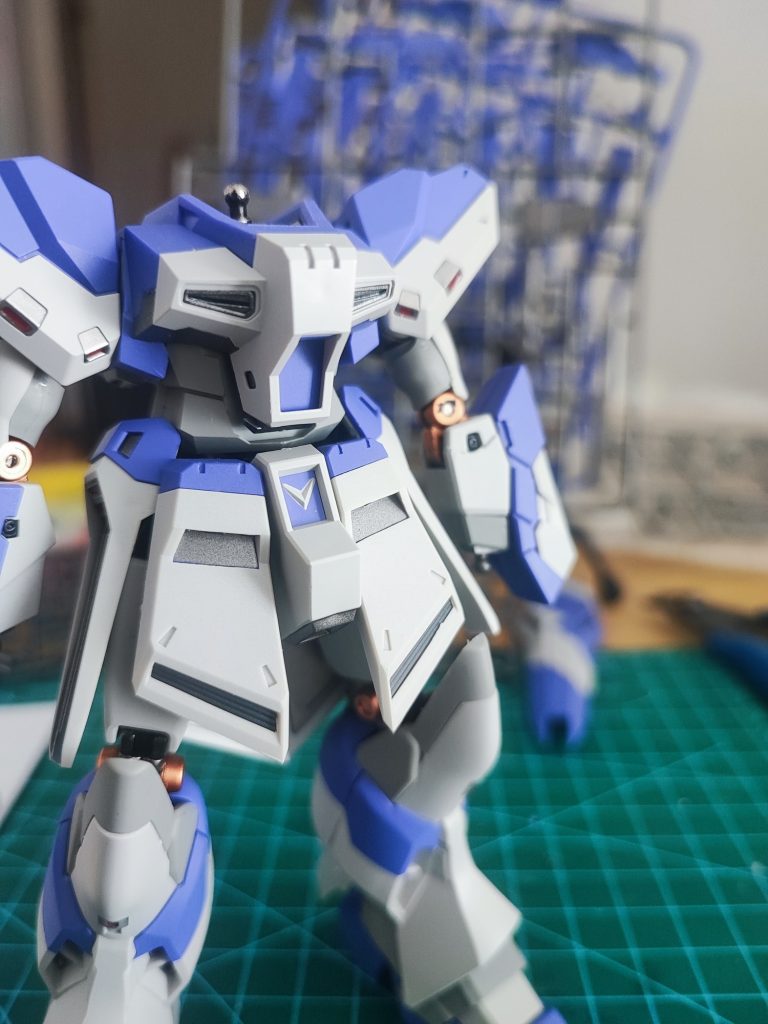
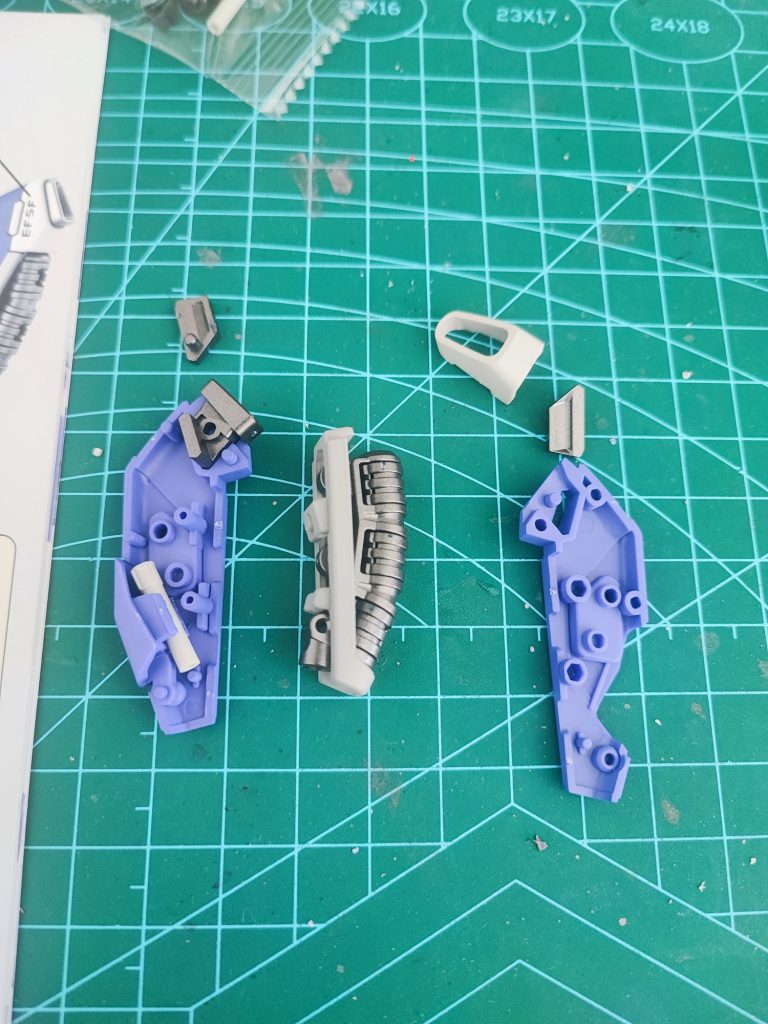
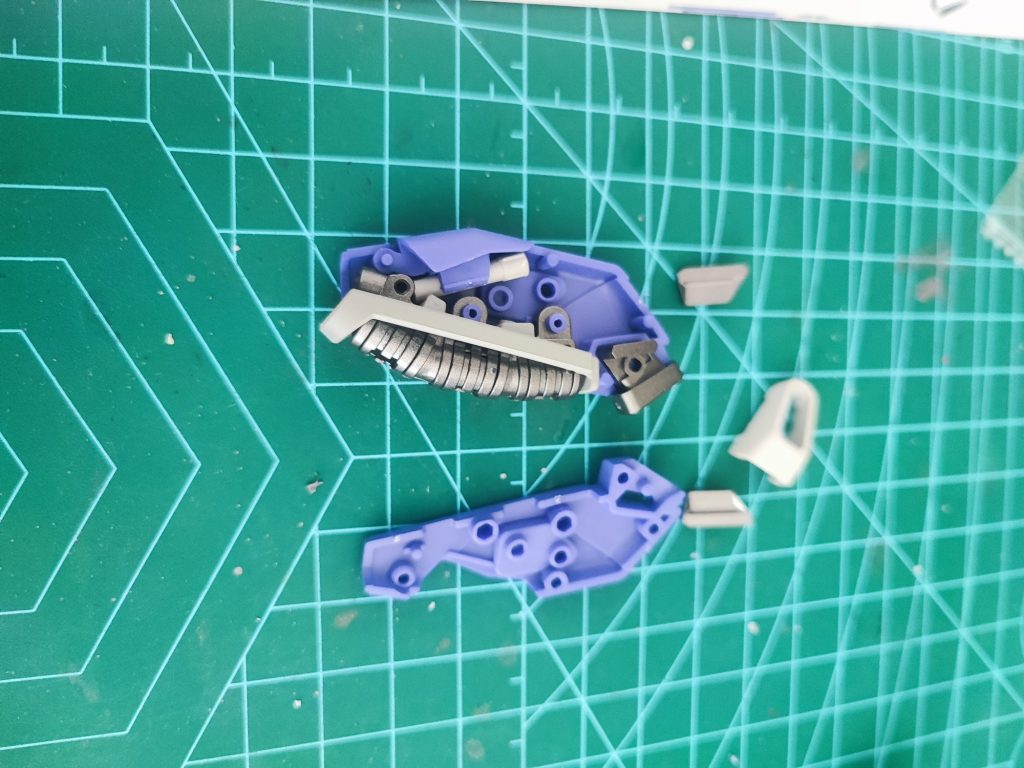
Assembling of KMR Hi Nu is not for beginner modellers, some of the parts requires creative attachment and may require some sanding. During my build I did not sand and none of the parts has any visible stress marks.
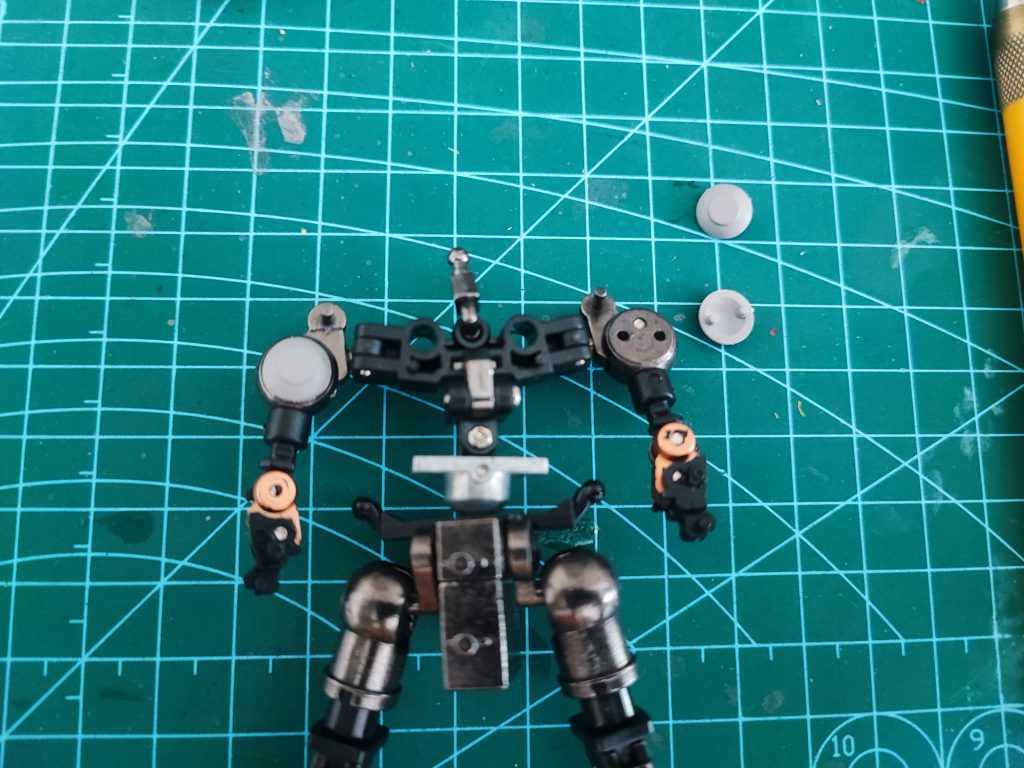
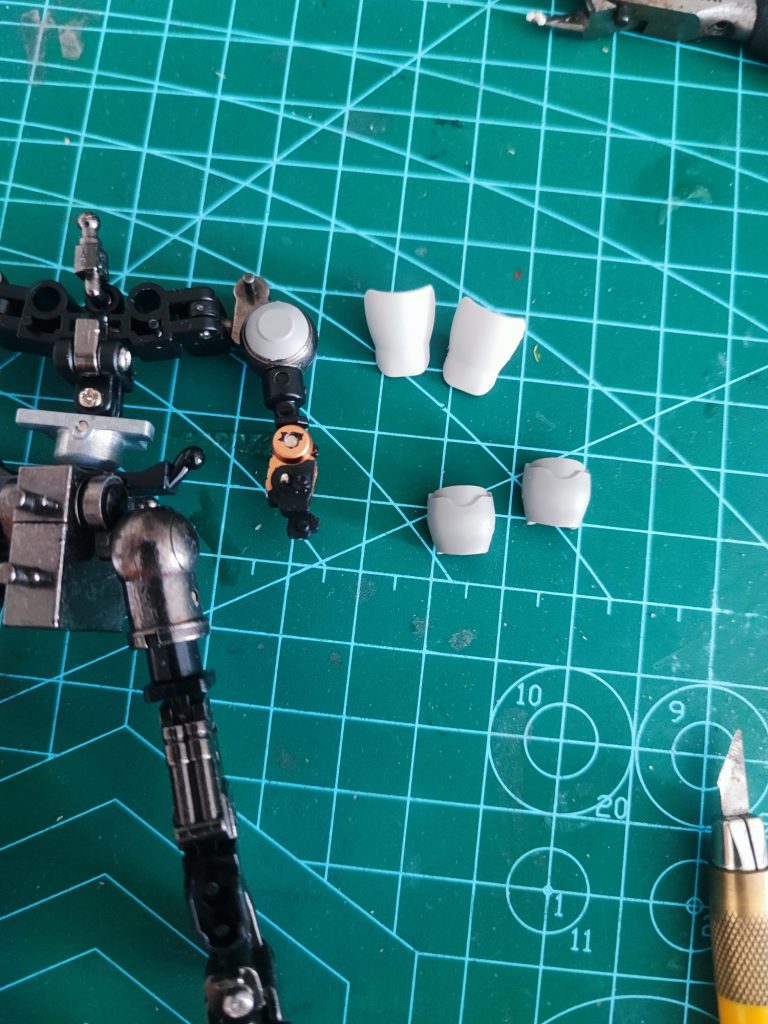
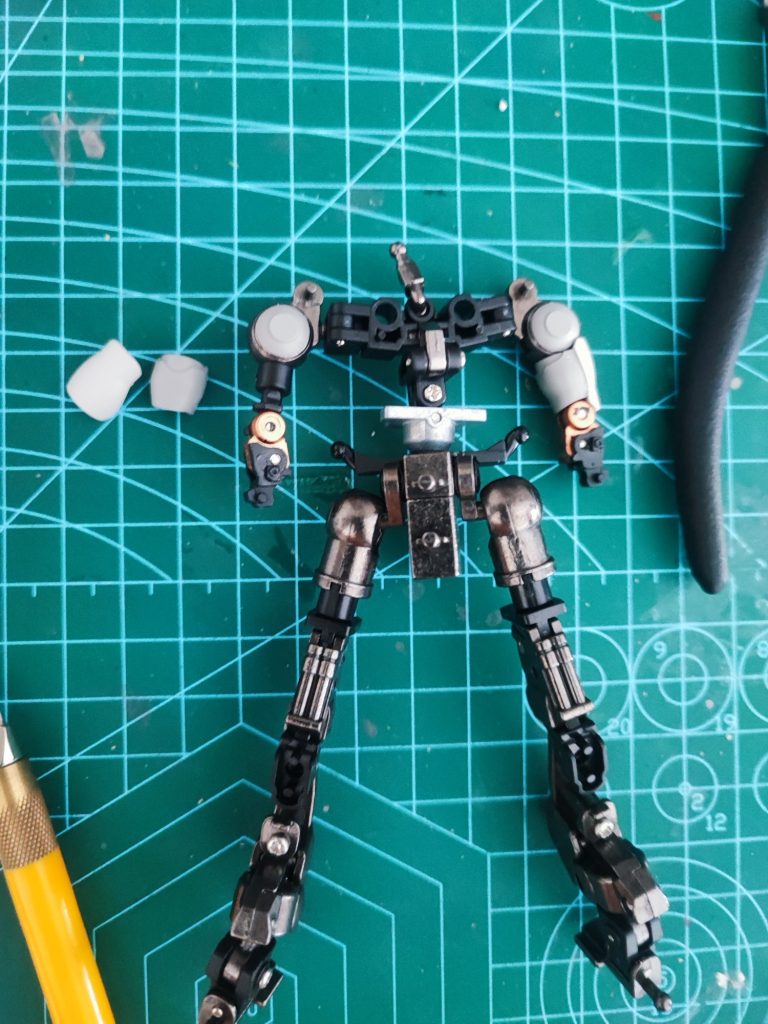
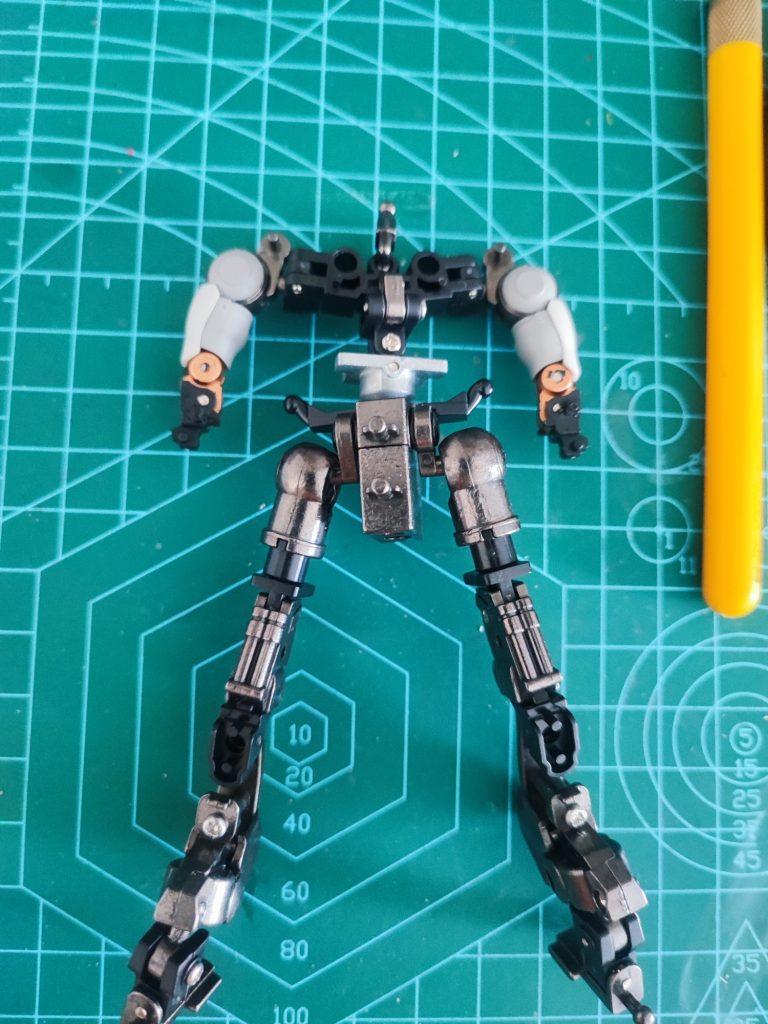
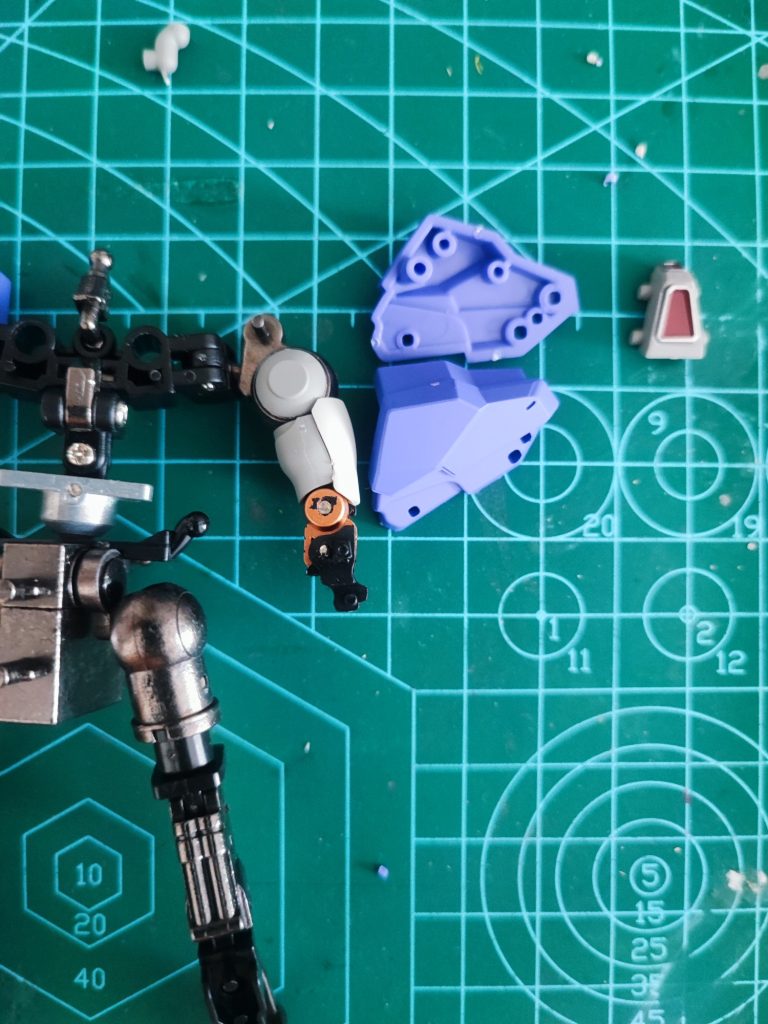
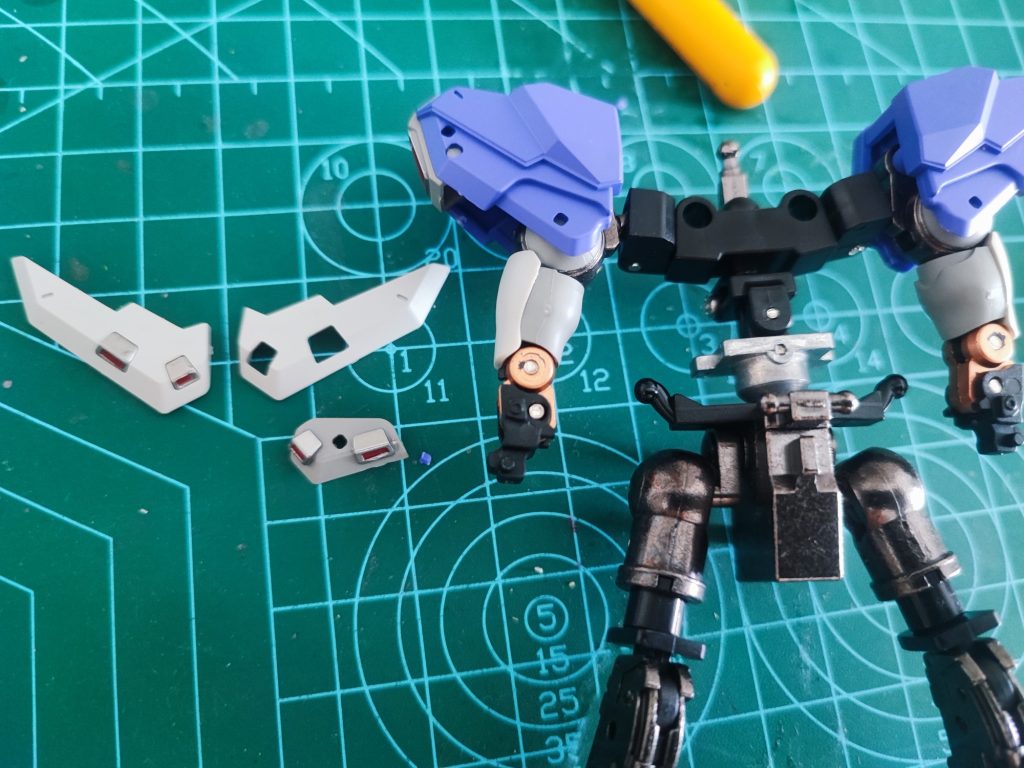
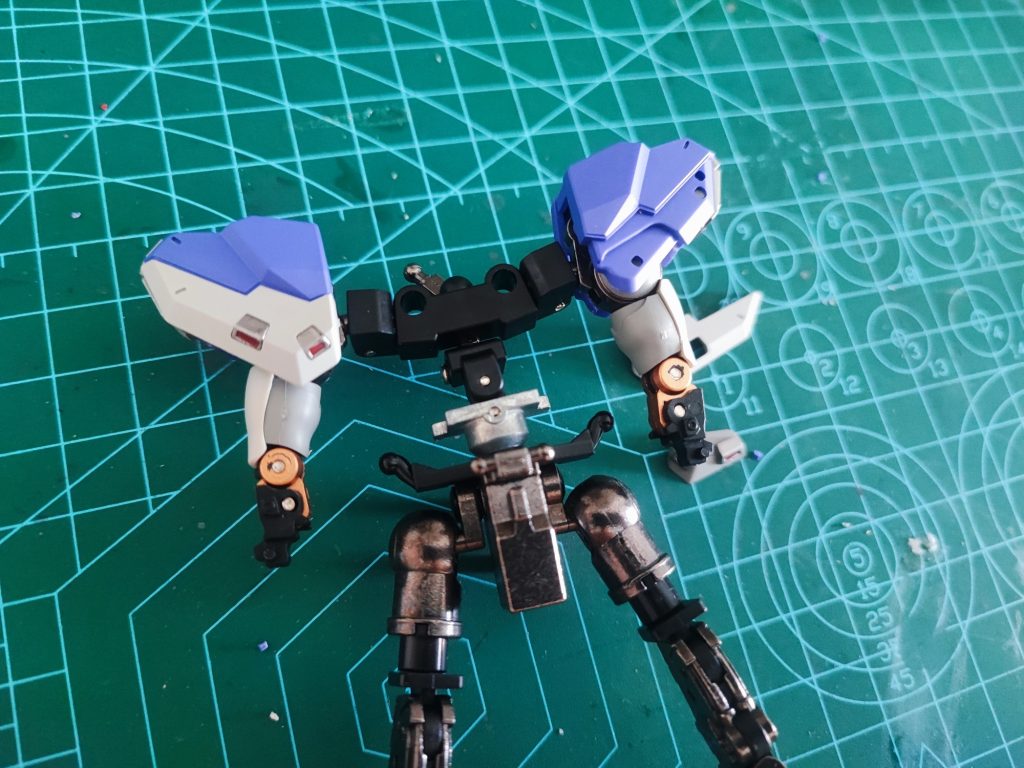
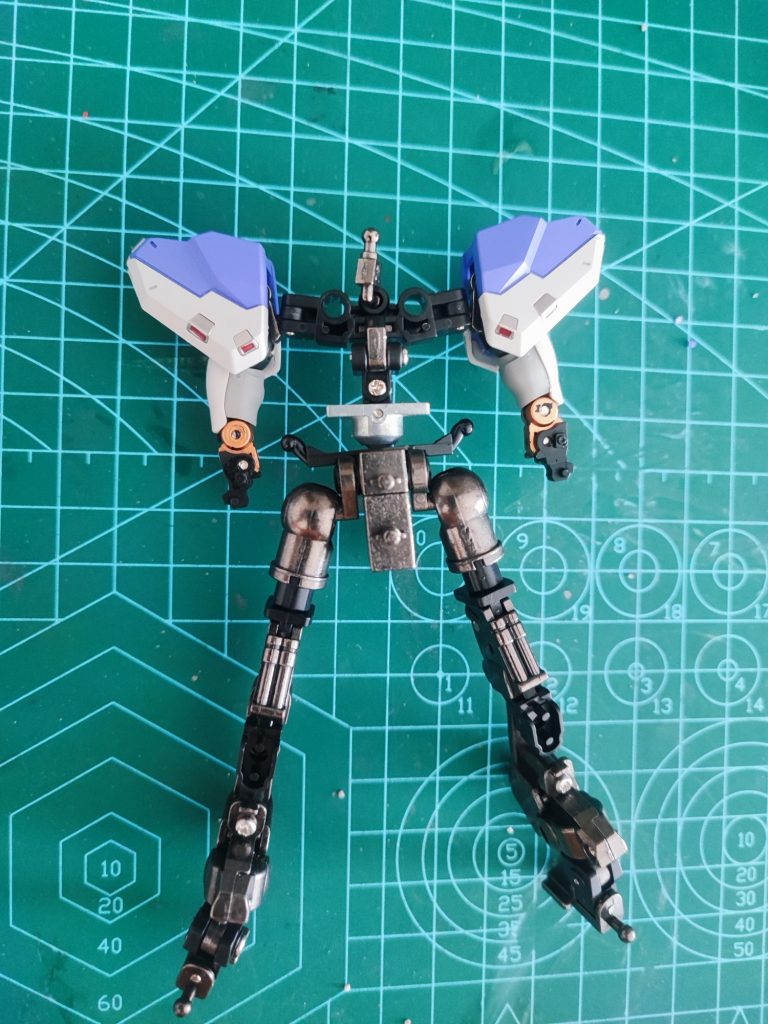
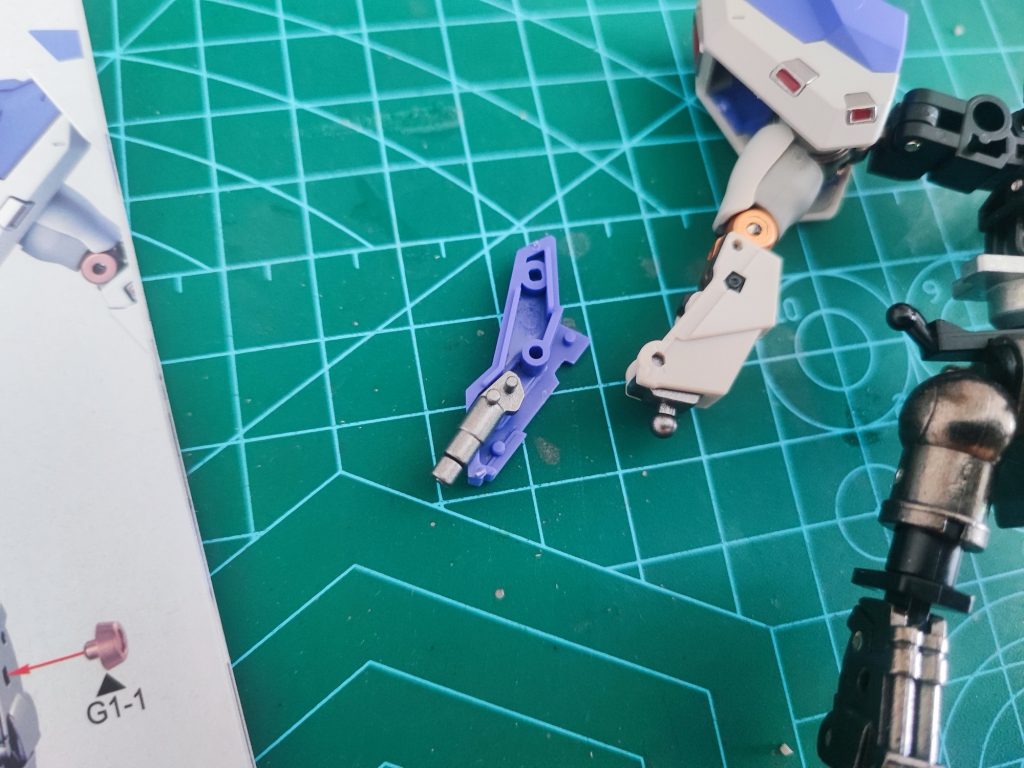
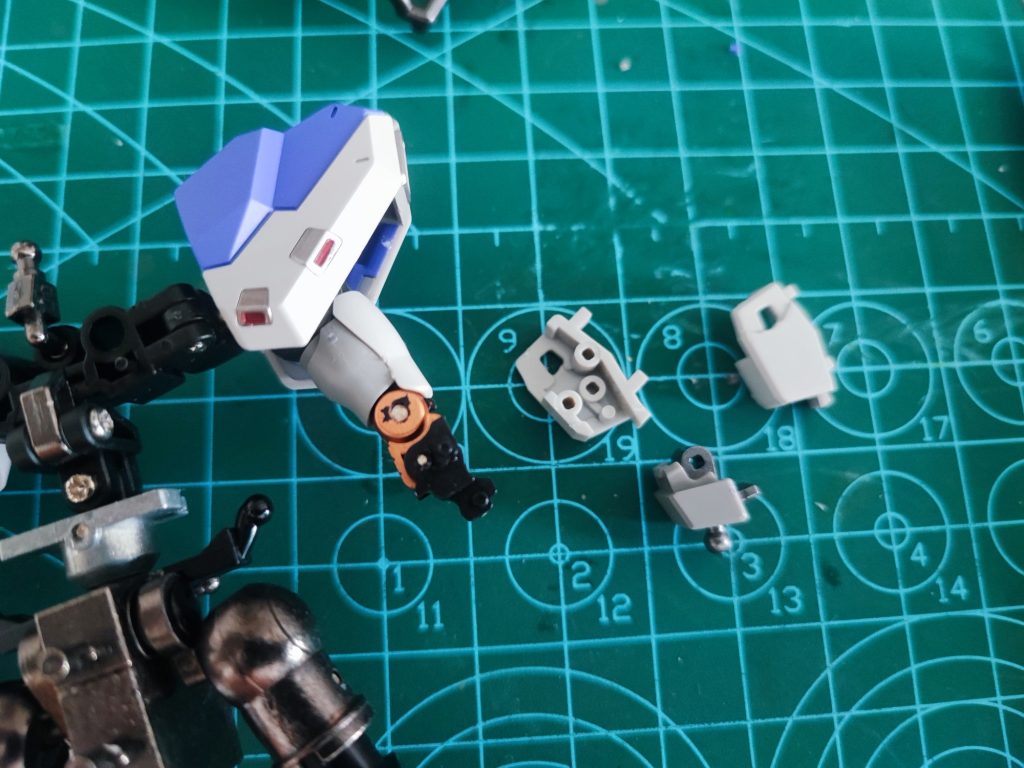
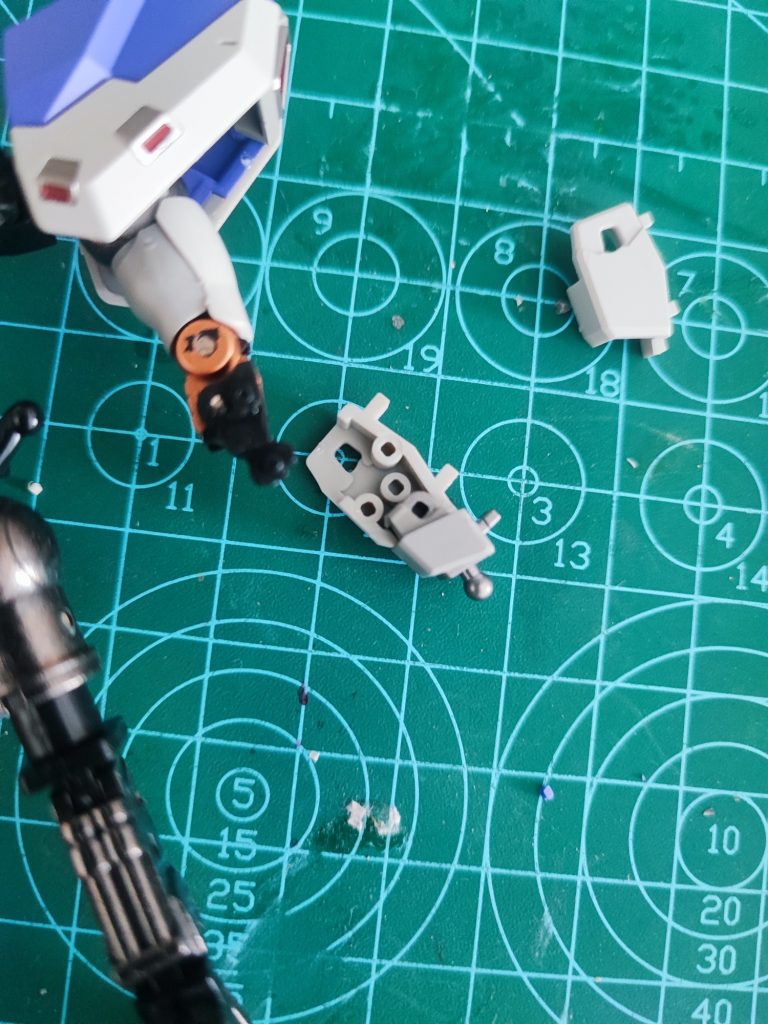
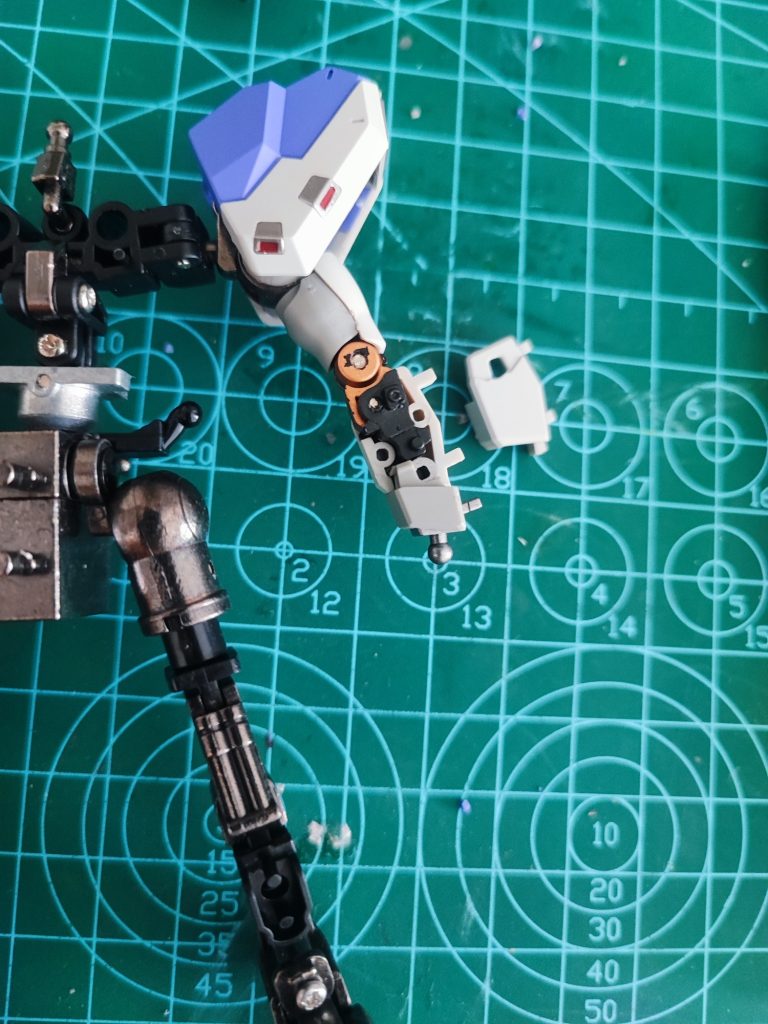
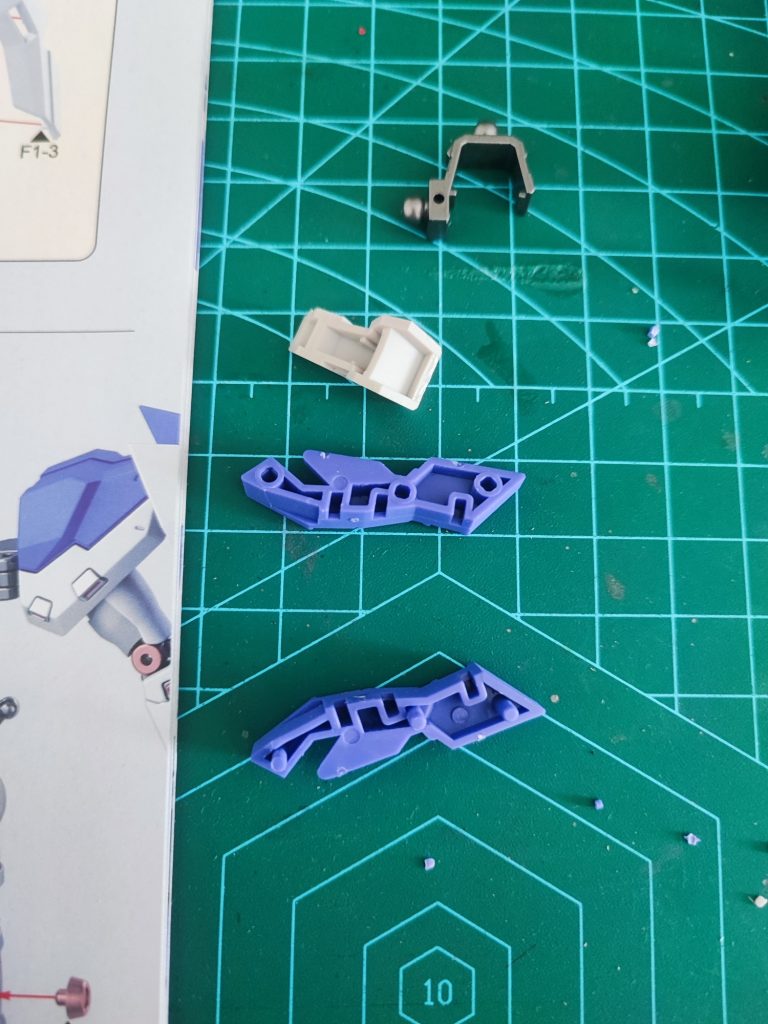
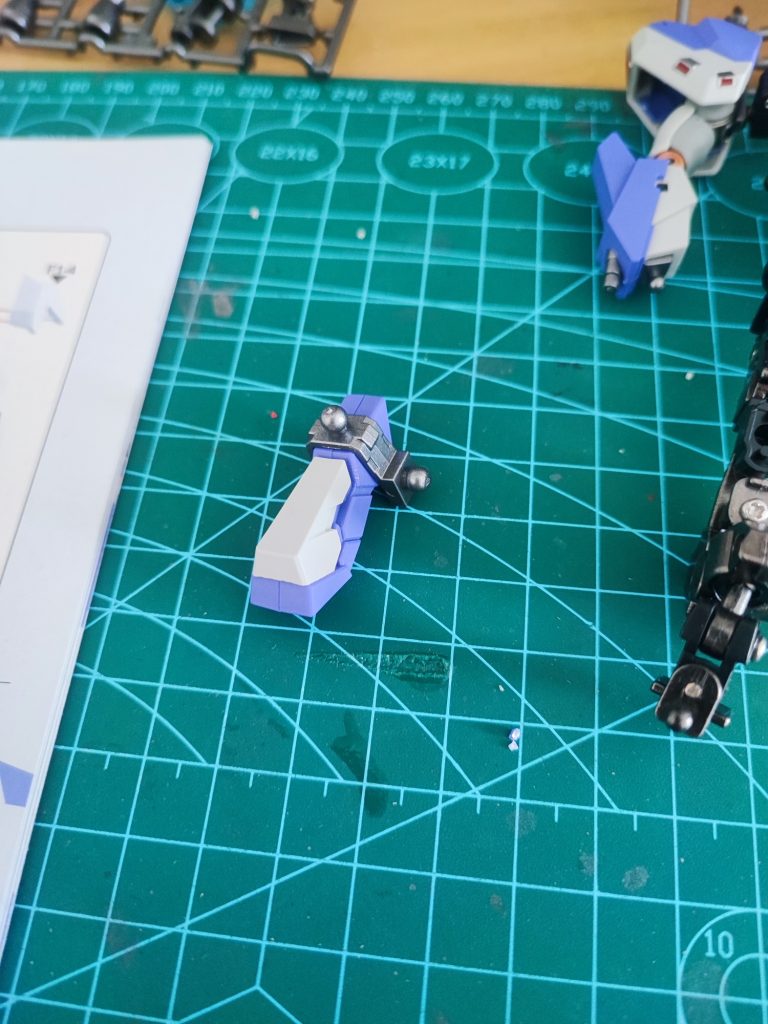
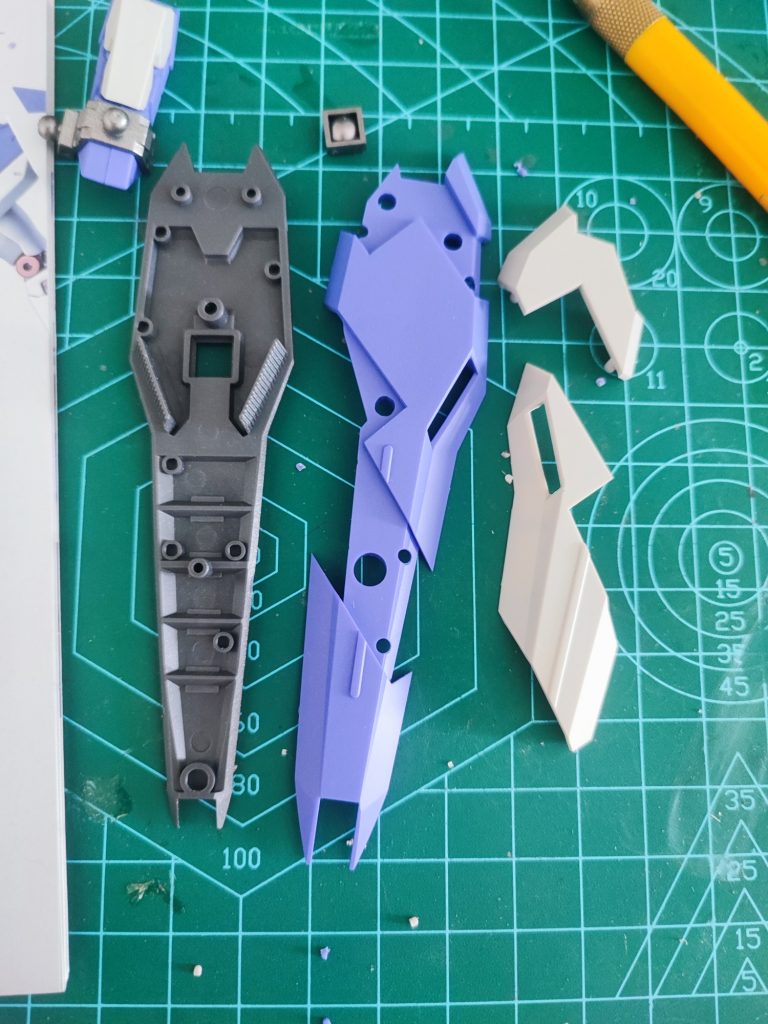
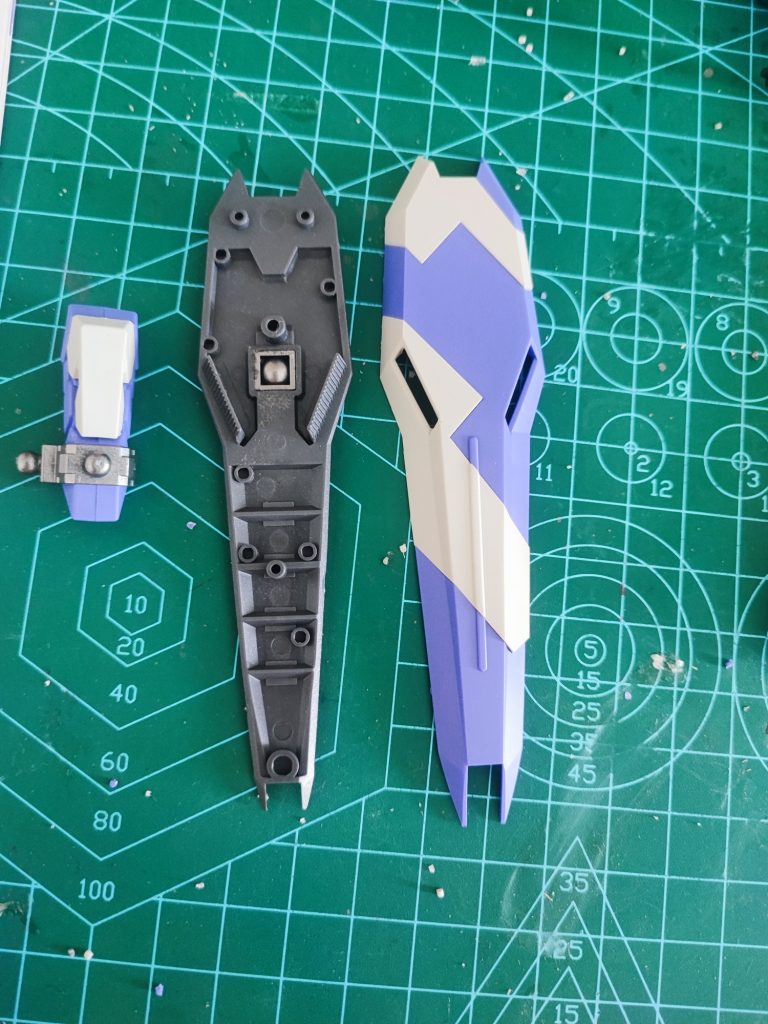
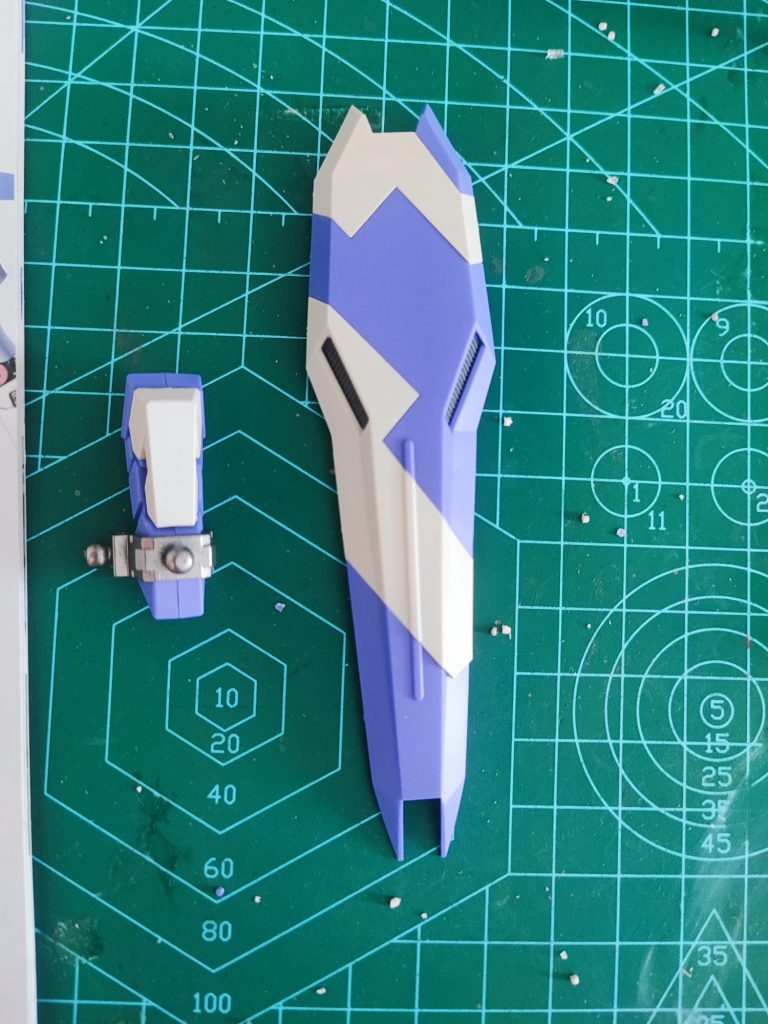
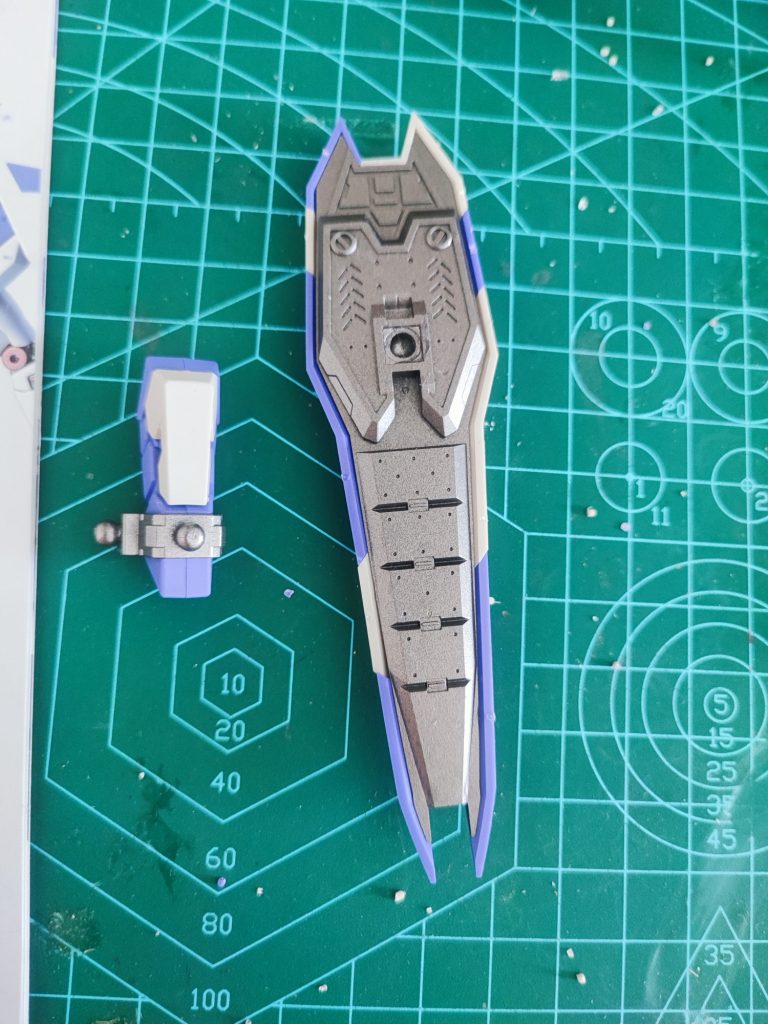
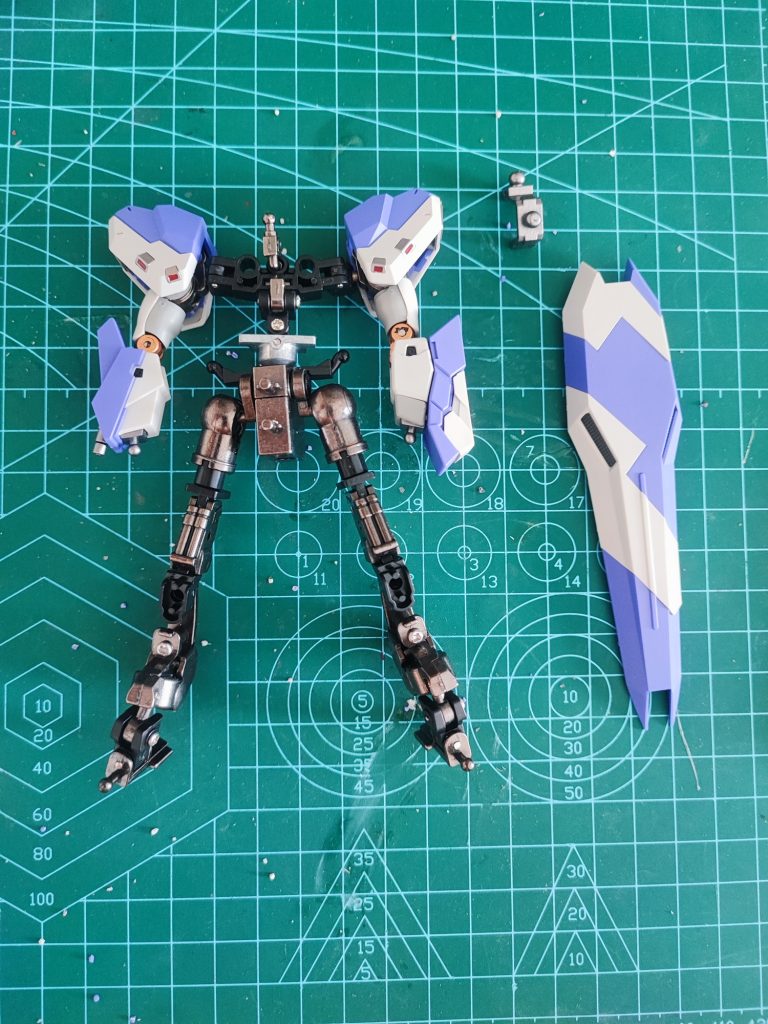
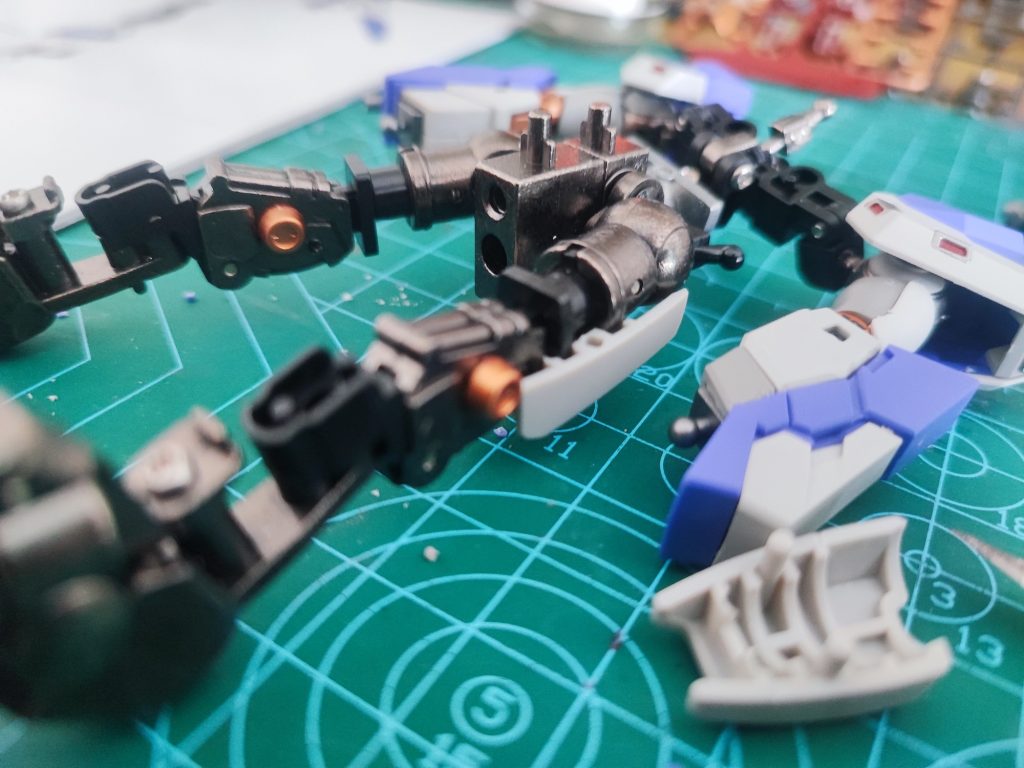
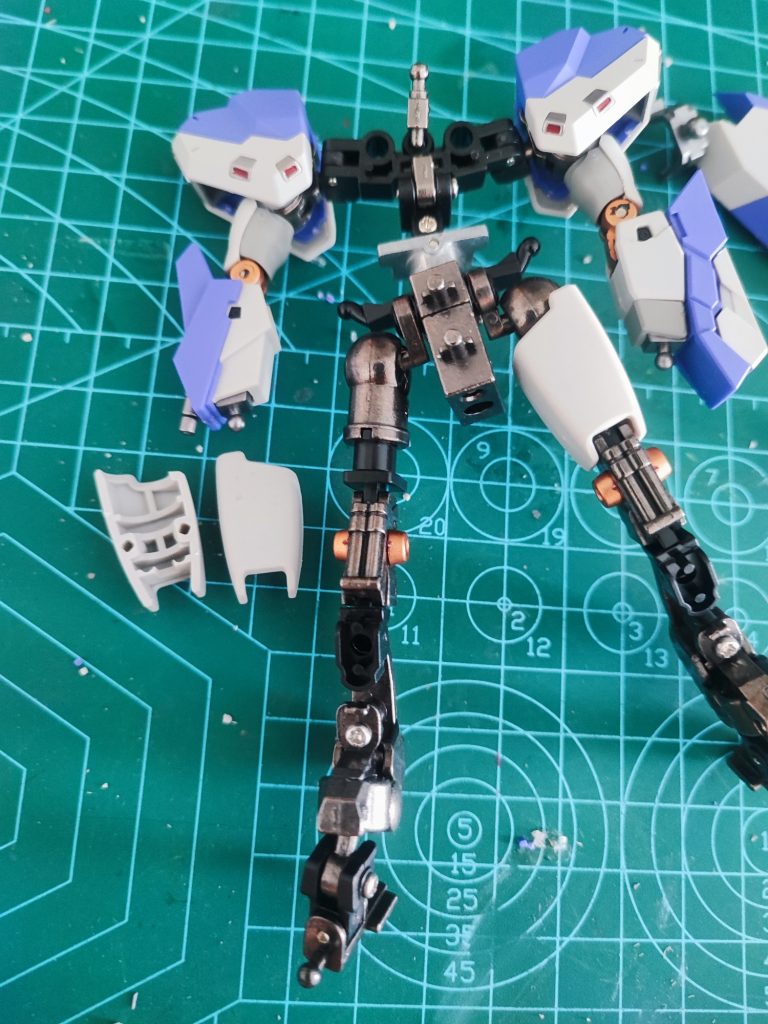
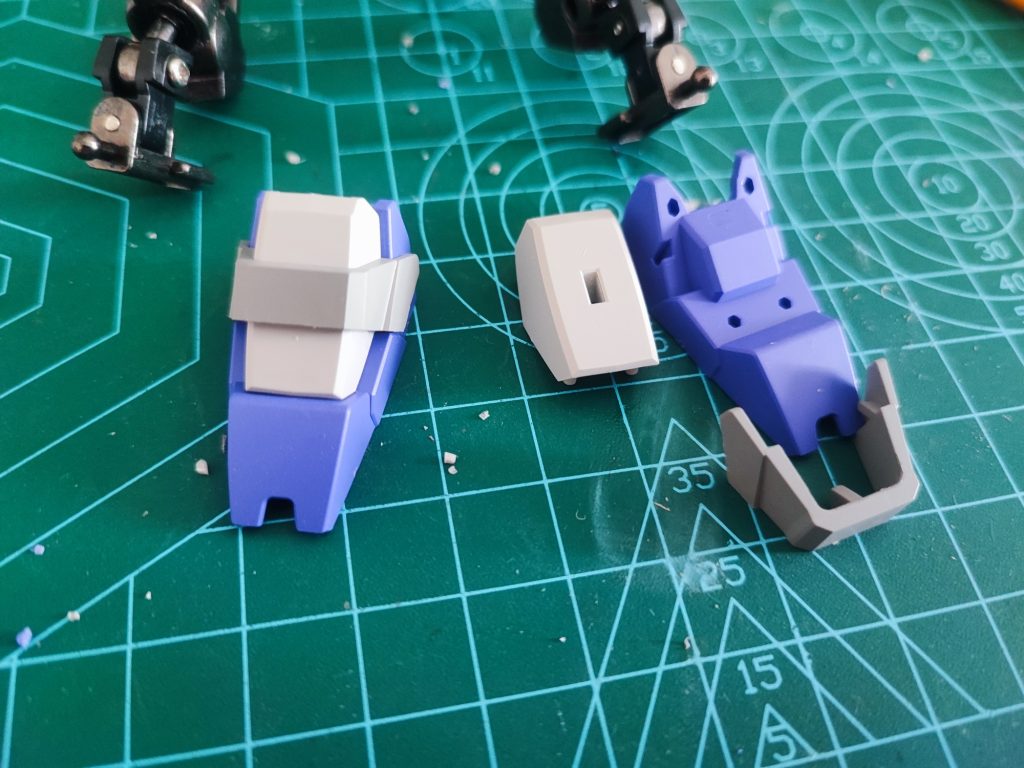
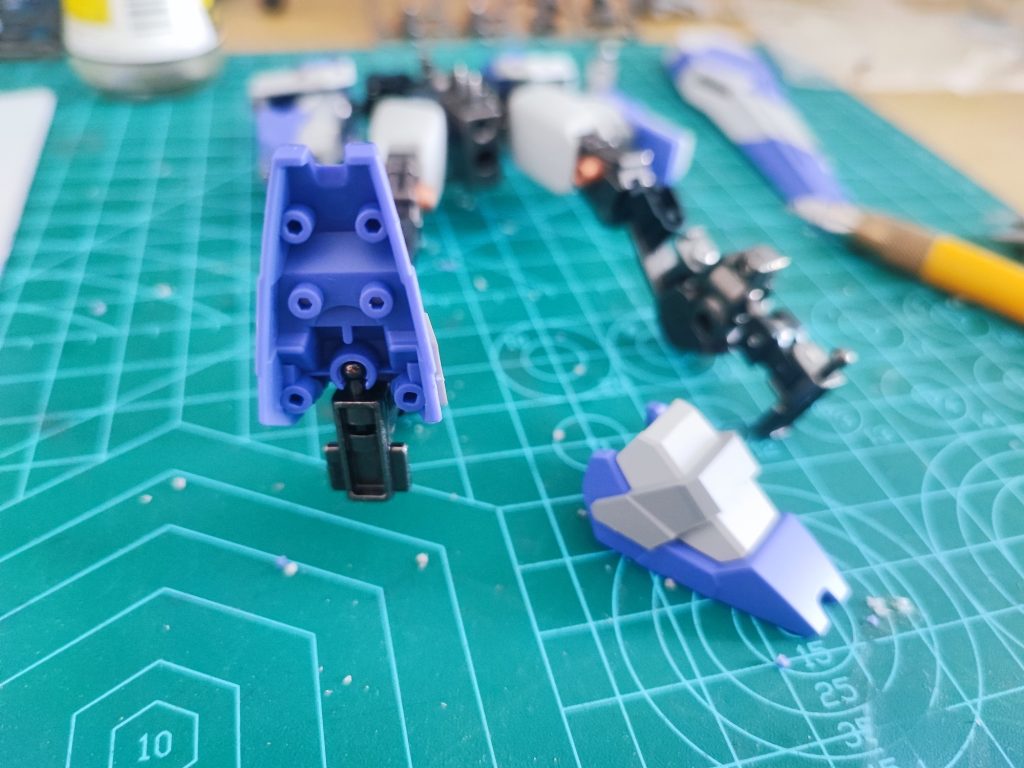
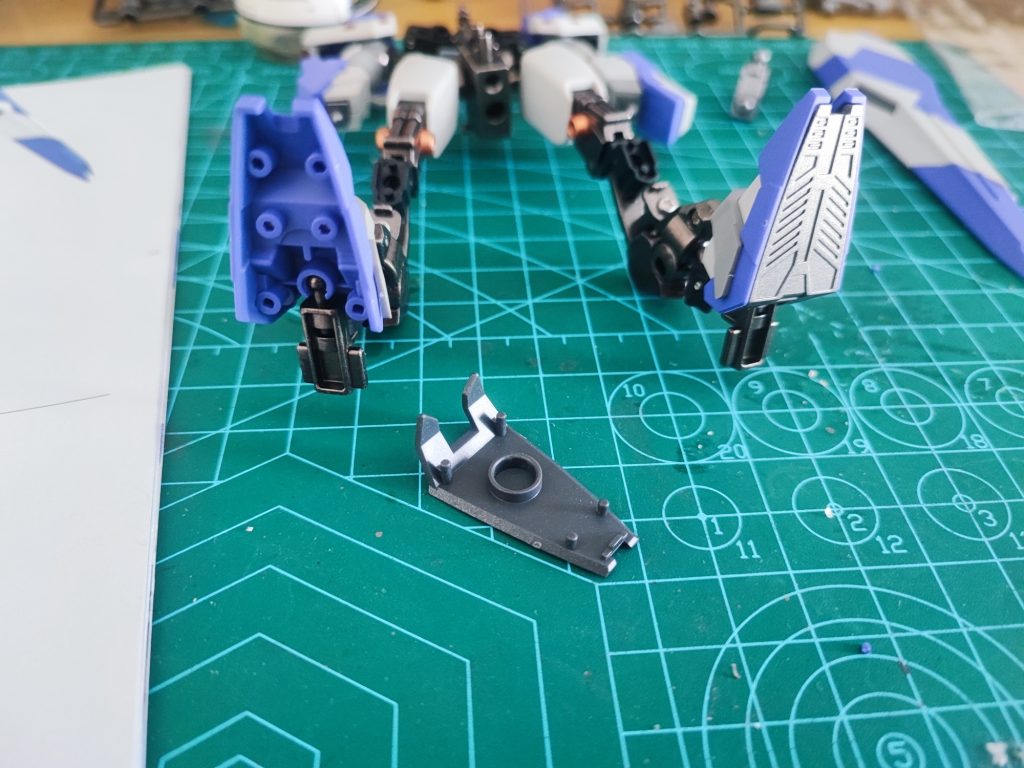
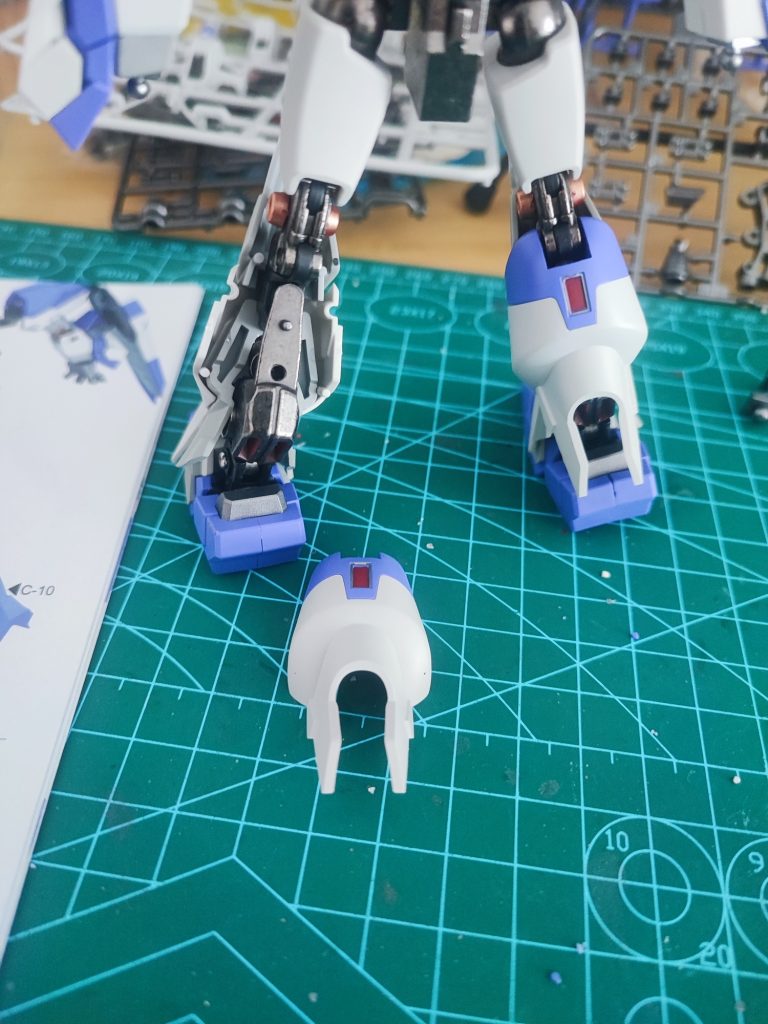
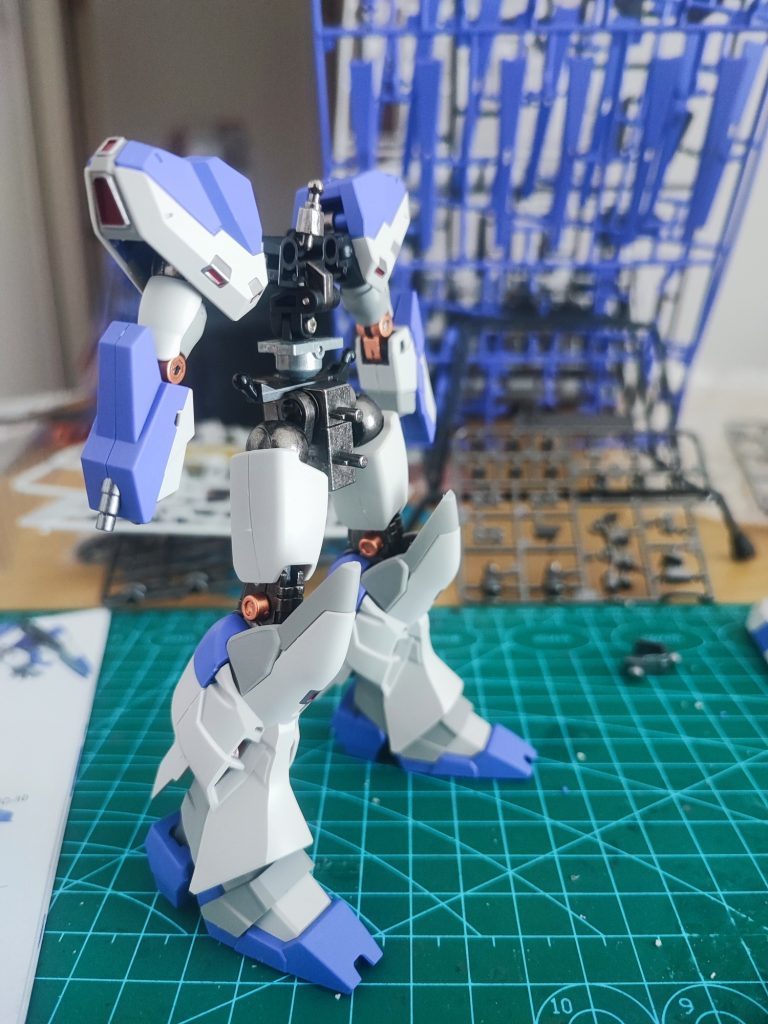
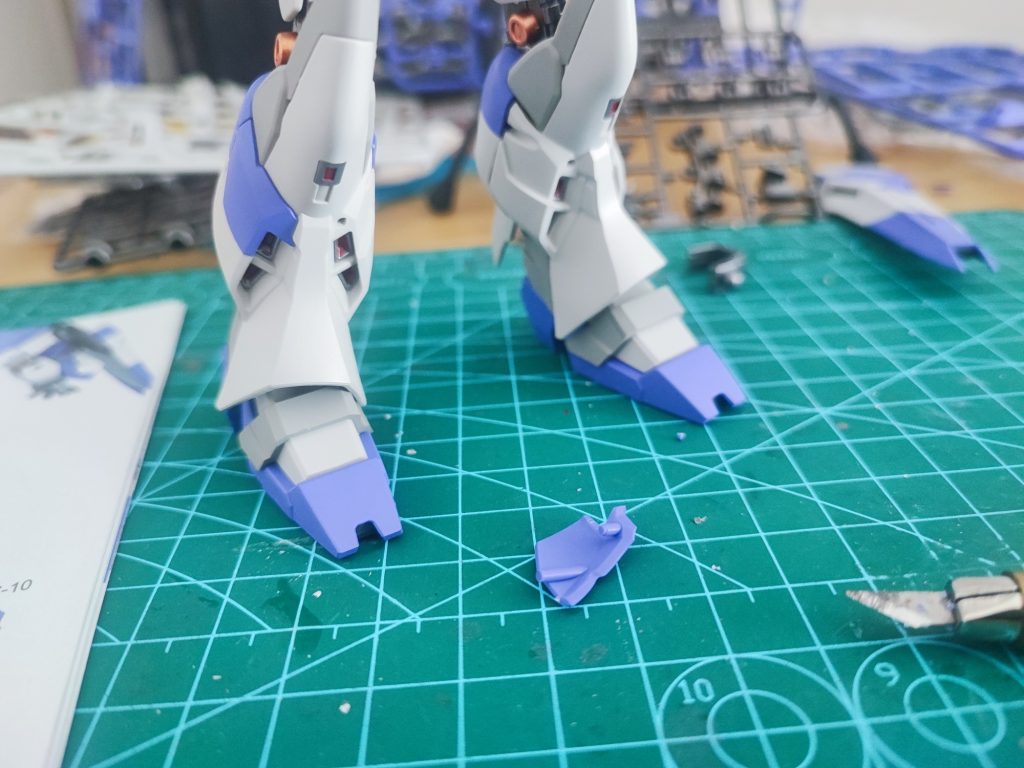
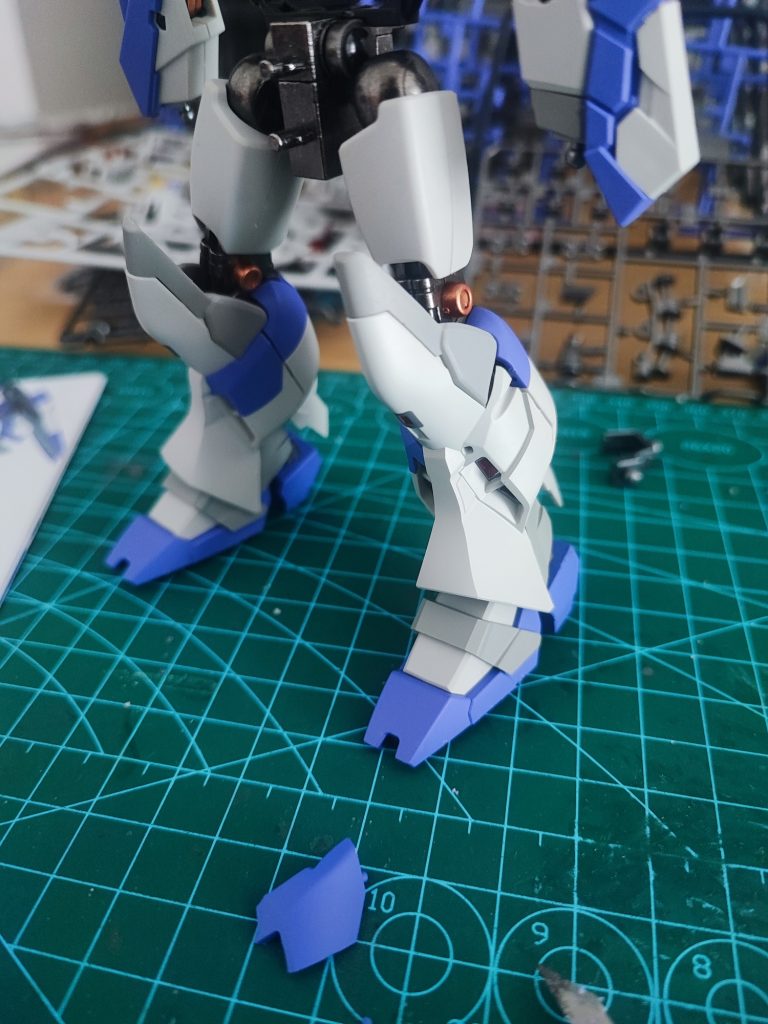
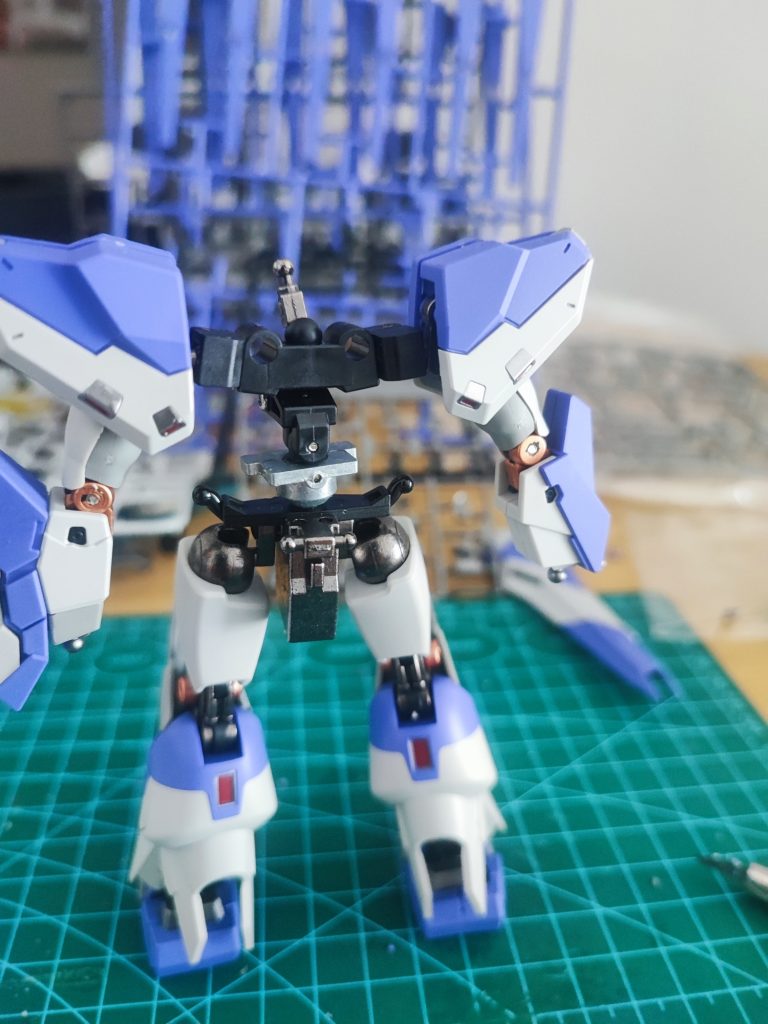
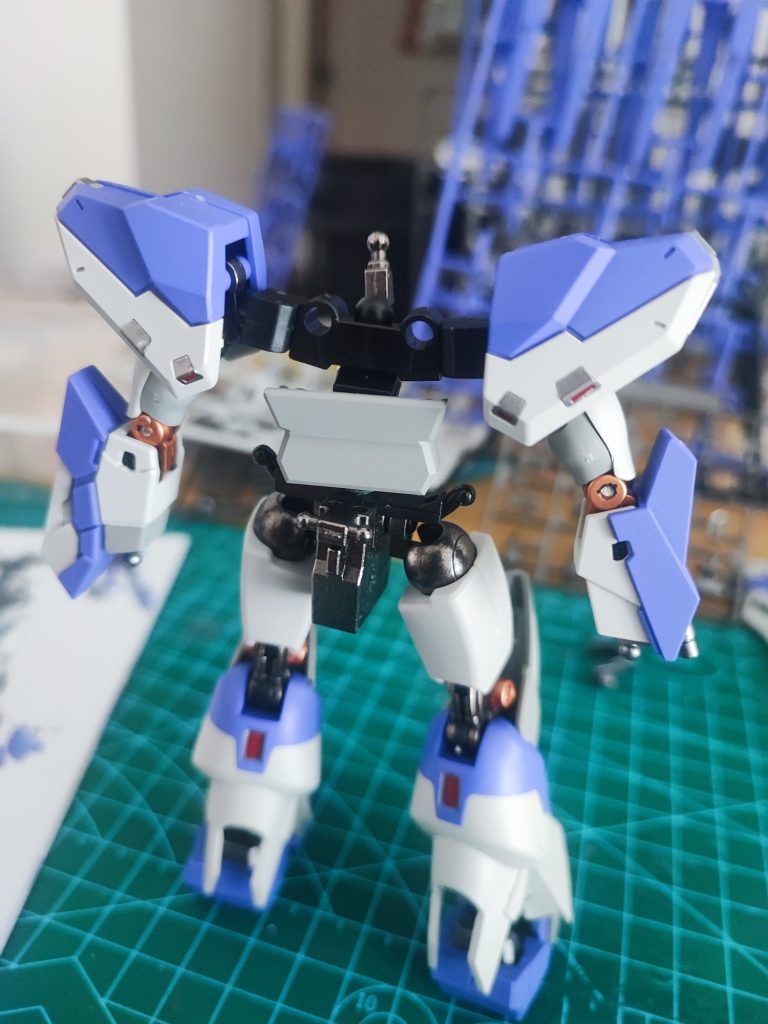
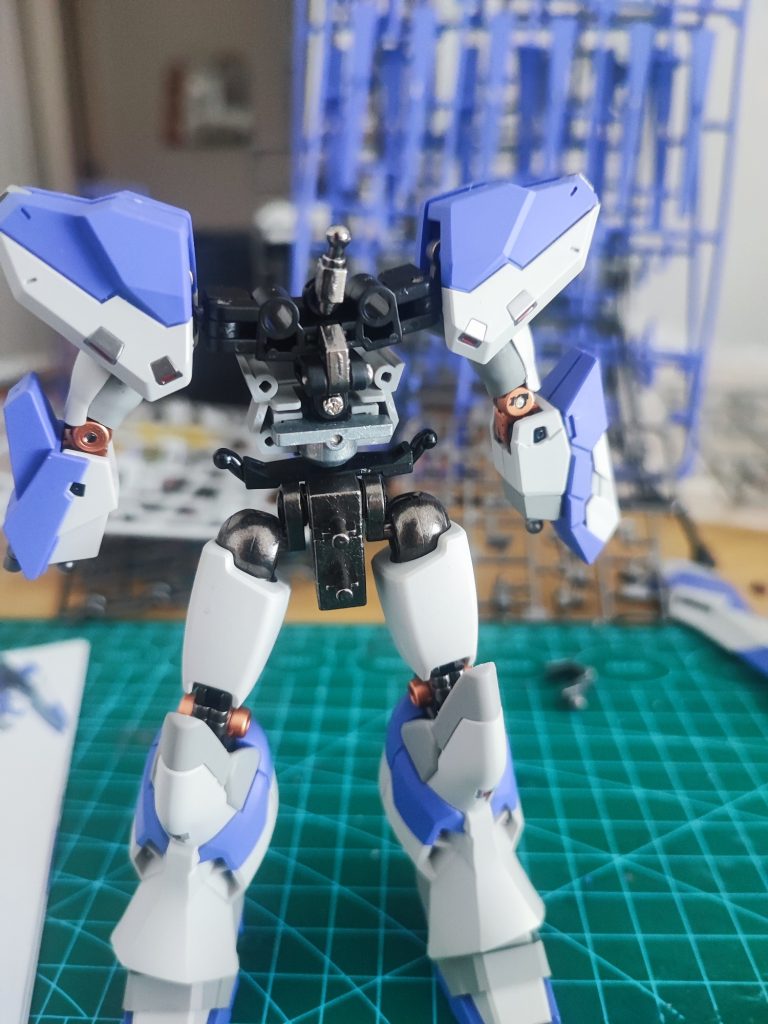
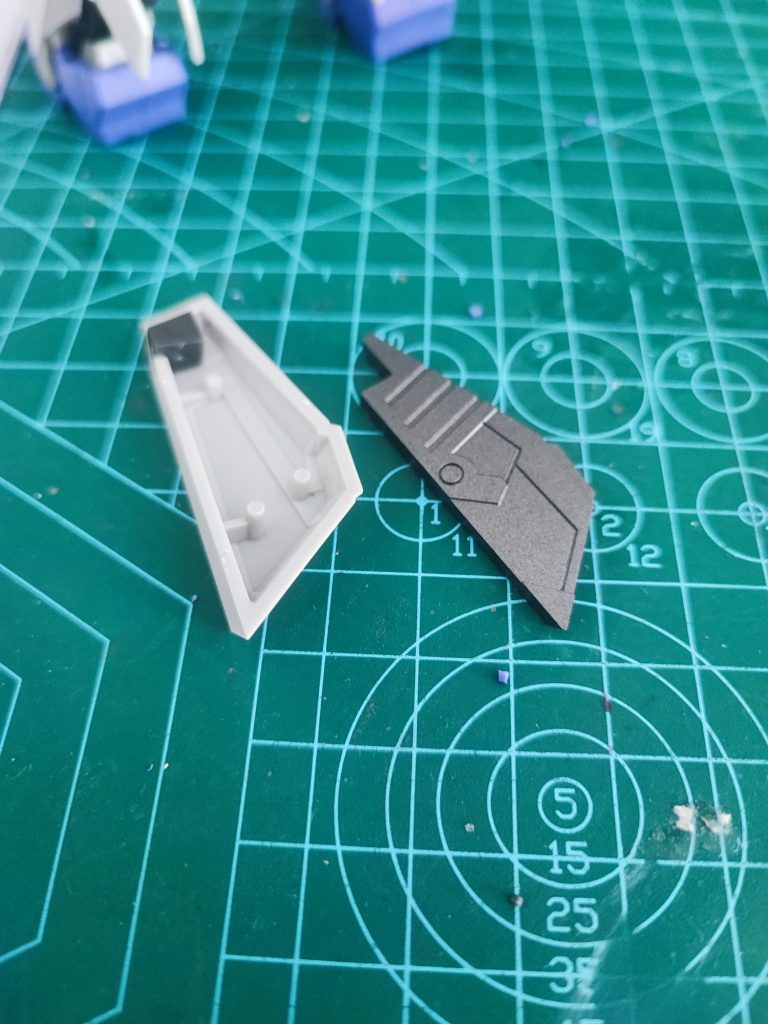
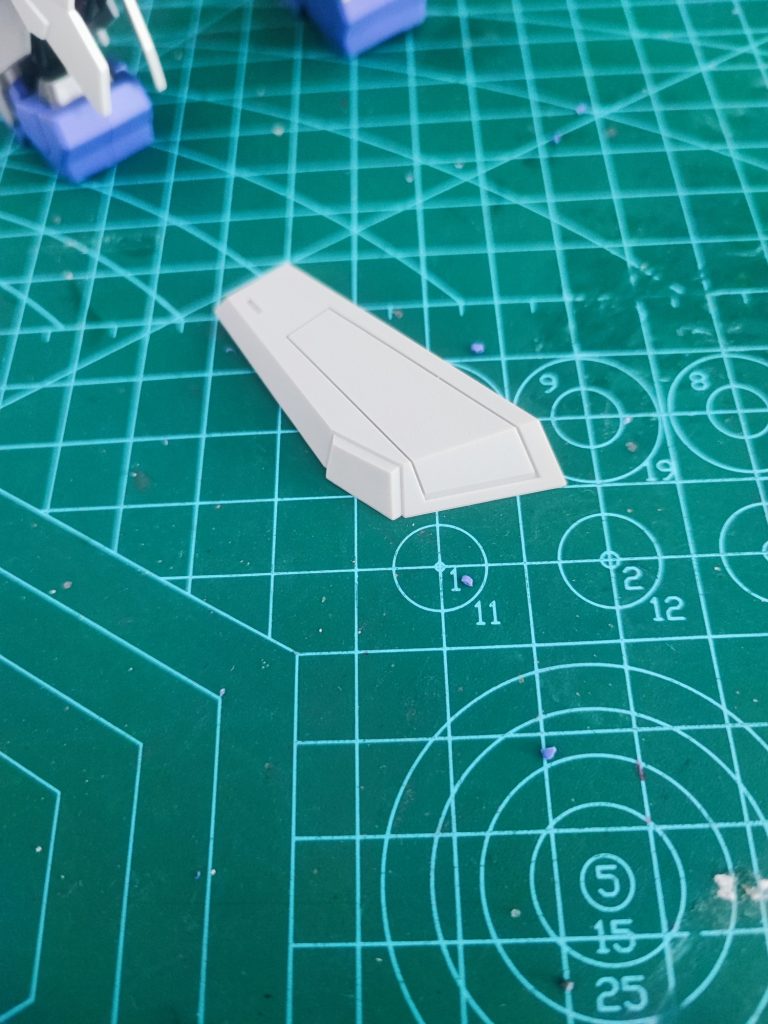
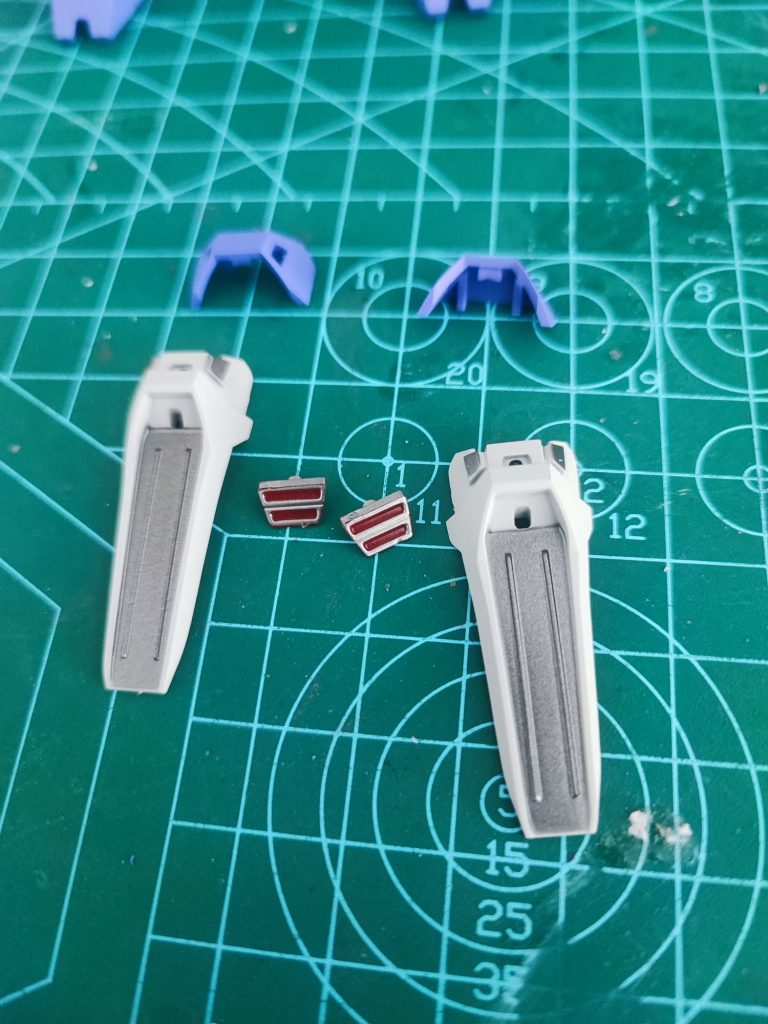
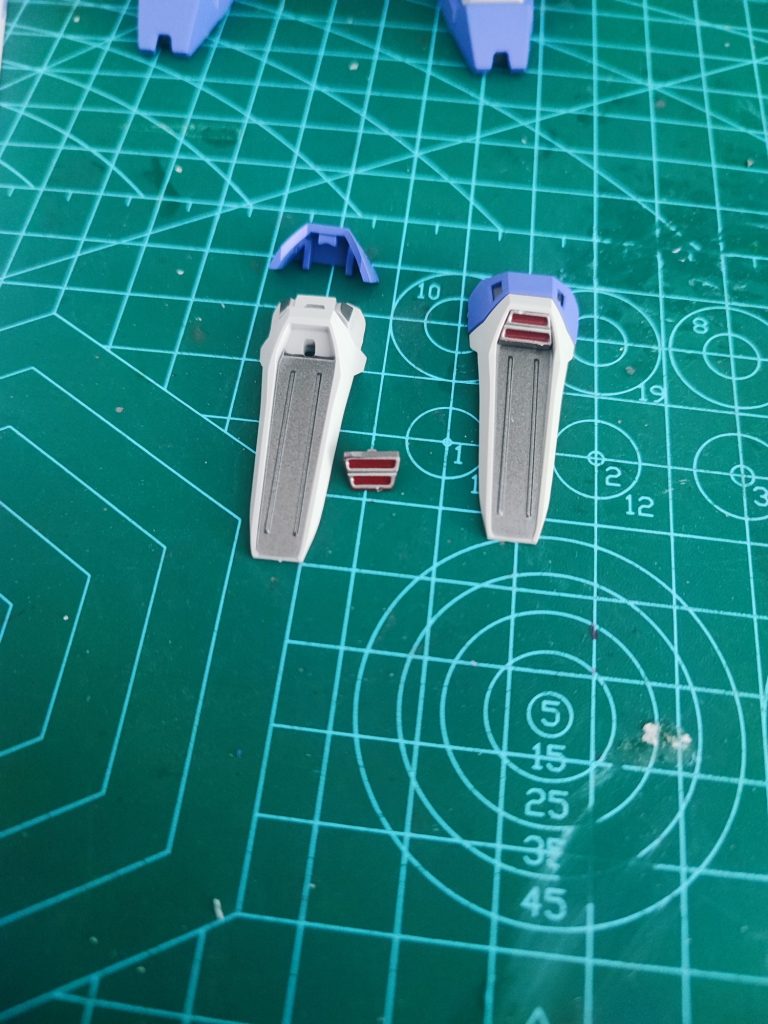
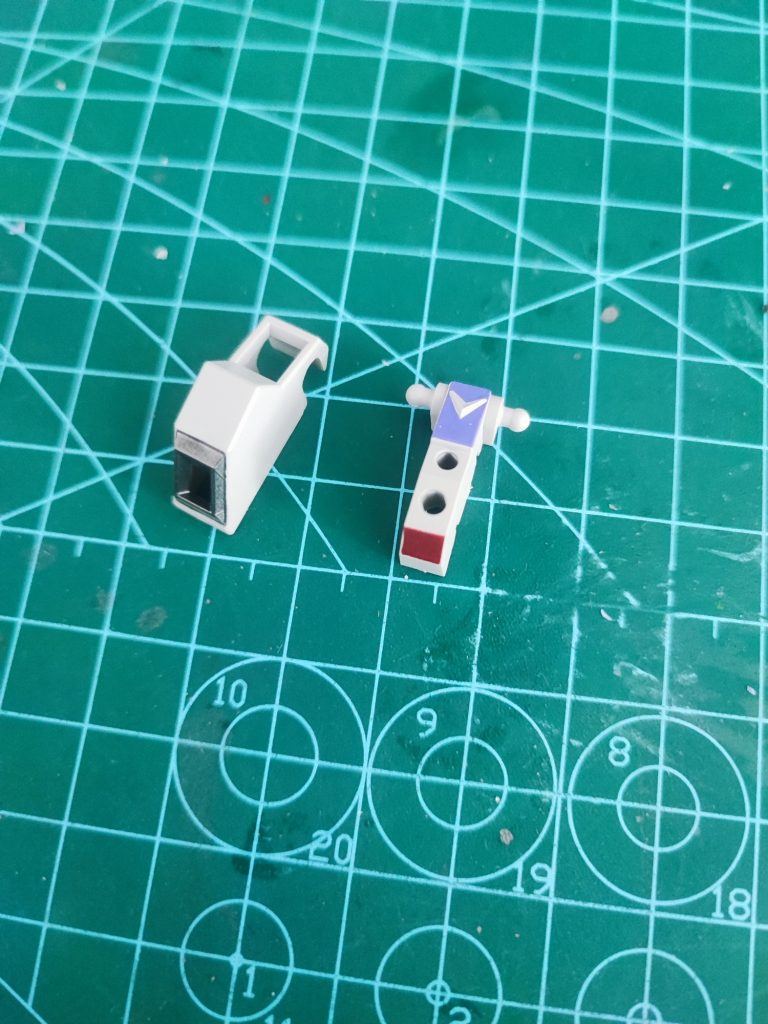
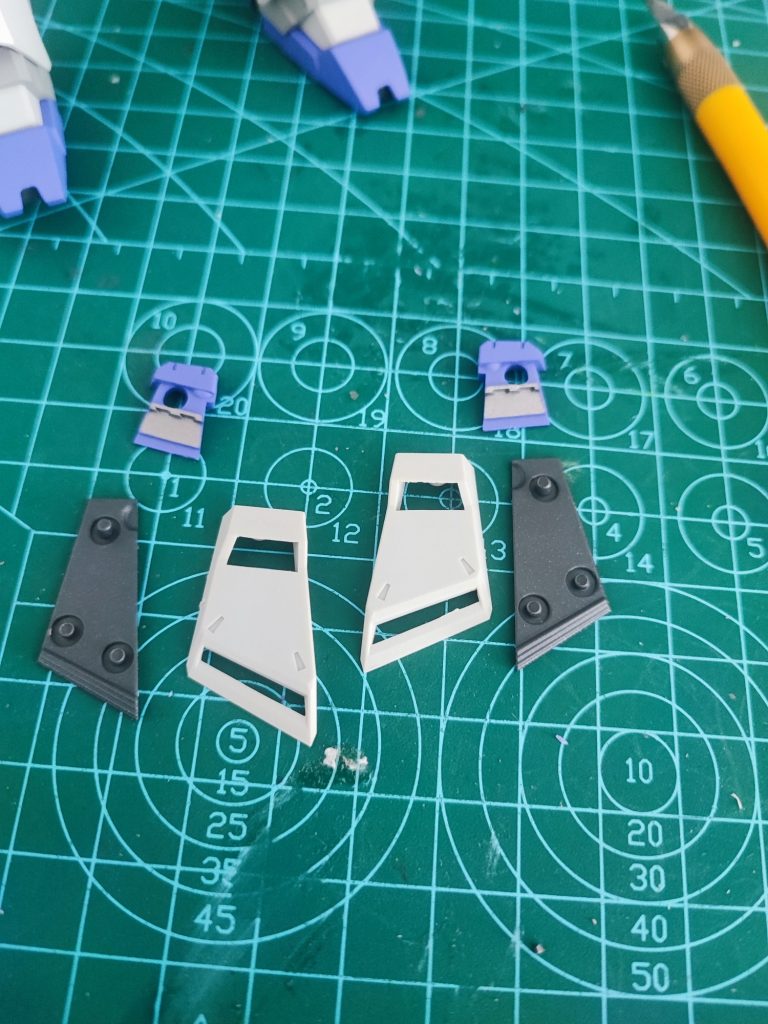
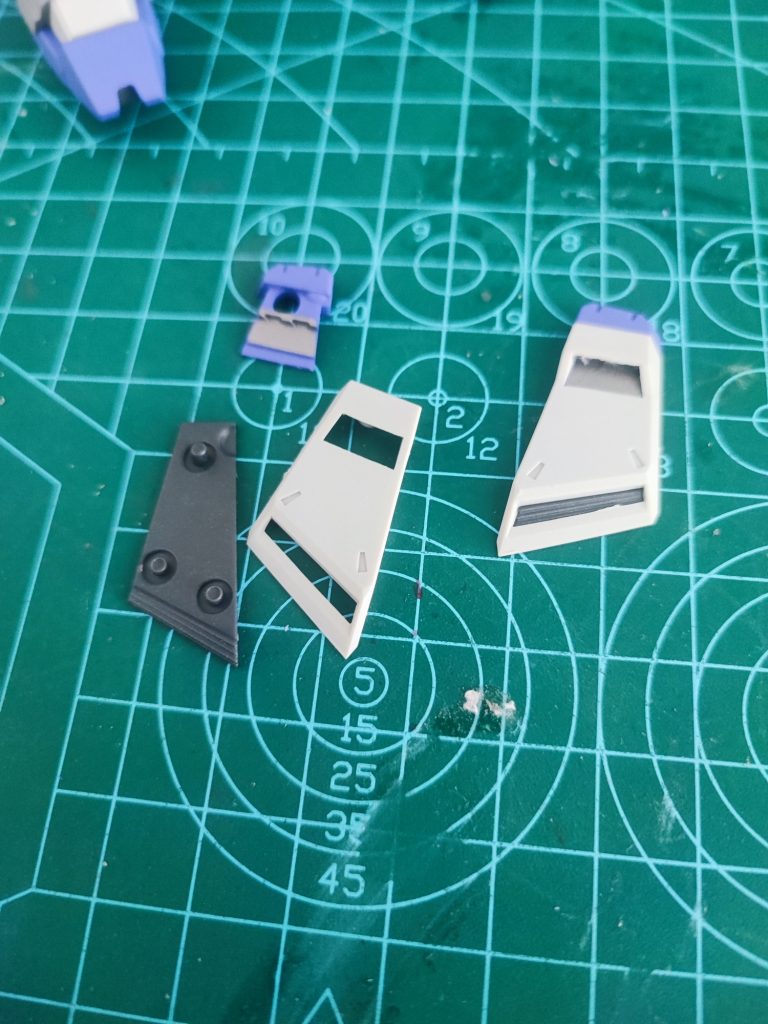
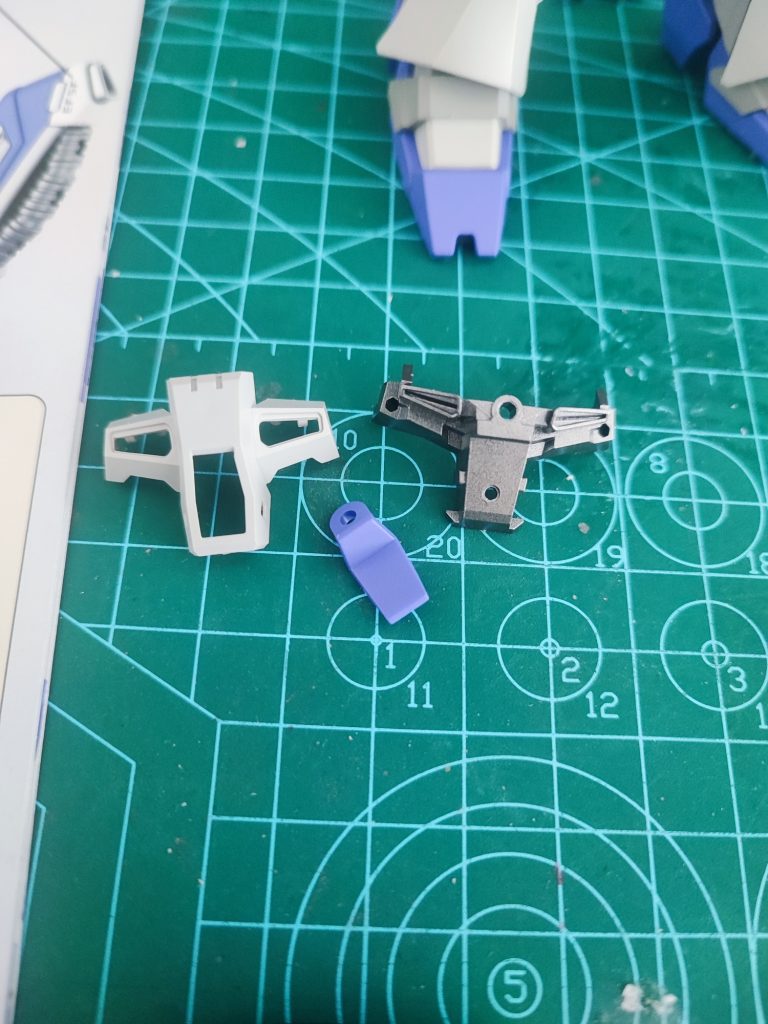
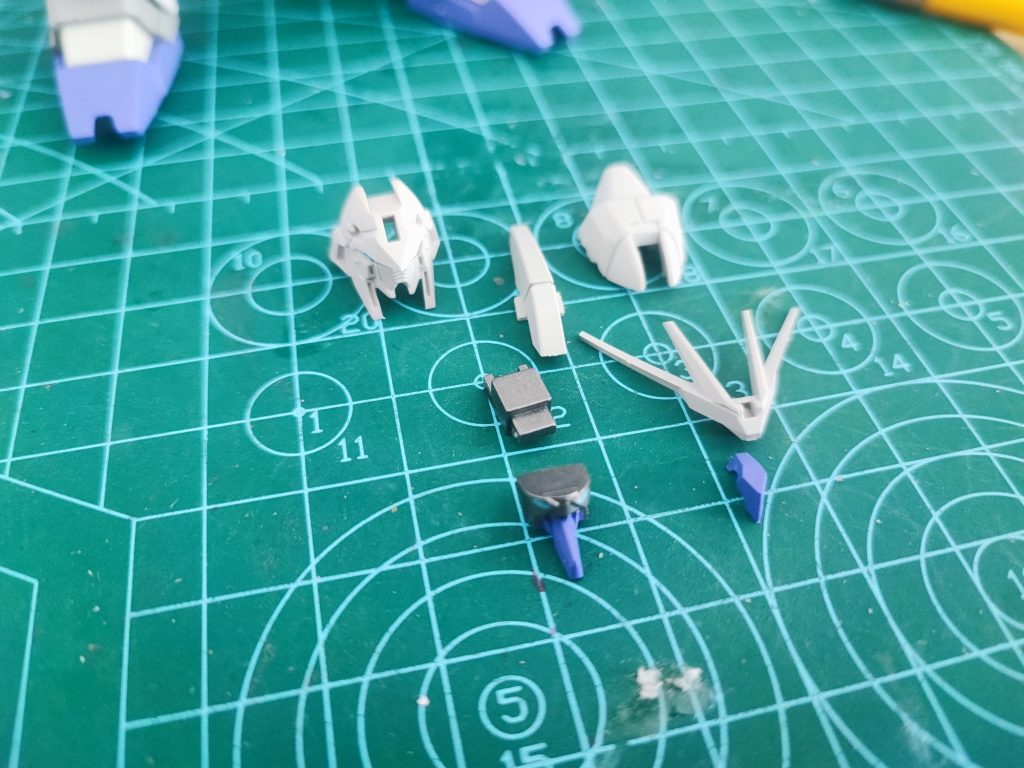
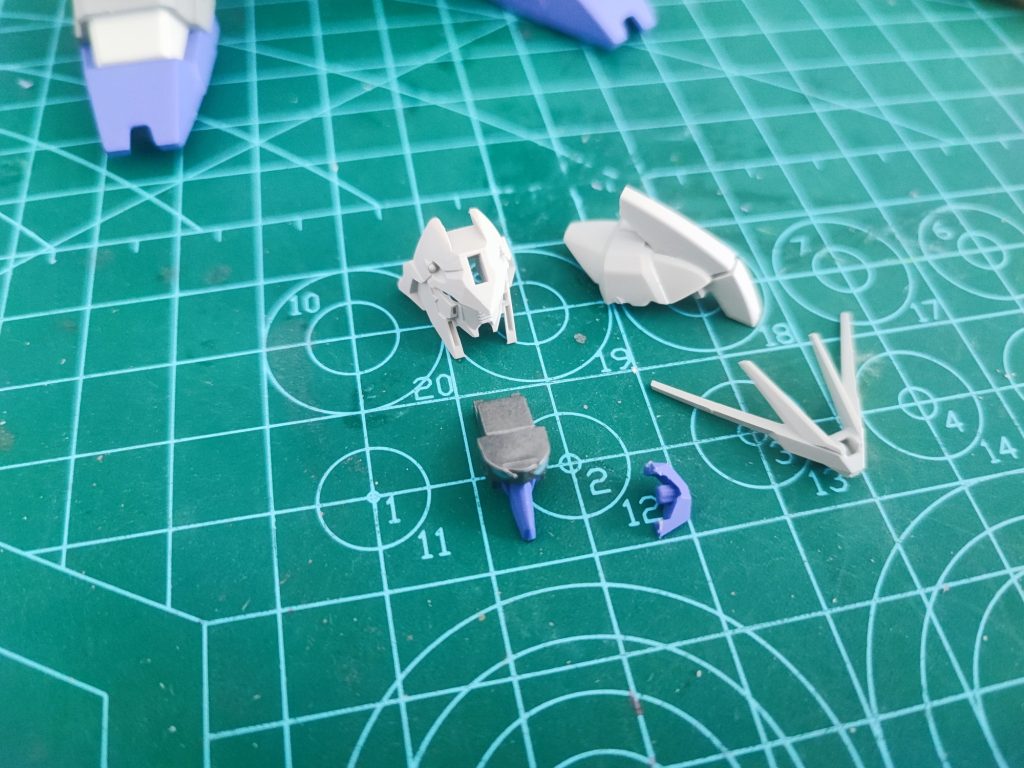
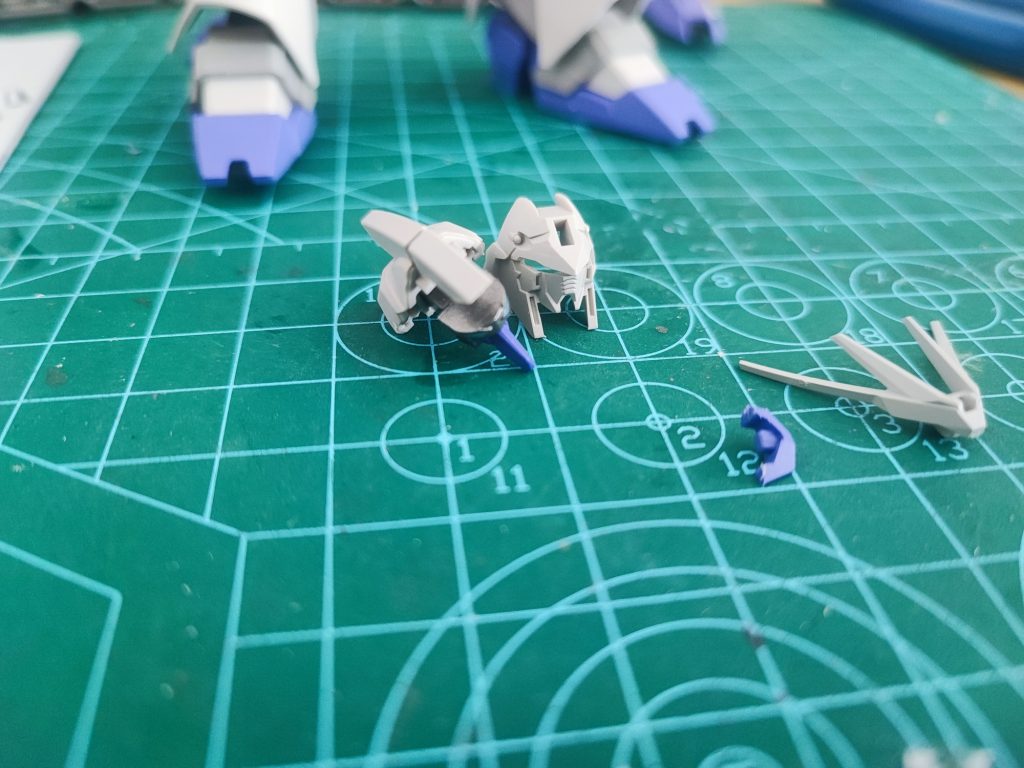
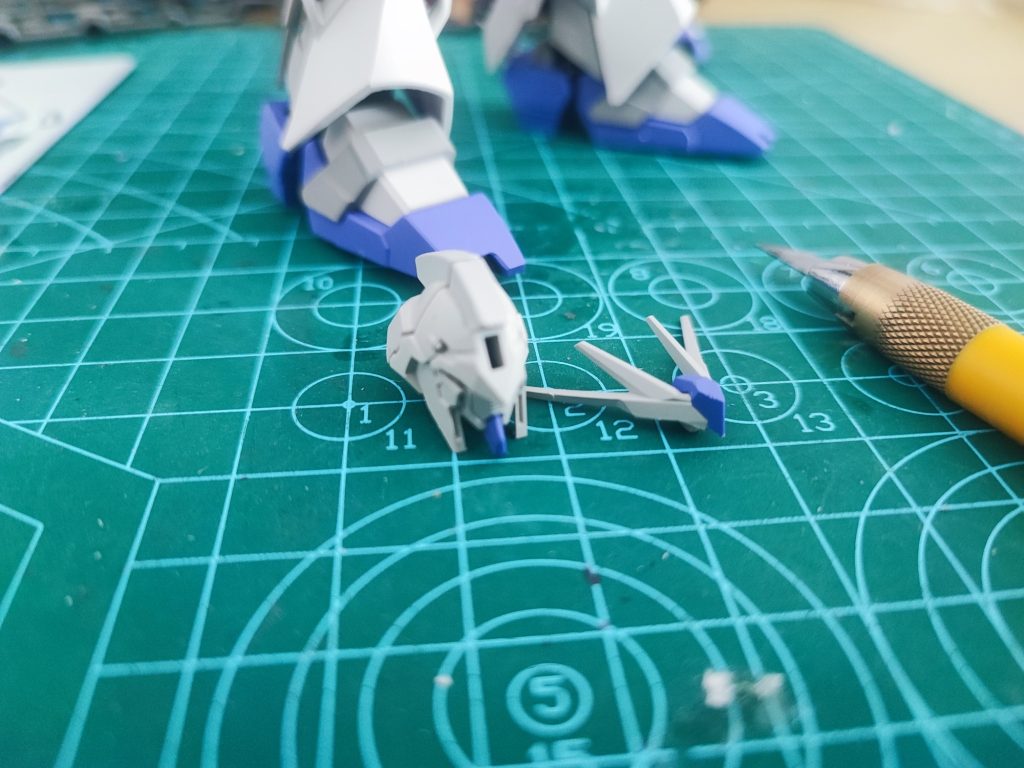
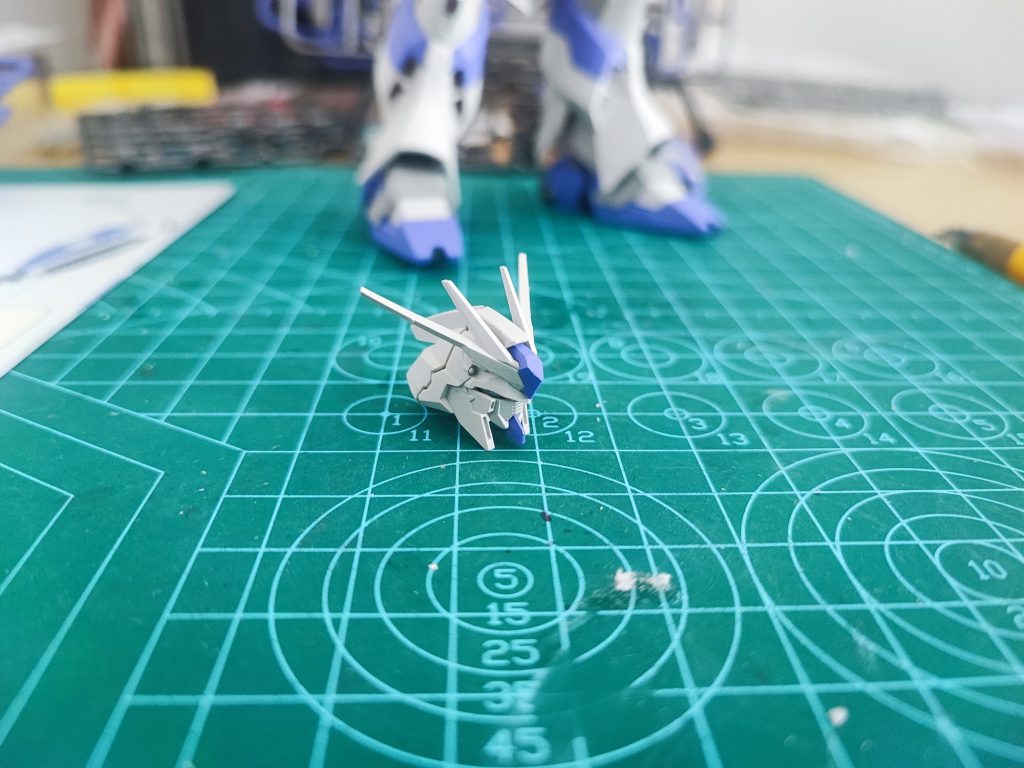
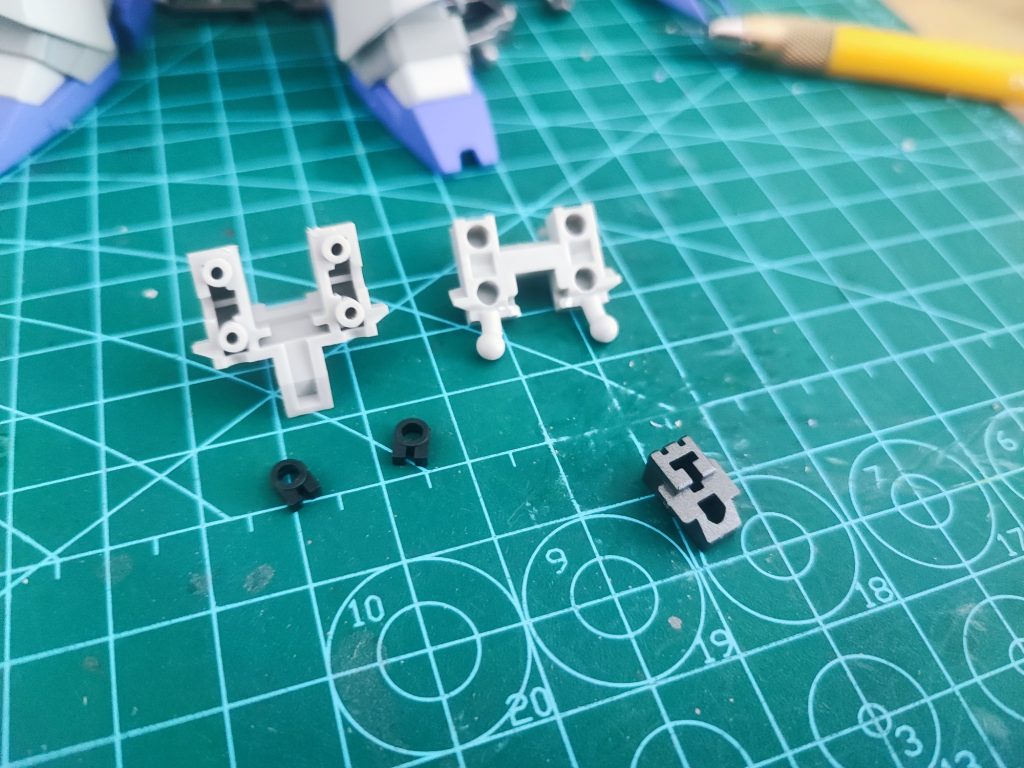
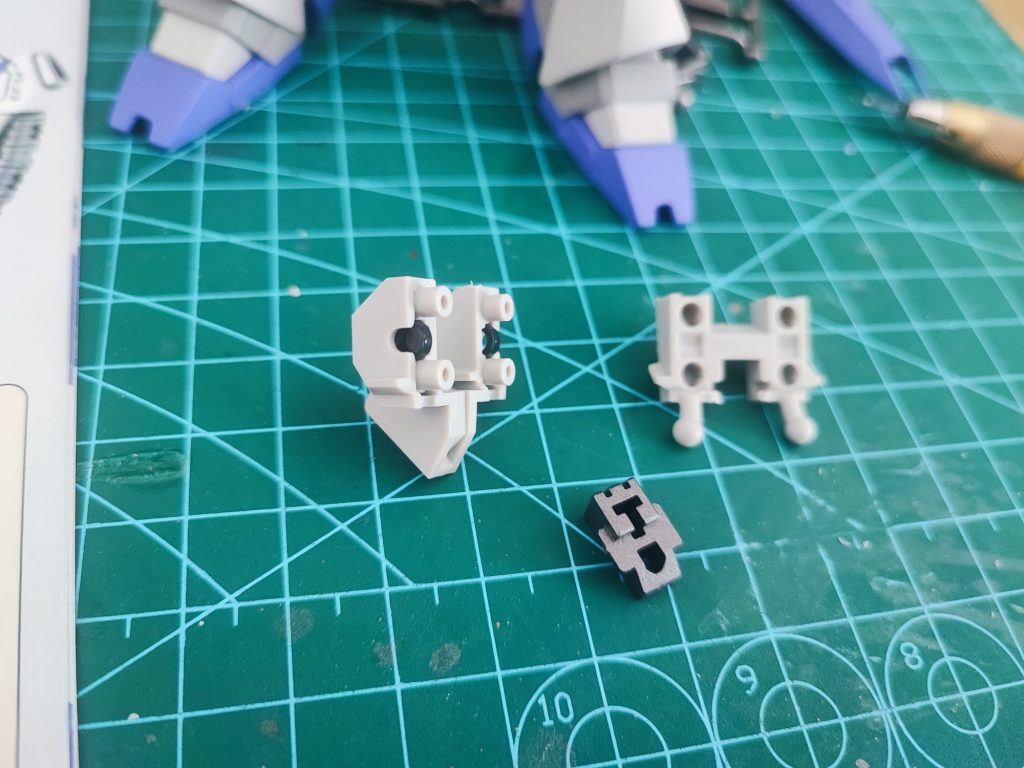
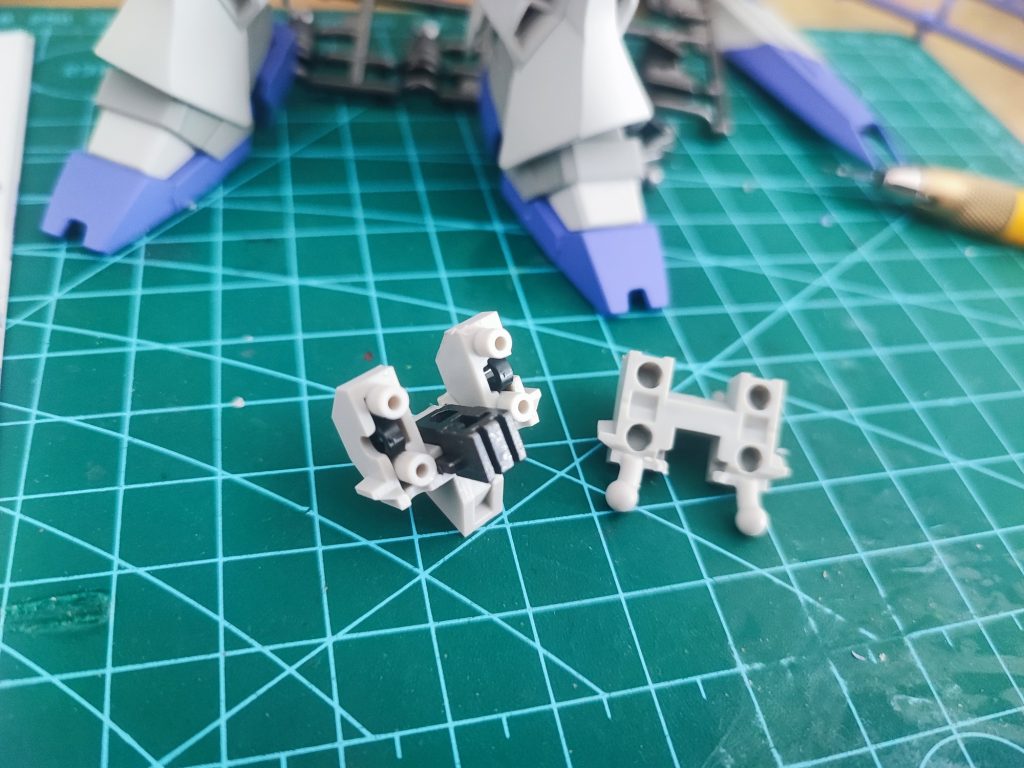
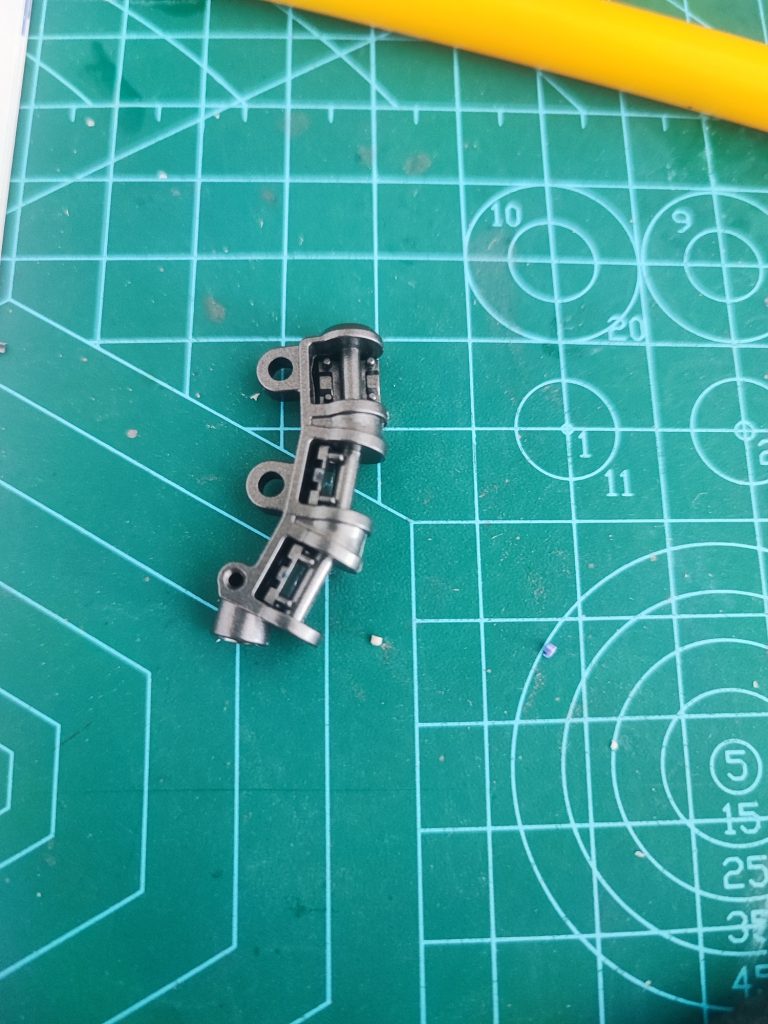
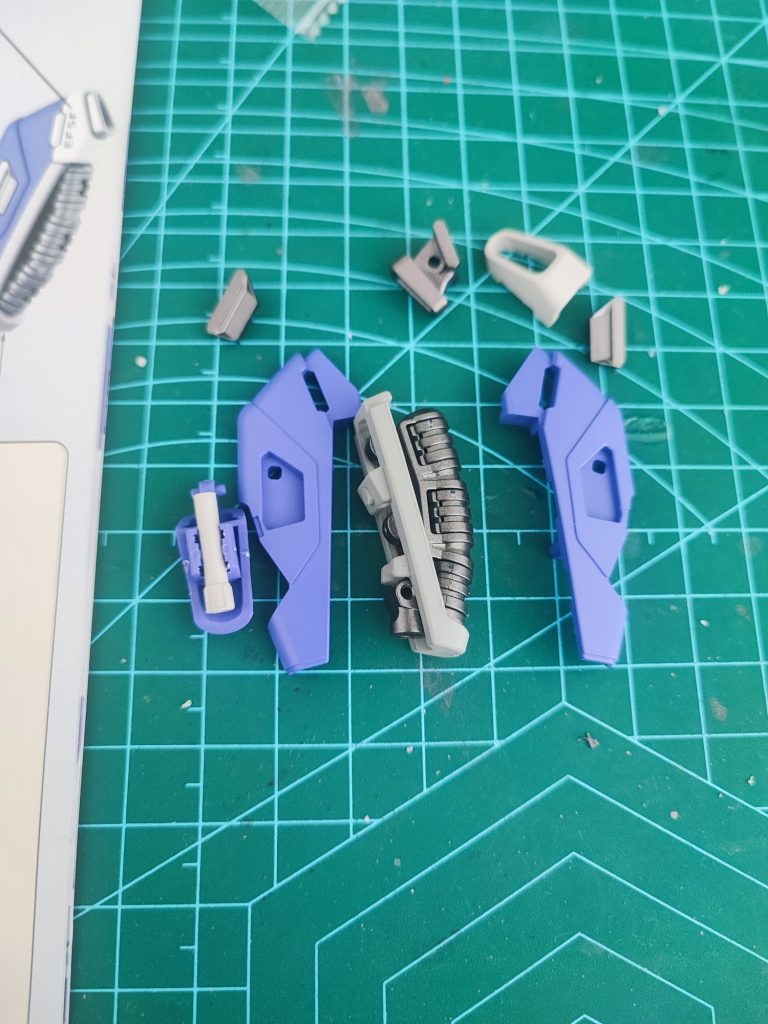
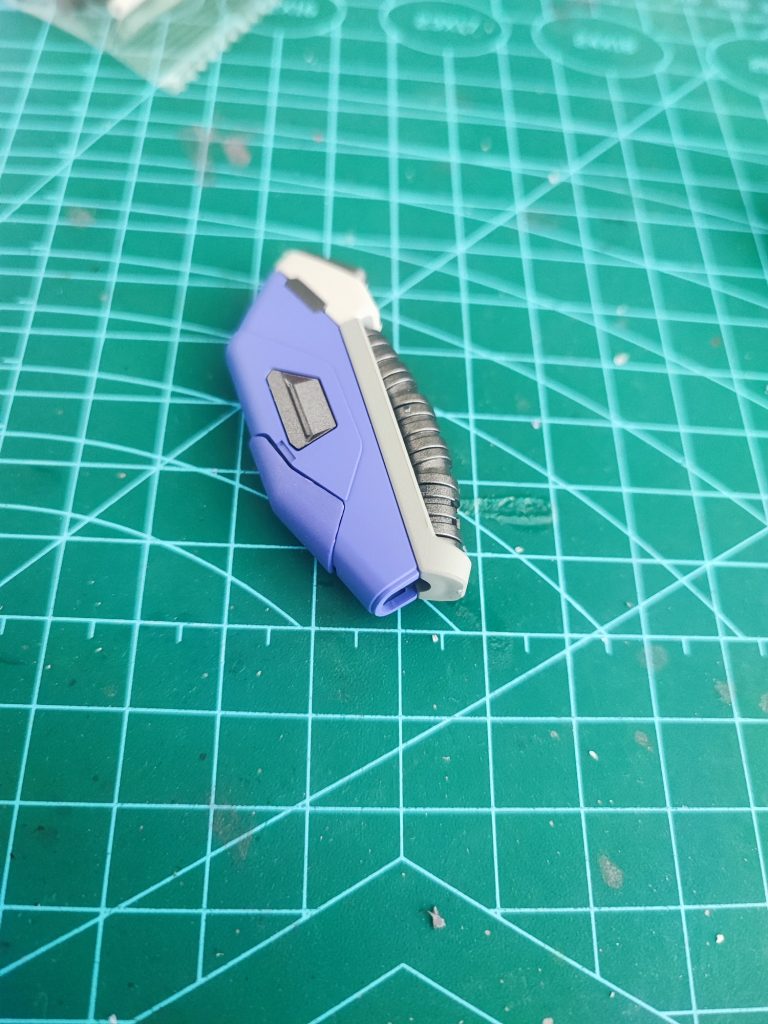
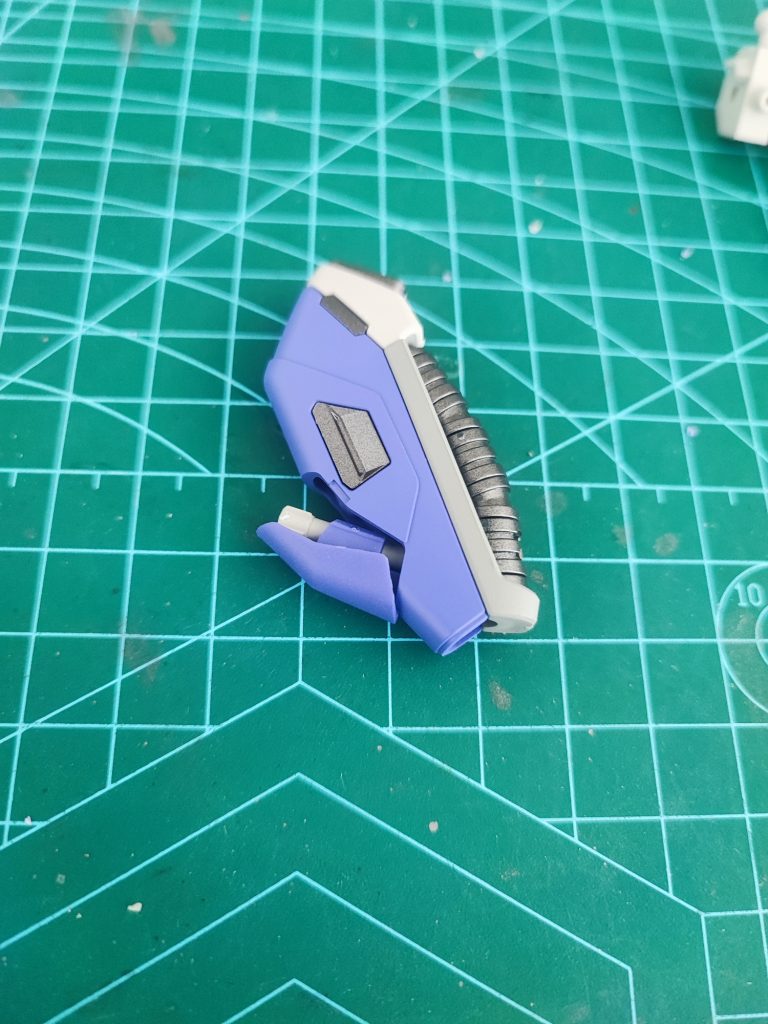
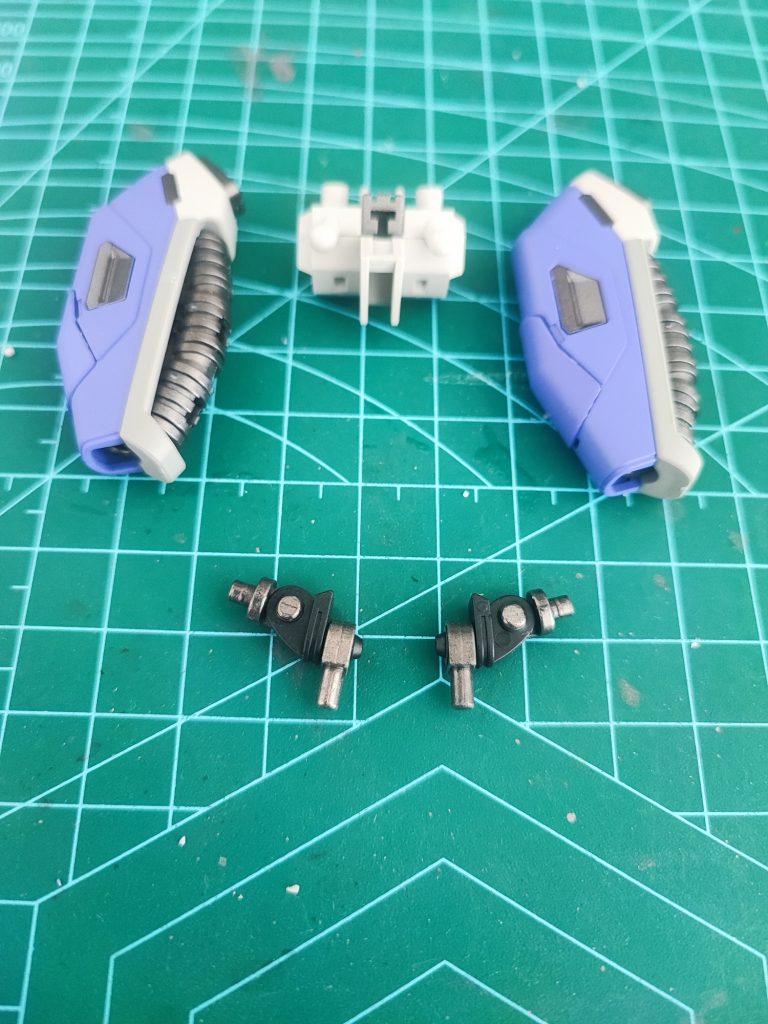
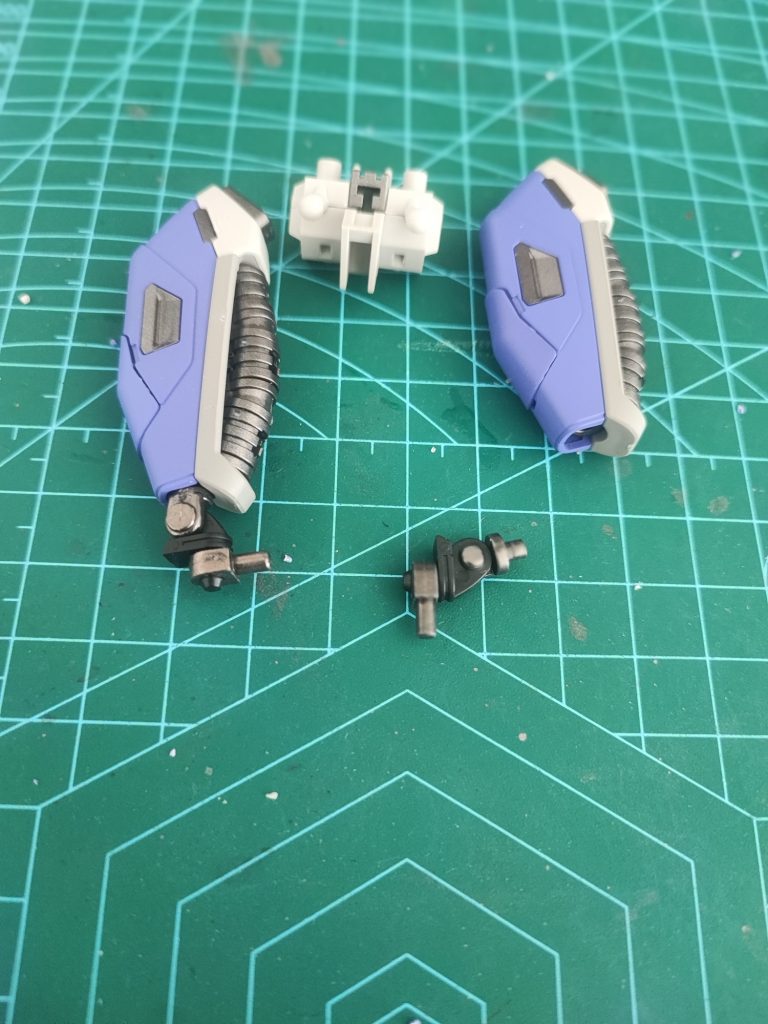
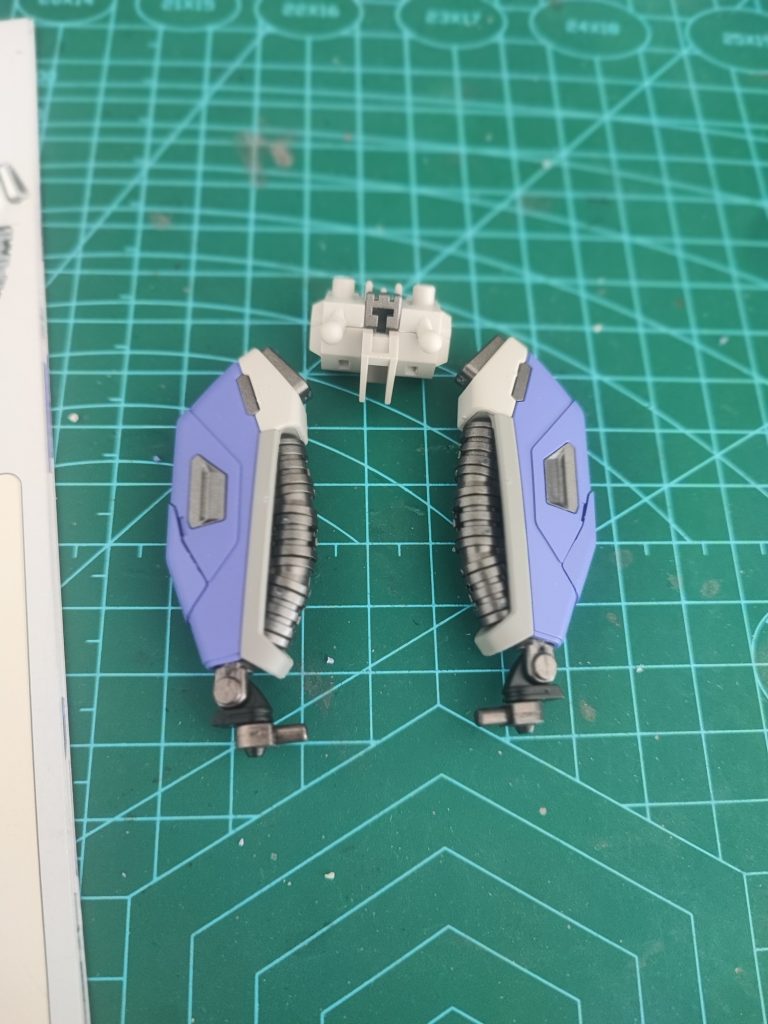
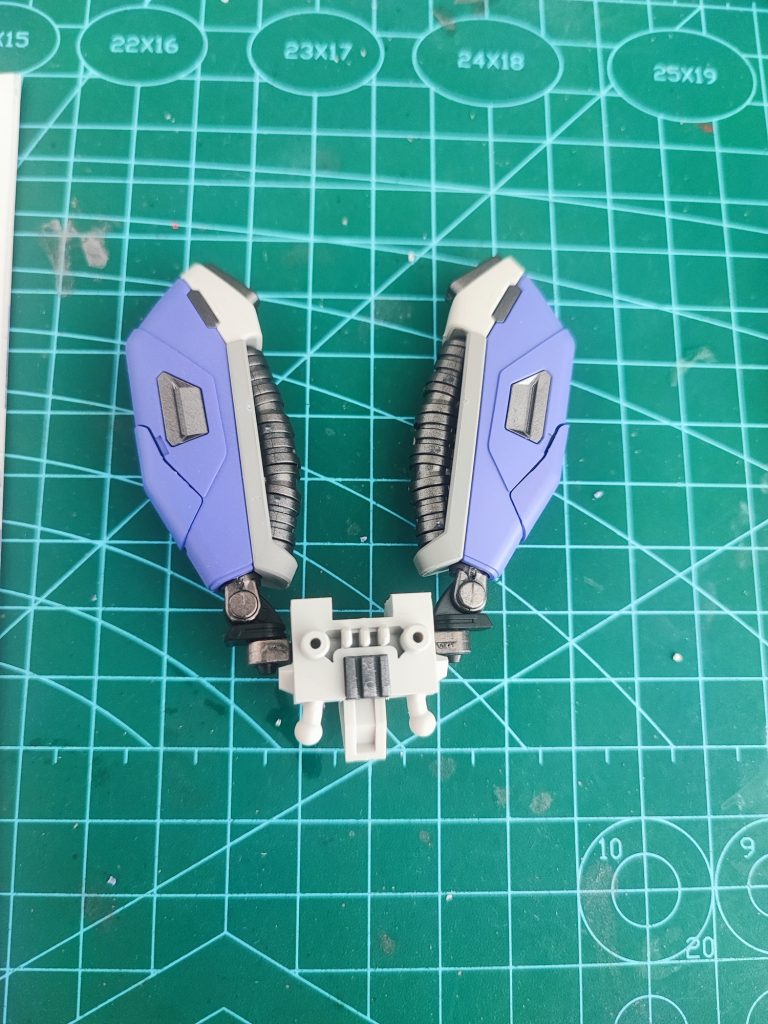
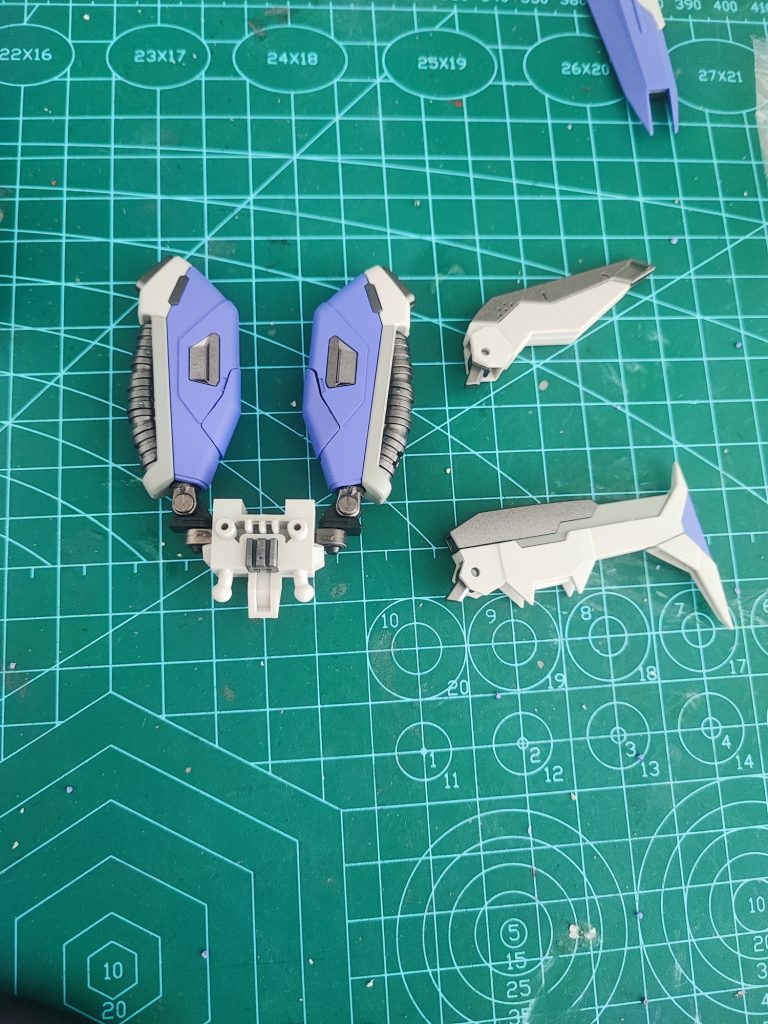
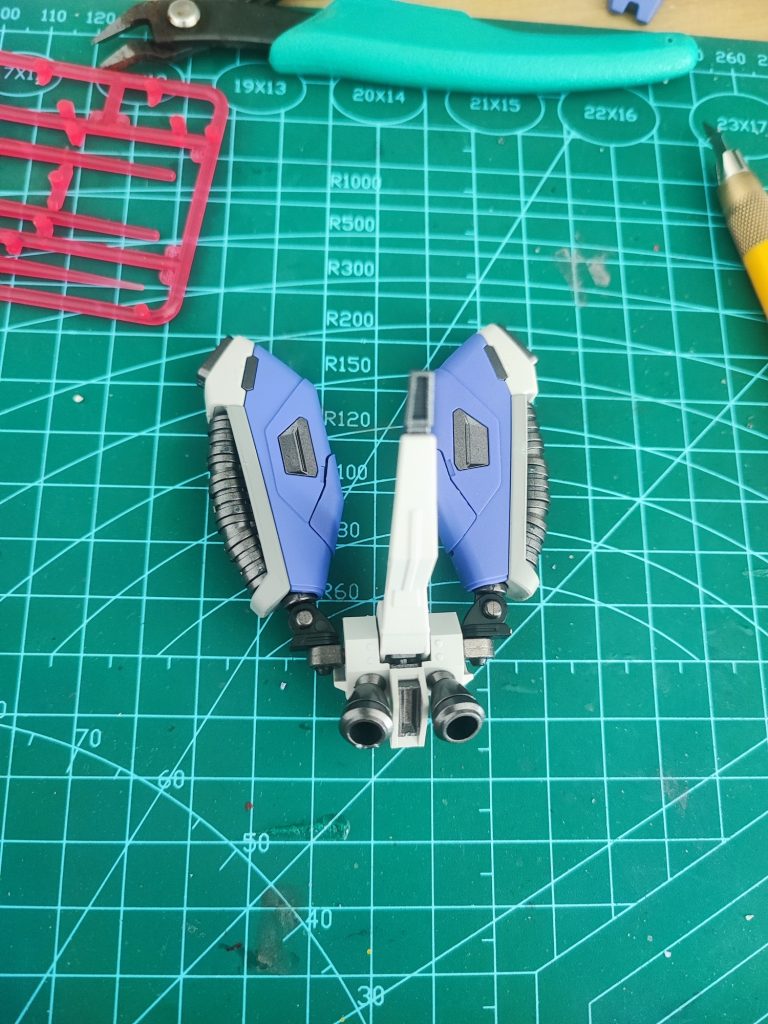
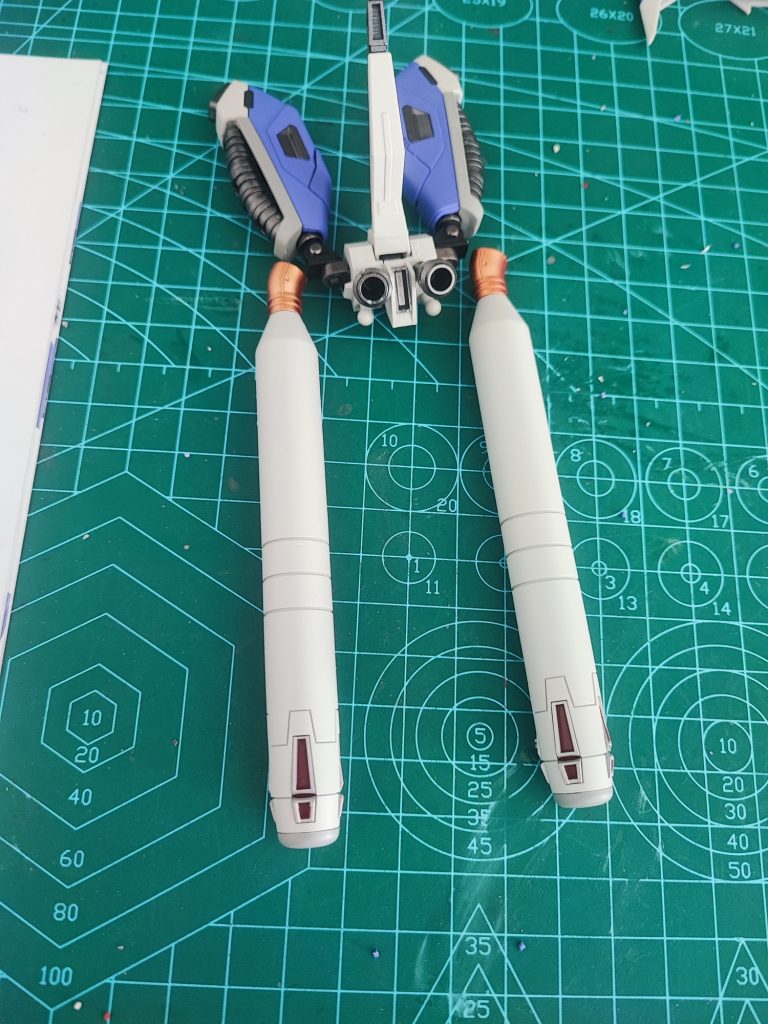
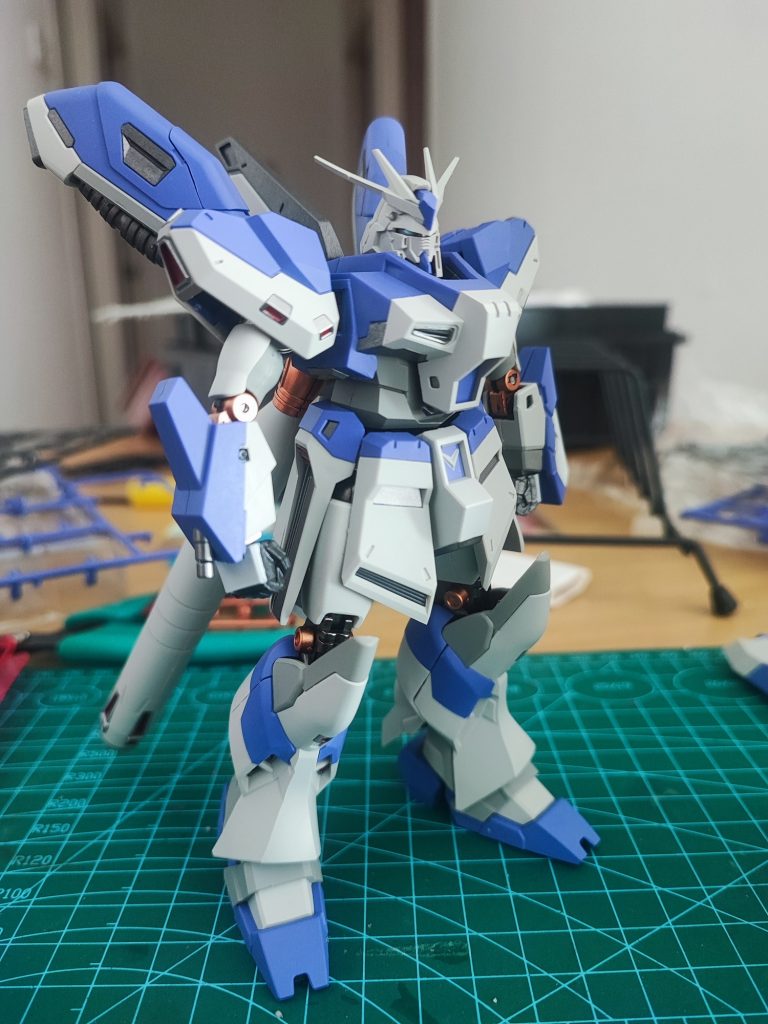
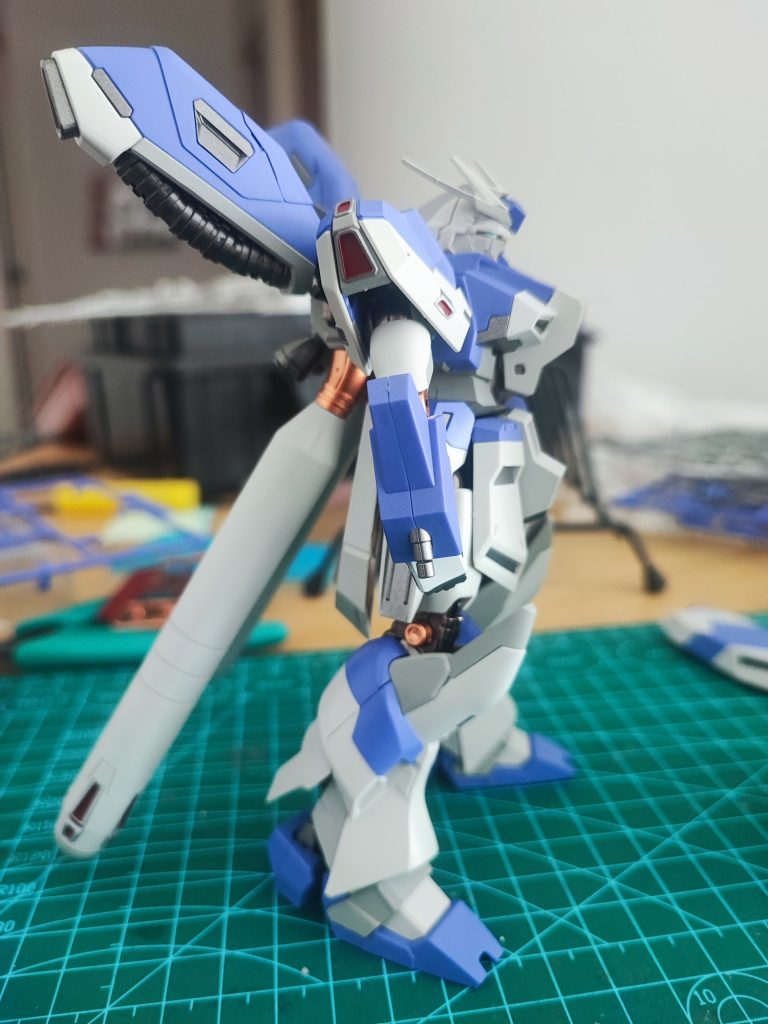
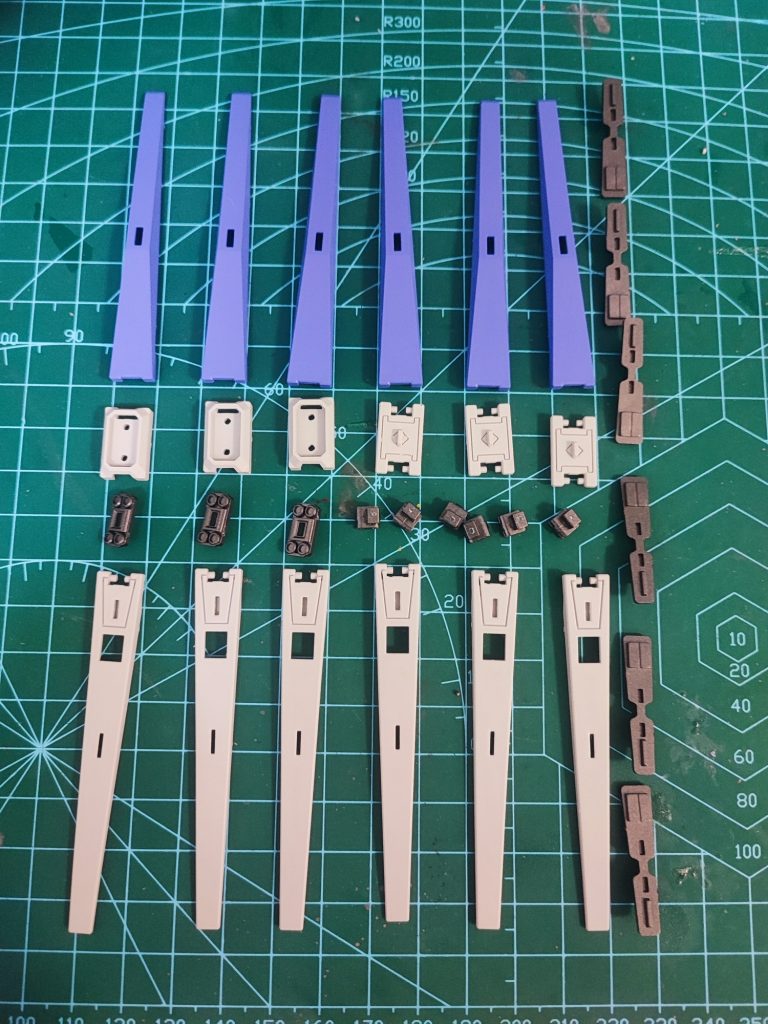
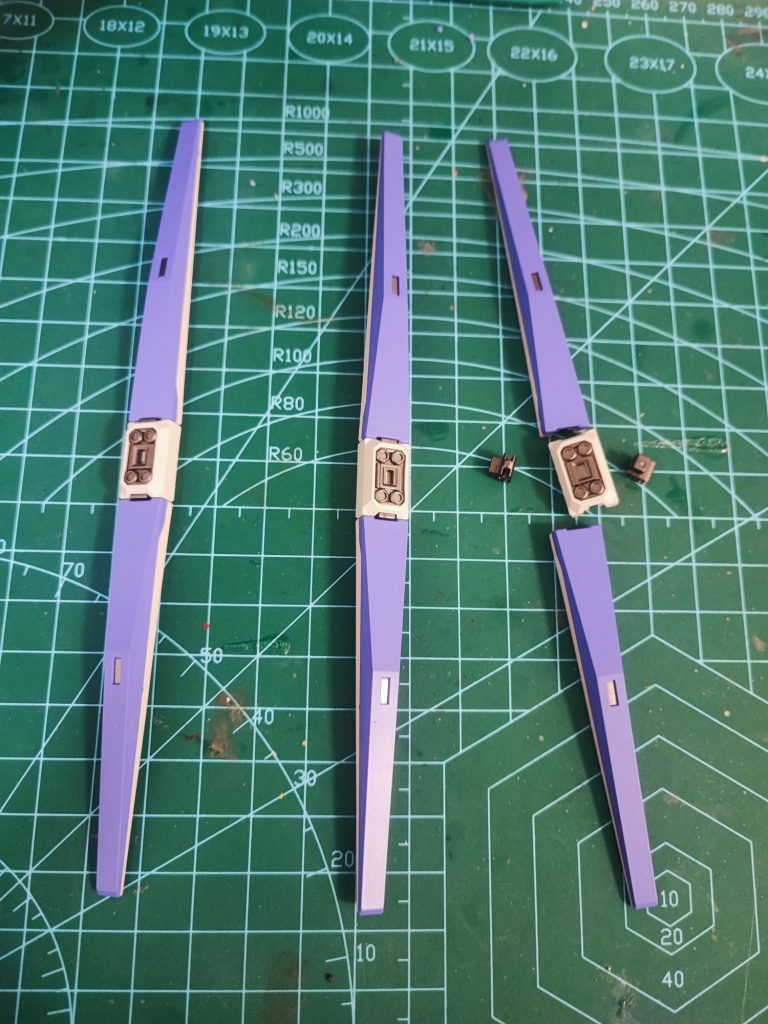
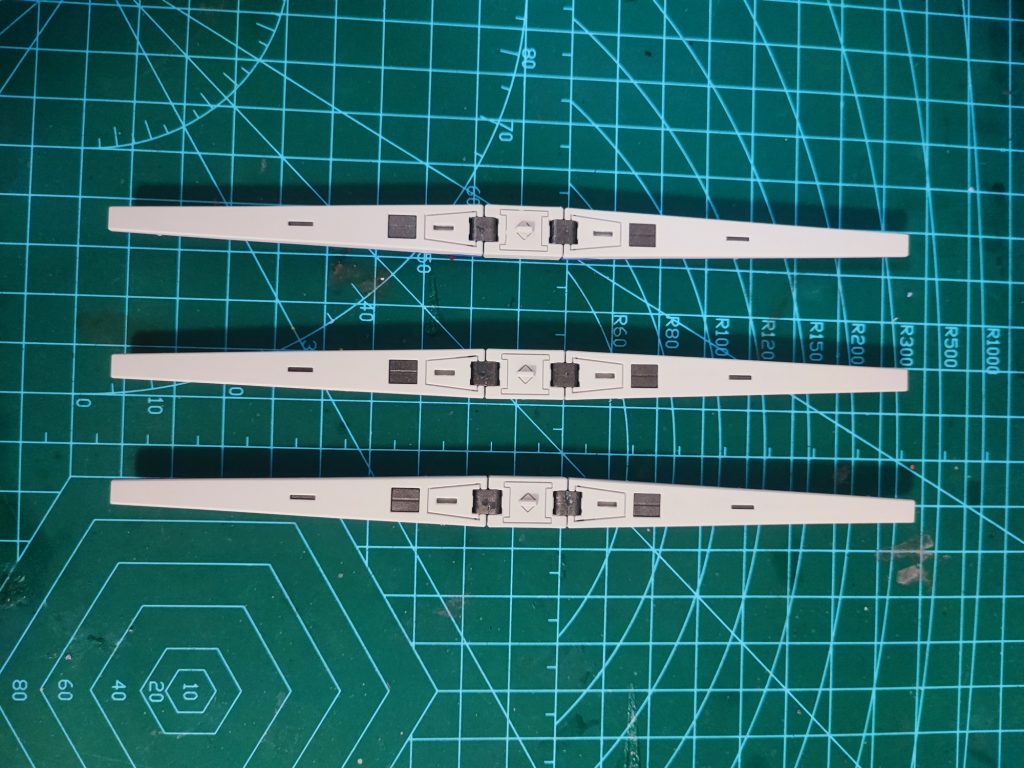
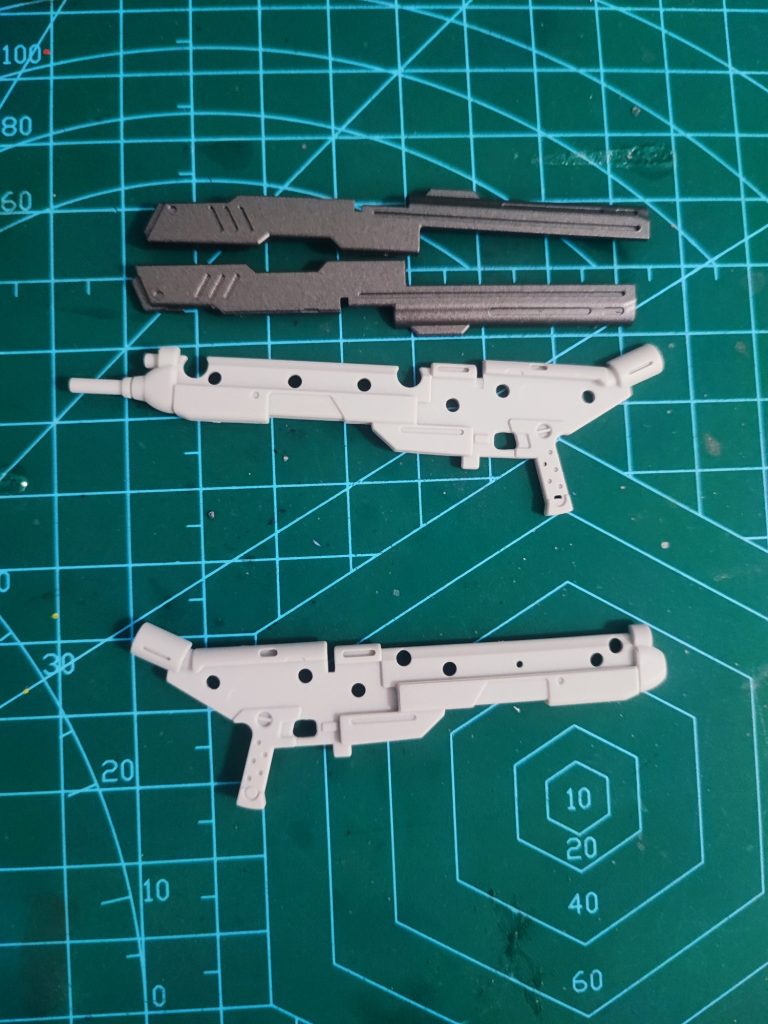
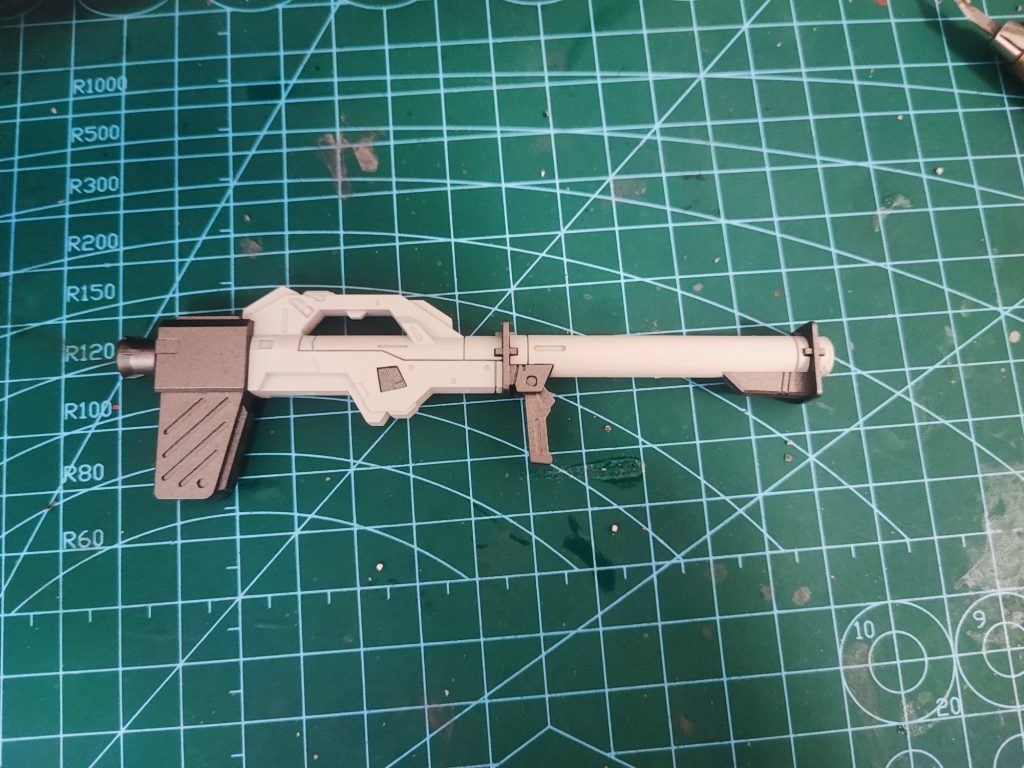
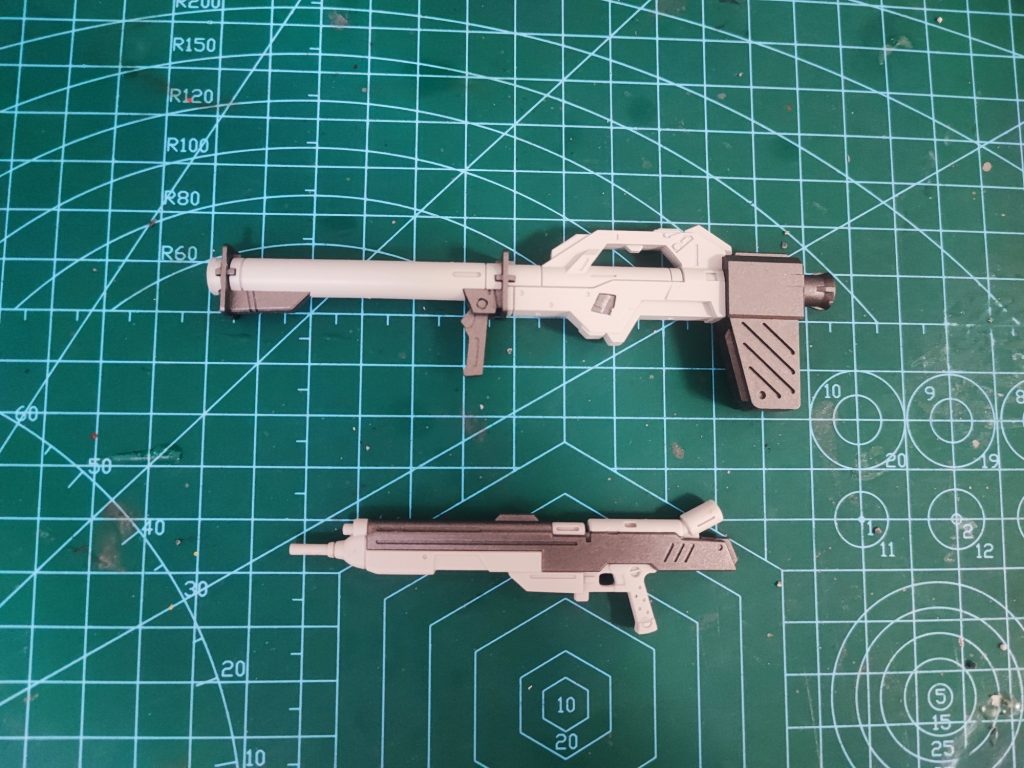
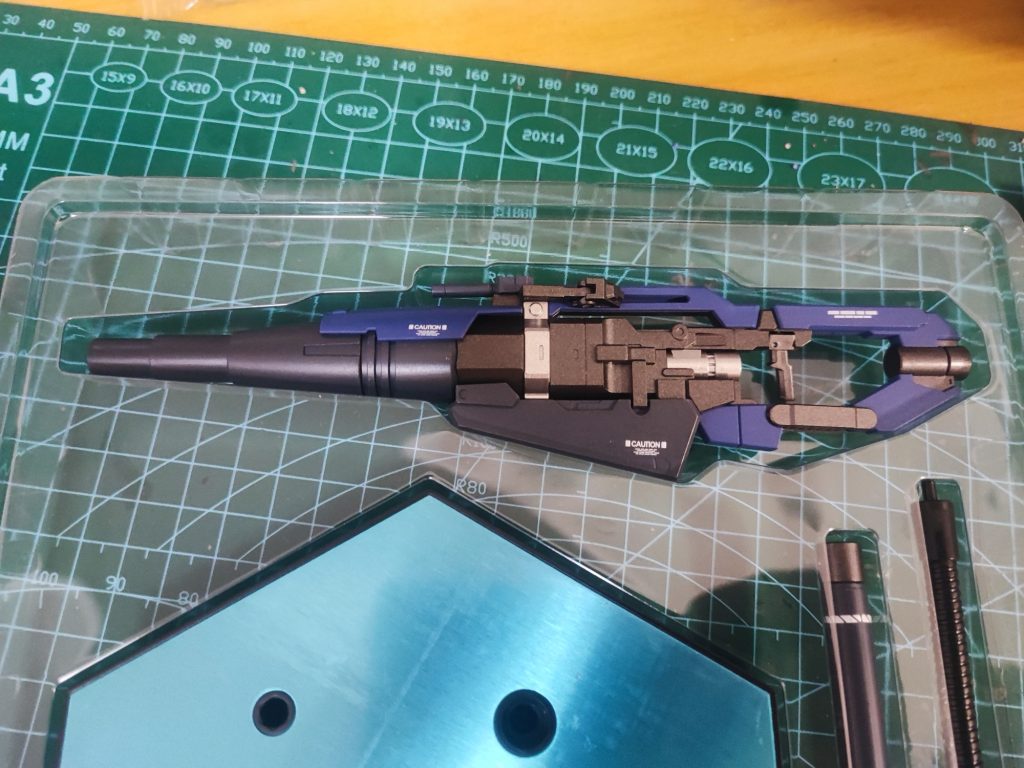
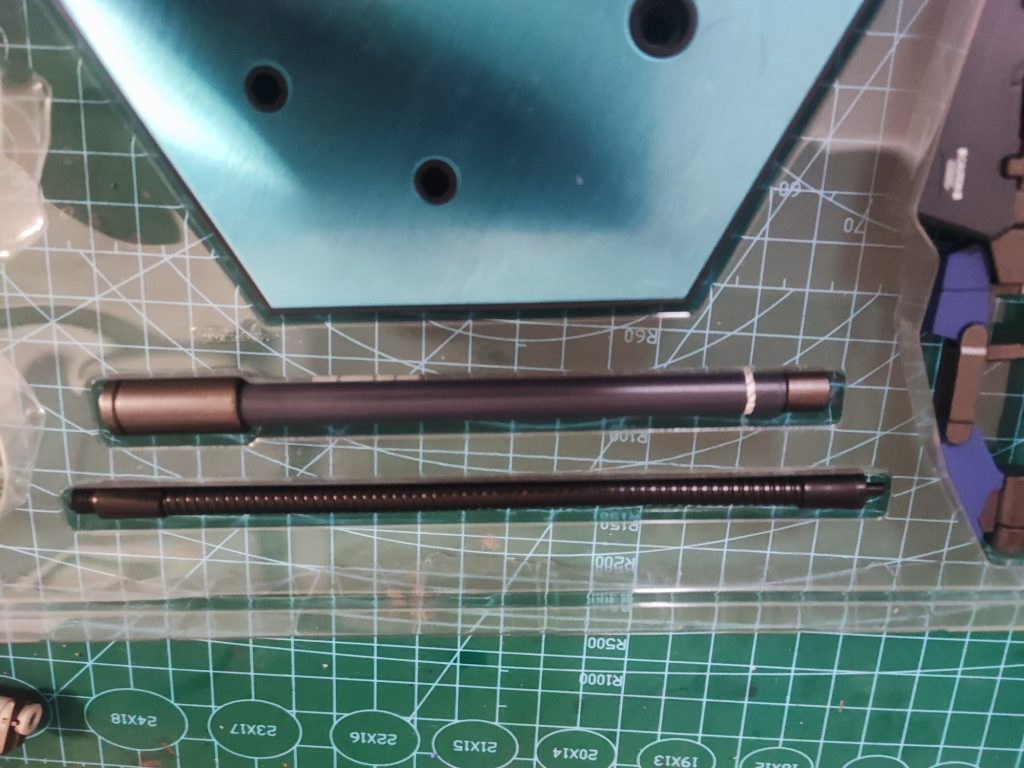
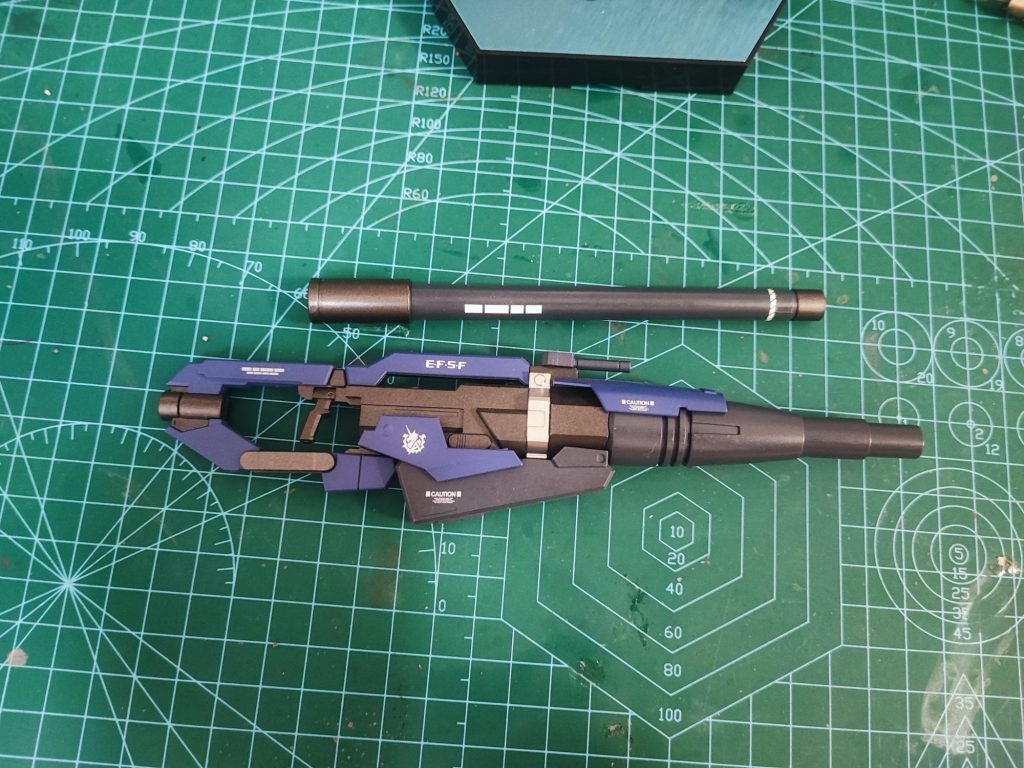
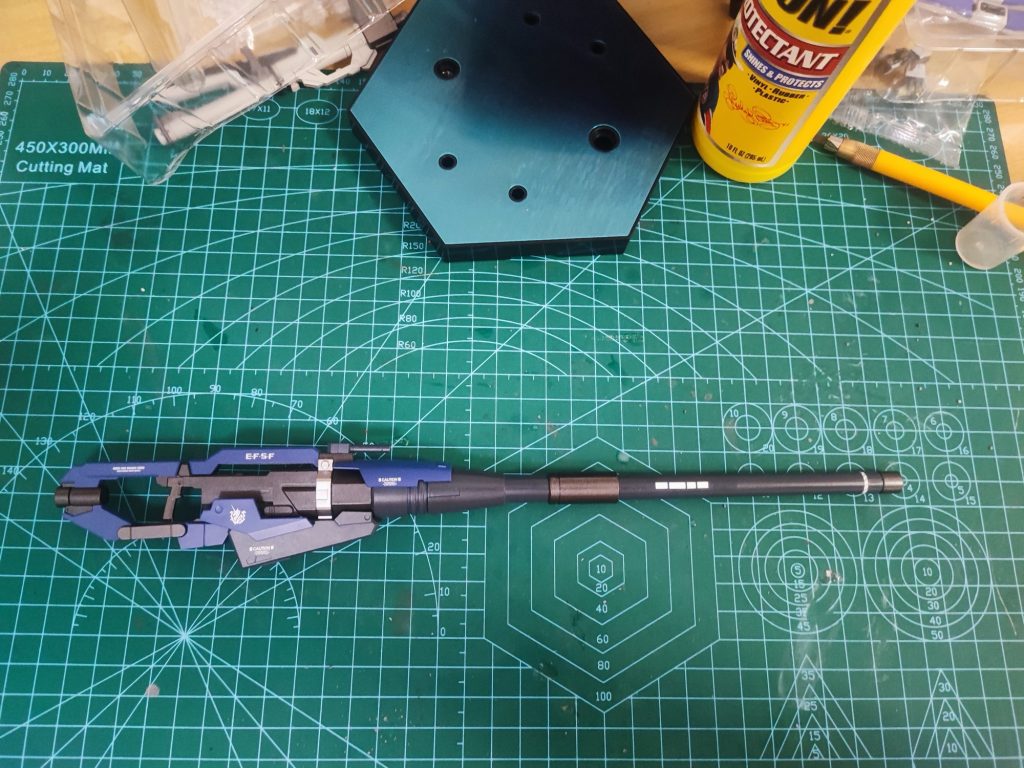
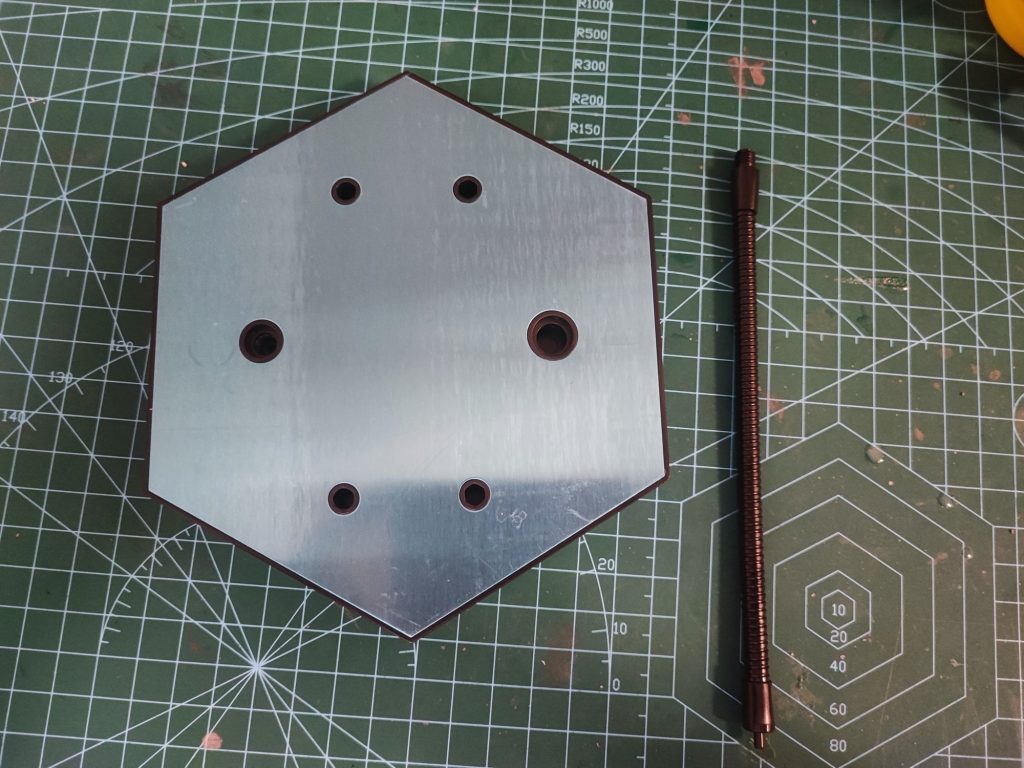
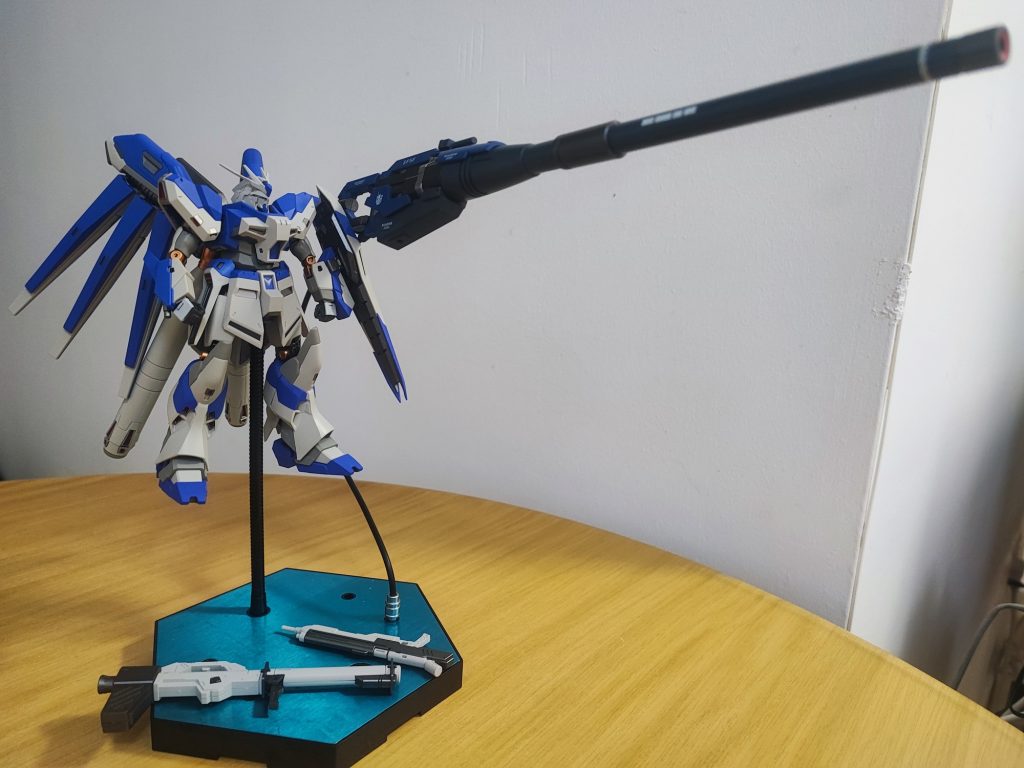
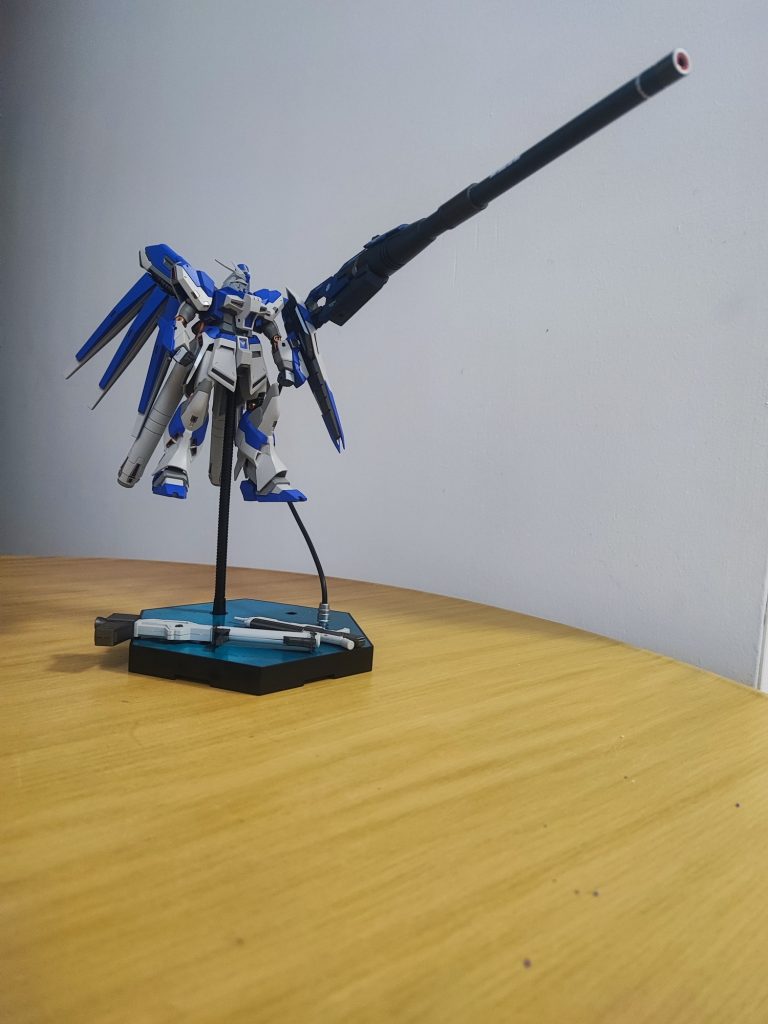
Assembling parts to the upper armPreparing to attach bicep and tricep of the figureGloved are used to prevent leaving mark that may cause rusting to the diecastComplete attaching the bicep and tricepsContinue to another armDone attaching armors to the upper armsAssembling the shoulder padsAll the parts lined up properly for the shoulder padsAdding more parts to the shoulder padsDone shoulder padCompleted the shoulder pads, it has good details of verniers and its pre-painted in redAssembling the forearmStep 2 of assembling right forearmClose up of the right forearmRight forearm cannonReady to attach the right forearm cannonContinue to assemble left forearmAssembling the left forearmAlmost complete left forearm assemblyRight forearm completed, few more part to be assembled to complete left forearmLeft forearm is for holding up shieldFirst complete the forearm for holding shieldAll parts to assemble shieldPartly completed shield, added plastic glue to attach the moving part to base of shield, optional but added it to add stabilityFinished the shieldBack view of the finished shieldFinished the left forearm with shield at the sideReady to assemble leg unitsAdding the small part details to the legsAttached the thigh part or armorFinished assembling left thigh Thigh part completedAssembling foot unitFeets are added to the metal framesole unit has a placement gapPlacement gaps are for placing magnetCompleting the heelsHeels assembly completedShin partsRight shin completedReady to attach the back shinsright back shin doneLegs unit assembly completedAdding parts to the legsAdding parts to the left legChecking the chest area of the metal frameChecking the back of the metal frameAssembling the body, add lower backCheck the assembled back from the frontAdd the lower abdominal of the body to the frontAdding part to waist unitAssemble skirt armorComplete part of the skirt armorone part of the left skirt armor for backAttaching skirt armor to the backComplete the back skirt armorSide skirt armor partsAssembling side armor partsAdding skirt armor to the KMR figureComplete adding the side skirt armorFront armor for skirtAssembling front lower amorComplete assembling front lower armorParts for the skirt front armorHow the front skirt armor assembledAttach left side front skirt armorComplete assembly of front skirt armorAdding upper body partMaking sure the parts are added correctly by checking the backChest assembly partsAttaching the front part of the bodyCompleting the bodyKMR Hi Nu head partsAssembling the head part 1Assembling head part 2Assembling head part 3head assembly completeBackpack partsAssembling back pack part 1Assembling back pack part 2Assembly of fin funnel holderAssembly of fin funnel holder part 1Assemble fin funnel holder part 2Assemble fin funnel holder part 3Assemble fin funnel holder part 4Assemble fin funnel holder part 5Complete one part of the fin funnel holderTesting movable part of the fin funnel holderFin funnel holder pair and back packAdding fin funnel holder to back packAdding proper joints to the fin funnel holdersAttach both fin funnel holders into the back packattachment option or tail for the backpackAttach a more simpler version of the tail to the back pack as the more elaborate design does not fit to the backpackAssembling propellant tankPropellant tank assembly completedAssembly complete test shotSide view of completed figureFin funnel partsOne of the hardest build in the figure, assembling the fin funnelsFin funnel assembly completedBeam rifle partsClay bazookaClay bazooka and beam rifleBFG main bodyBarrel for BFGBefore assembly of BFGApprox 32cm assembled the BFGMetal baseSmall figure but BFG over whelmingWhat a big gun you have there
Conclusion, KMR is far more more cheaper than the Metal Spirit Hi NU, and the BFG is available as exclusive. With the KMR what needed is some work and it comes with the exclusive BFG.
If you have the know how on model building and time, just get the KMR from AliExpress else pay more for the Bandai Metal Spirit Hi Nu Gundam and the add on PBandai exlcusive gun.