
In my previous post, I walked through assembling a Raspberry Pi 5 (8GB) with an active cooler and a 3.5-inch resistive touch screen inside a compact enclosure. Once the core hardware was up and running, the next logical question was simple: how do I turn this into a self-contained, field-ready portable computer without custom 3D printing or complex soldering?
Keeping with the same 100% off-the-shelf (OTS) philosophy, I have put together a complete pocket cyberdeck loadout inside a hard-shell carrying case. With this hardware build, a quick swap of a microSD card, a swap of USB hardware peripherals; this compact kit shifts between a portable Linux terminal, a standalone IoT demo server, and a digital workstation for amateur radio.
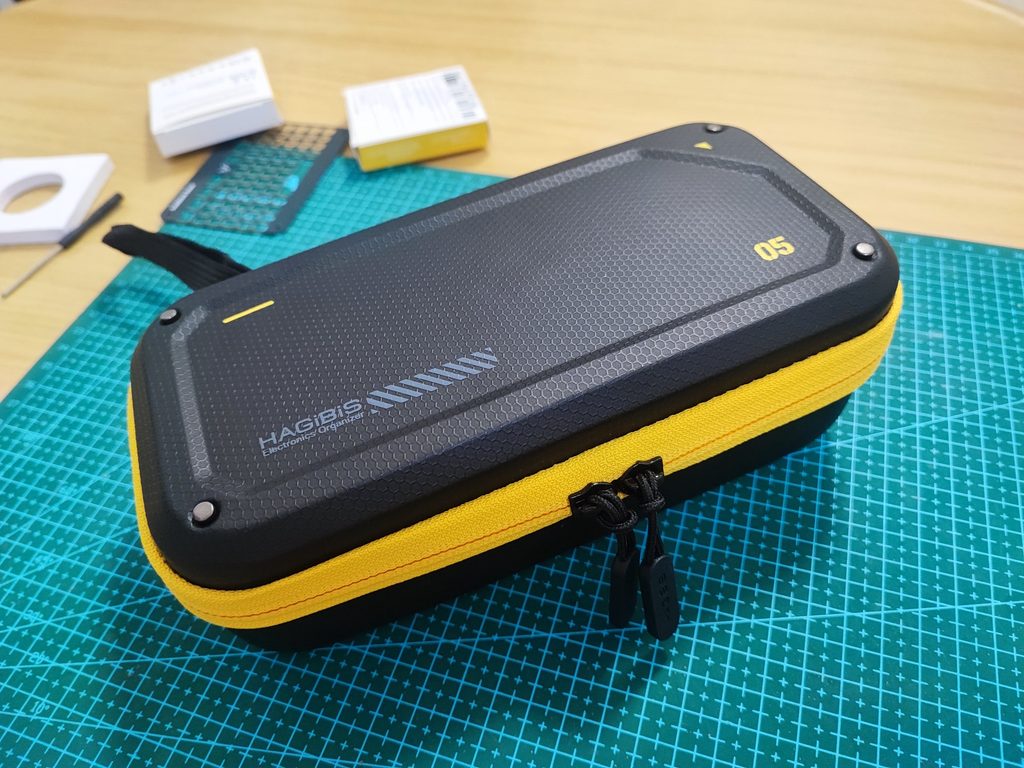
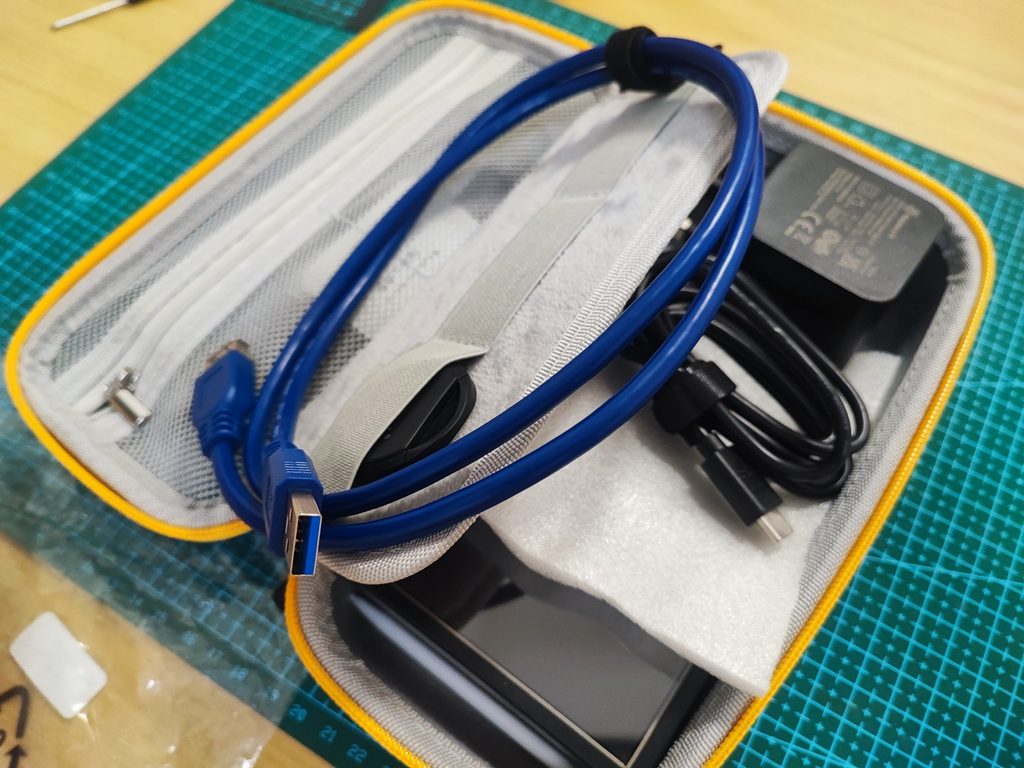
Additional OTS Components & Accessories are Keebdeck wired keyboard and Hagibis electronic organizer.
Building on the core Raspberry Pi 5 unit with 3.5″ Resistive touch LCD (RM933.30), here are the additional OTS components used to complete the portable cyberdeck kit:
| CPN/MPN | Description | Supplier URL | Quantity | Cost |
| SP051 (Solder Party) | Keebdeck Basic Handheld QWERTY USB-C Keyboard | https://www.solder.party/keeb/ or https://www.aliexpress.com/item/1005013299677256.html | 1 | MYR95.37 |
| N/A | Hagibis Electronic Organizer Traveling Case Bag EVA Hardshell PU Portable Carrying Pouch for Mouse Charger Cables Accessories | https://www.aliexpress.com/item/1005009654842799.html | 1 | MYR32.37 |
The biggest challenge with any pouch-based cyberdeck is preventing heavy accessories from pressing against the LCD screen inside a backpack. A few simple packing choices solved every clearance issue:
- Layered Screen Protection: The Raspberry Pi 5 sits on the left side of the main compartment with its stylus tucked neatly along the edge. Before zipping the case shut, the built-in plush microfiber divider flap folds directly over the 3.5-inch LCD, shielding the screen from cables and connectors above it.
- Zero-Cost Foam Keyboard Buffer: Because the Keebdeck Basic has exposed switches and surface-mount components, wrapping it in the white polyethylene foam sheet that came inside the Keebdeck packaging protects the PCB while creating a firm shock absorber between the Pi enclosure and the bulky UK 3-pin 27W power supply on the right.
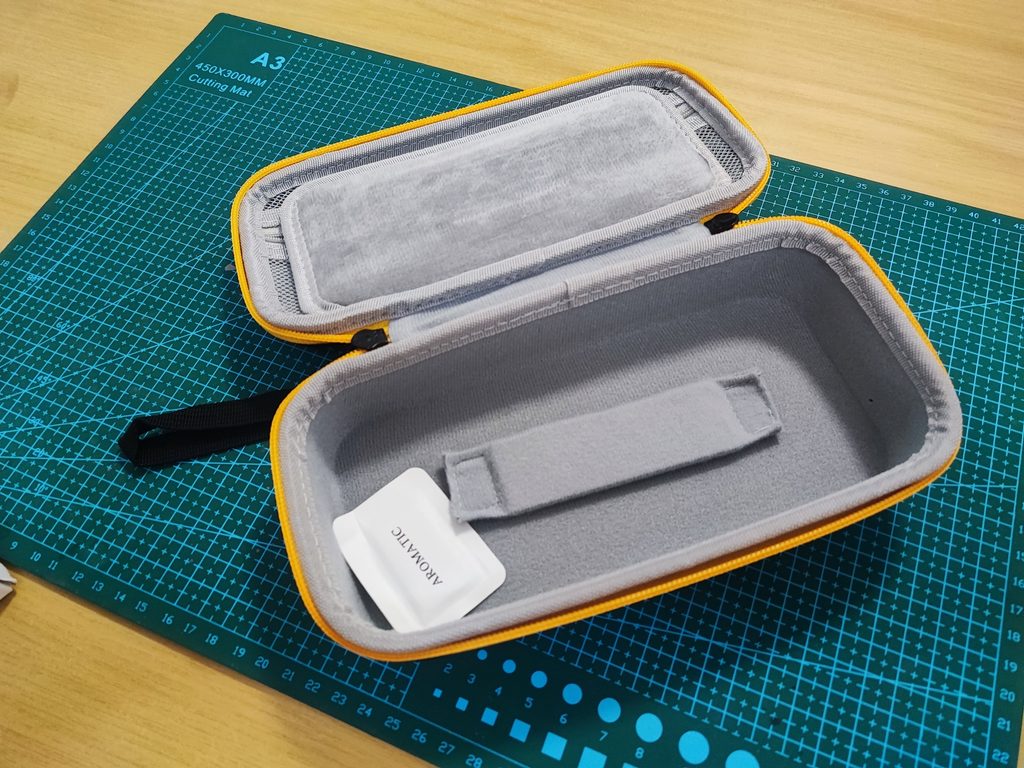
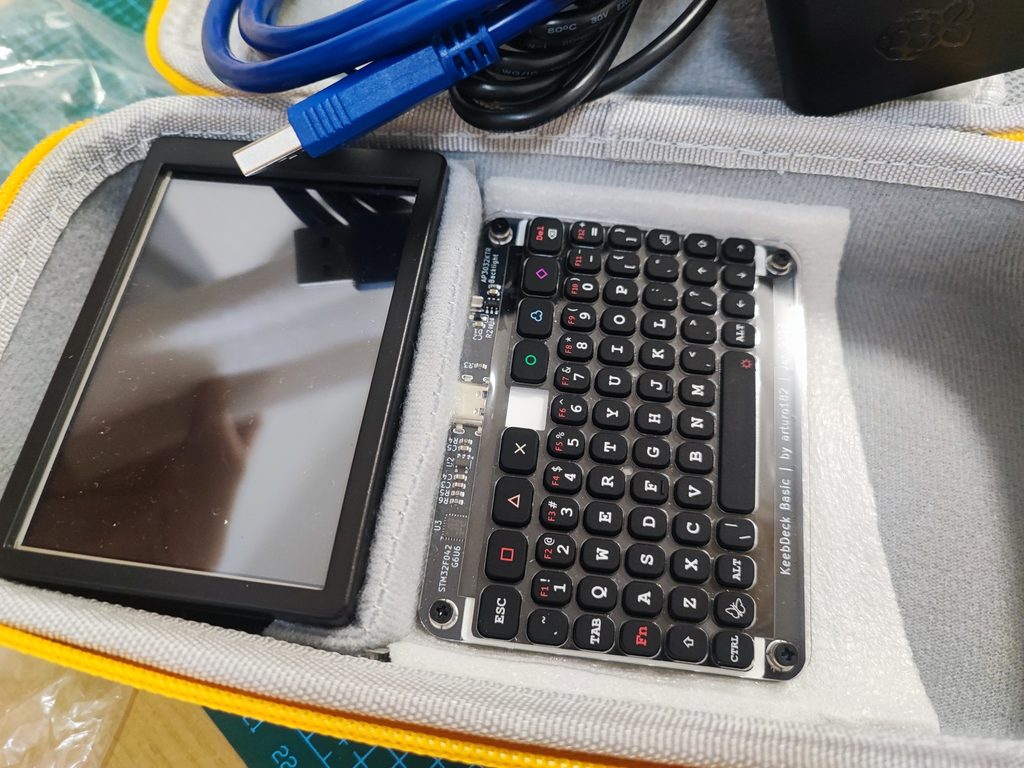
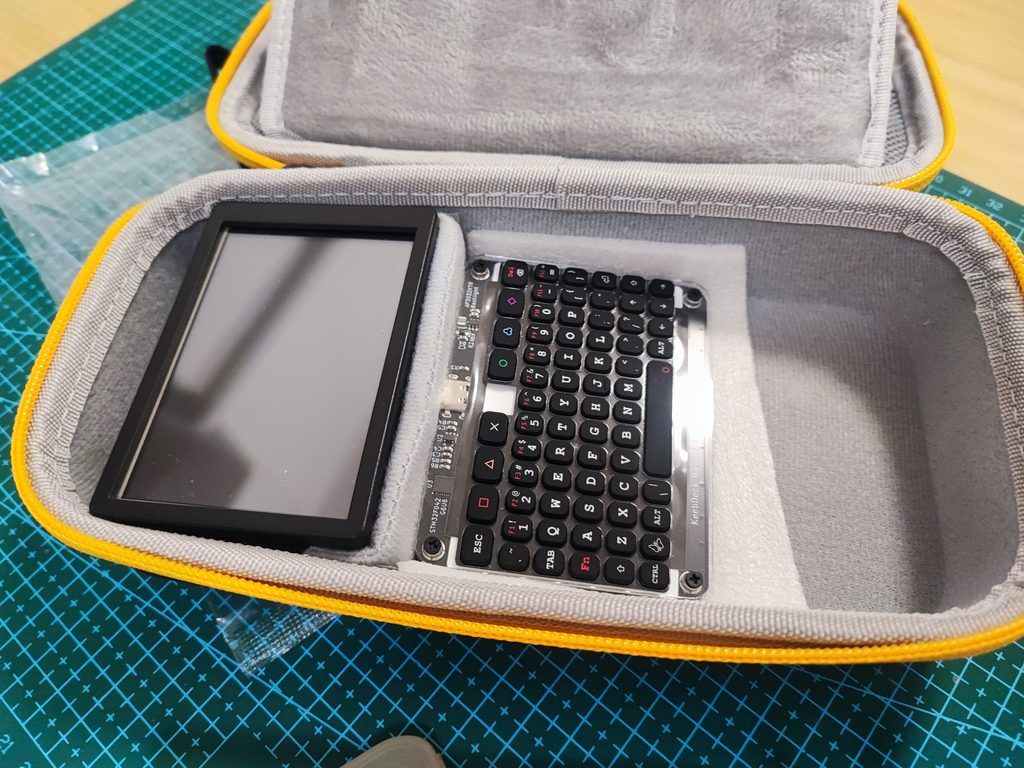
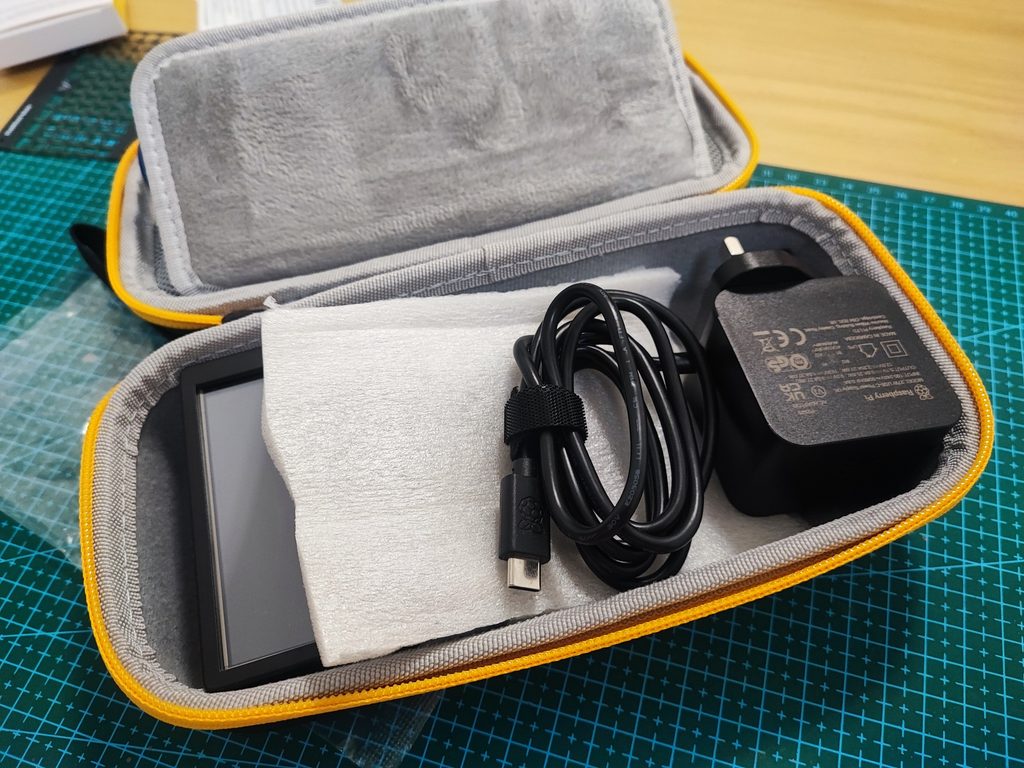
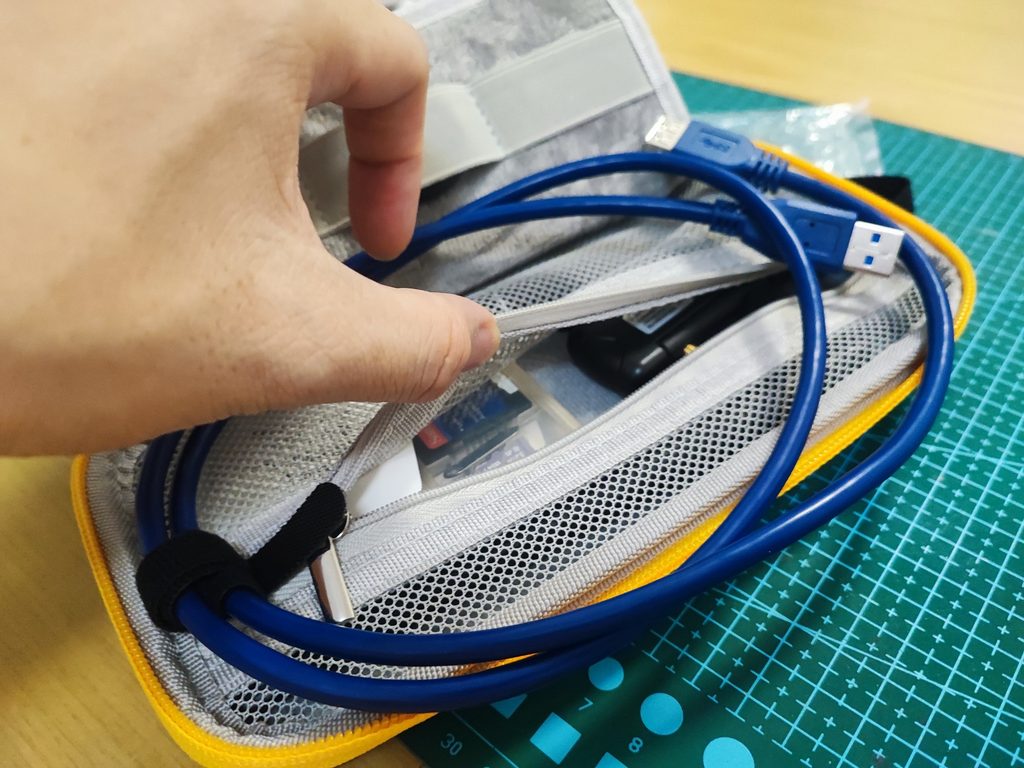
Extra tip, by keeping a few 32GB A1 microSD cards in a hard plastic jewel case inside the mesh pouch, the same hardware setup adapts to completely different tasks in under a minute now limited to :
- Everyday Linux & Network Troubleshooting: Booting standard Raspberry Pi OS with the goodtft LCD driver gives me a pocket-sized SSH terminal, Python sandbox, and Wi-Fi diagnostic rig powered by the high-gain WiFi USB adapter.
- Portable IoT Demo Server: On a dedicated card, the Pi 5’s onboard Wi-Fi runs as a standalone local hotspot while running Mosquitto (MQTT) and Node-RED. Launching a local web dashboard in kiosk mode turns the 3.5-inch screen into a live control panel for IoT sensor demos anywhere—no venue Wi-Fi required.
- Amateur Radio Digital Workstation: Paired with amateur radio gear, the Pi 5 has more than enough processing power to handle Software Defined Radio with correct USB dongle.
Conclusion, you do not need a custom-fabricated chassis to build a reliable cyberdeck, heck soldering not required too. Hagibis electronic organizer smart component sizing, reused shipping foam, and modular microSD storage, off-the-shelf hardware easily scales from a simple bench experiment into a versatile, go-anywhere field computer. Disclaimer, to be fully field on the go off grid, a portable powerful battery will be needed, but it’s a topic for another day.