How to use docker compose to setup AWStats

Have added changes to incorporate both generating AWStats logs and starting up AWStats service in a single docker compose file at KarMeng / docker_awstats — Bitbucket

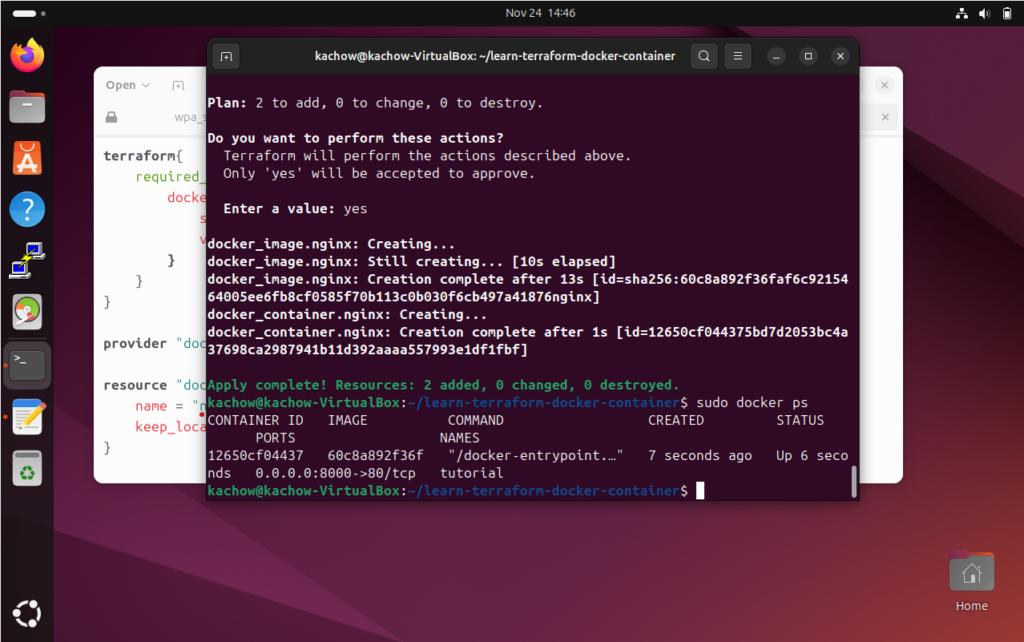
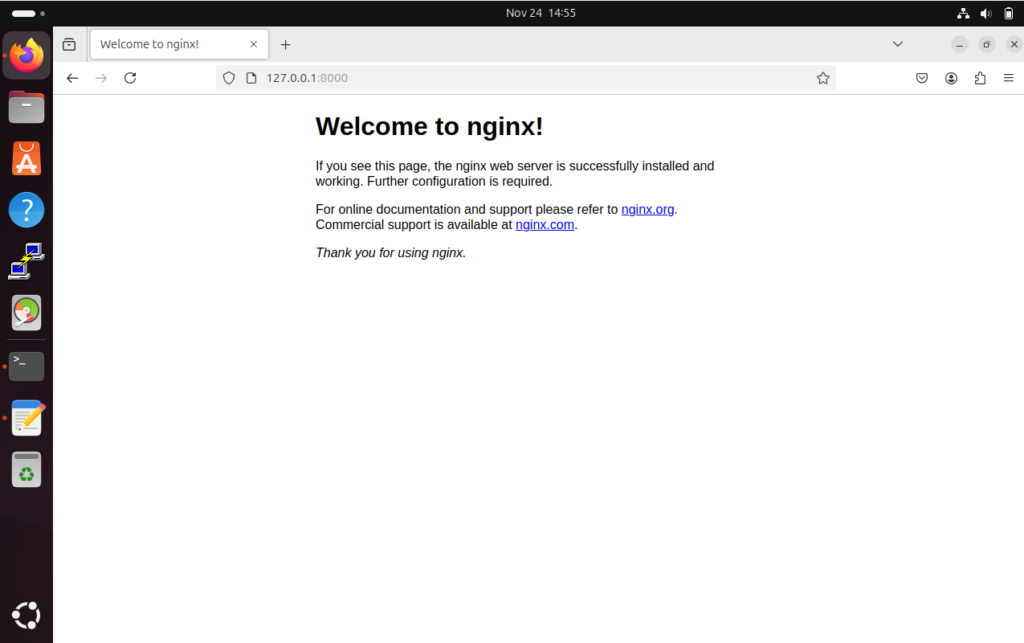
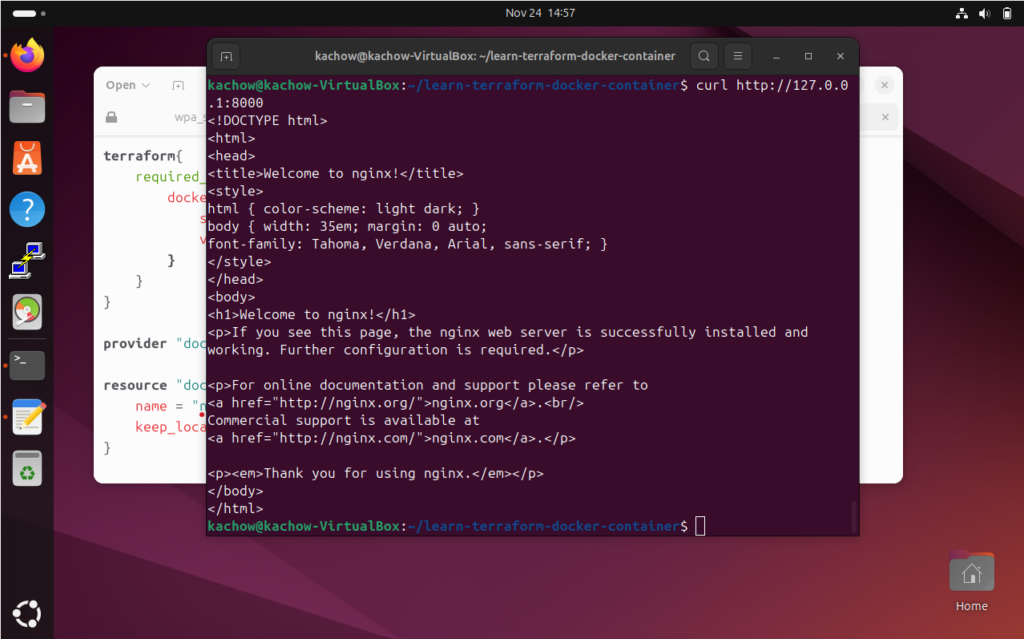
Sample docker compose for AWStats

This is an easy and simple example that beginners can use to generate web statistics using AWStats.

Required softwares:
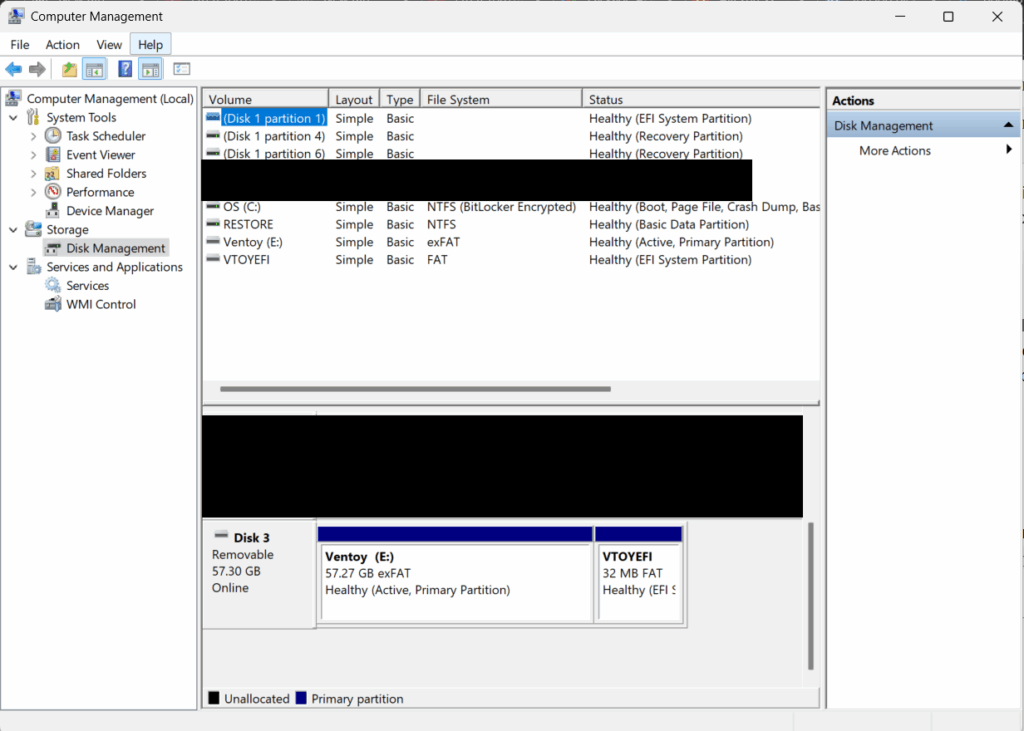
Hashicorp Vagrant 2.4.1
Oracle VirtualBox 7.0.14

Continue reading

ElasticSearch 8.12 docker compose do not work

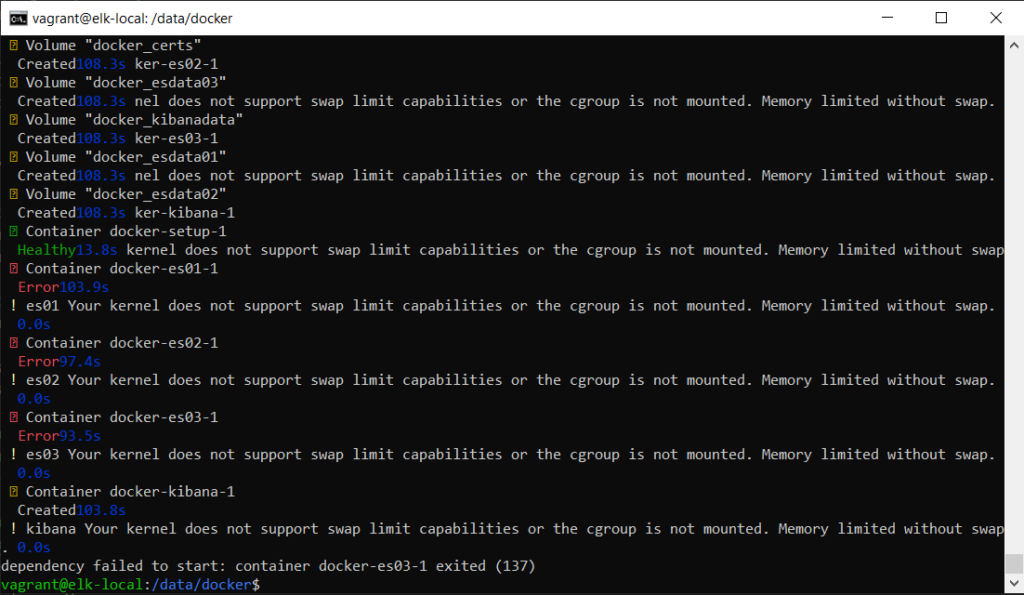
Error message exited 137

The first error that will be face on get go is the error “kibana Your kernel does not support swap limit capabilities or the cgroup is not mounted. Memory limited without swap” and exiting error “dependency failed to start: container docker-es03-1 exited (137)”.

Searching mentioned error on google or the internet will yield result that advice swap memory and memory limit hit.

Continue reading

ElasticSearch 8.12 kibana cluster using vagrant and docker compose

Pre-requisite:
– VirtualBox 7.0.14
– Vagrant 2.4.1
– Windows 10 or better OS
– 16GB RAM (10GB RAM are required for creating ElasticSearch with kibana; 1GB and 2 x ElasticSearch node; 4GB each, rest of the RAM for VM host OS)

Overview:
There are 2 layers of virtualization, first the Virtual Box, then the docker engine running in the Virtual Box VM running on Ubuntu 20.04 focal.

Orchestration used in the host OS level; Windows 10 are the hashicorp vagrant. The vagrant is used to configure the VM Ubuntu OS to be configured to run properly configured docker and Ubuntu 20.04.

Then docker compose v2 are used to create the ElasticSearch 8.12 cluster or stack.

The downside of this example, vagrant up needs to be run initially to configure the VM Ubuntu 20.04 OS. I have yet to discover if Vagrant has the ability to bootstrap grub and configuring the sysctl to allow the docker engine to run properly with the ElasticSearch 8.12 stack.

Continue reading

How to use Hashicorp Vagrant to quickstart GitLab docker compose sample

The code of the project is available at chowkarmeng/vagrant_gitlab (github.com), the docker compose is based on the sample provided in GitLab Docker images | GitLab

The improvement done was to change the folder sync for virtual box into docker volumes.

First, git clone the repository https://github.com/chowkarmeng/vagrant_gitlab.git

Fire up the quickstart by running “vagrant up” in the localdev

The process will take hours depending on the speed of your computer and speed of your internet connection.

Continue reading

Vagrant to orchestrate ubuntu in VirtualBox installing boto3 and Ansible

At the time of this post, the compatibility matrix of vagrant and VirtualBox is as follows:

Vagrant versionVirtualBox version
2.3.77.0.10
7.0.12
Vagrant and Virtualbox compatibility matrix

Unfortunately, Vagrant 2.4.0 does not work well with VirtualBox 7.0

This post was created using Vagrant 2.3.7 and VirtualBox 7.0.10

To make Vagrant possible, after installing the Vagrant from hashicorp webpage, a Vagrant file needs to be created. The most basic file that needs to exist in your Vagrant to work is a folder with Vagrantfile

Additional post start up scripts to complete the installations that are used in this example are setup.sh, install_ansible.sh, install_boto3.sh and install_python3.sh

Continue reading

Setting up OpenVPN using Amazon Lightsail

Pre-requisites:
1. Download “openvpn-install.sh” GitHub – angristan/openvpn-install: Set up your own OpenVPN server on Debian, Ubuntu, Fedora, CentOS or Arch Linux.
2. Have Amazon Lightsail activated with quota in AWS account.
* Credits to cyberciti for instructions and the scripts introduction Ubuntu 20.04 LTS Set Up OpenVPN Server In 5 Minutes – nixCraft (cyberciti.biz)
3. SSH keypair are created and added into your AWS account.
4. Make sure OpenVPN client is install on your computer OpenVPN Connect – Client Software For Windows | OpenVPN

Steps:
Creating a Ubuntu AWS instance
1. Click on “Create Instance”

2. Select OS only, and choose your favorite Linux distro, in my case Ubuntu were chosen.
At the time of this blog post created, the openvpn install script works on both ubuntu 22.04 and 20.04

Continue reading

how to install mysql proxy quick and easy

In the linux ubuntu or redhat/centos (yum) just use the default package manager. For my post I am using ubuntu as an example to illustrate my point.

sudo apt-get install mysql-proxy

You should be getting the following confirmation

Reading package lists... Done
Building dependency tree
Reading state information... Done
The following packages were automatically installed and are no longer required:
ttf-dejavu-extra libevent-extra-2.0-5 libmysql++3 libdbi1 libapr1 librrd4 libcairo2 libmysqlclient-dev libaprutil1-ldap libthai-data libreadline6-dev libpcrecpp0 libsvn1 libdatrie1
fontconfig libtinfo-dev libpixman-1-0 libevent-openssl-2.0-5 libaprutil1-dbd-sqlite3 libonig2 libthai0 libneon27-gnutls zlib1g-dev libevent-pthreads-2.0-5 libzzip-0-13 ttf-dejavu
libdb4.8 libpq5 libpcre3-dev libpango1.0-0 libxcb-render0 libxcb-shm0 libaprutil1 libevent-core-2.0-5 libfcgi0ldbl libreadline-dev

However, to run the mysql-proxy there is a few tweak needed, assuming that you are not using mysql-proxy beyond just a proxy.

To start up mysql-proxy, you may issue the command such as this :
sudo mysql-proxy --defaults-file=/etc/mysql/mysql_proxy.cnf &

The configuration of mysql_proxy.cnf :

log-file = /opt/apps/logs/mysql-proxy/mysql-proxy.log
log-level = debug
proxy-backend-addresses = 10.161.89.64:3306
admin-username = root
admin-password = for_my_eyes_only

If the mysql-proxy fails to start as a daemon, it is best to check the logs at /opt/apps/logs/mysql-proxy/mysql-proxy.log :

root@ckm-myprox:/opt/apps/logs/mysql-proxy$ sudo tail -f mysql-proxy.log
2014-06-11 20:58:27: (message) mysql-proxy 0.8.1 started
2014-06-11 20:58:27: (debug) max open file-descriptors = 1024
2014-06-11 20:58:27: (critical) admin-plugin.c:579: --admin-lua-script needs to be set, /lib/mysql-proxy/lua/admin.lua may be a good value
2014-06-11 20:58:27: (critical) mainloop.c:267: applying config of plugin admin failed
2014-06-11 20:58:27: (critical) mysql-proxy-cli.c:596: Failure from chassis_mainloop. Shutting down.
2014-06-11 20:58:27: (message) Initiating shutdown, requested from mysql-proxy-cli.c:597
2014-06-11 20:58:27: (message) shutting down normally, exit code is: 1

The last line of the log, just confirmed the mysql-proxy were failed to start due admin lua were not set. To skip the admin lua function(assuming that it will not be used). Start the mysql with :
sudo mysql-proxy --defaults-file=/etc/mysql/mysql_proxy.cnf --plugins=proxy &

Take note that my post on installing mysql-proxy, the version is 0.8.4 and the stock from ubuntu repository is 0.8.1 .

Installing mysql proxy from source into uBuntu server 12.04

Pre-requisite :

  • Root access or administrative rights to the uBuntu server.
  • uBuntu Server 12.04 installed.
  • OpenSSH Server installed in the server.
  • Ensure gcc with all its development libraries are installed.
  • Ensure gnu make is installed in the server.

Scope :

  • Works on x64 ubuntu
  • mysql_proxy 0.8.4

Installation steps :

  1. Download the mysql proxy source
    sudo wget http://dev.mysql.com/get/Downloads/MySQL-Proxy/mysql-proxy-0.8.4.tar.gz
  2. Unpack/Extract the source in your favorite temporary working directory
    Extract mysql_proxy source
    sudo tar -xzvf mysql-proxy-0.8.4.tar.gz
  3. Install the libmysql.
    sudo apt-get install libmysql++-dev
  4. Preparing to create configuration using source
    sudo ./configure
  5. The first run from the configure will result in configuration error due to dependent libraries/apps were not installed.
    configure: error: The pkg-config script could not be found or is too old. Make sure it is in your PATH or set the PKG_CONFIG environment variable to the full path to pkg-config.
  6. To proceed install the pkg-config.
    sudo apt-get install pkg-config
  7. Rerun configure. The error will indicate LUA were not installed.
    checking pkg-config is at least version 0.9.0... yes checking for LUA... no ... checked for Lua via pkg-config: No package 'lua' found. retrying with lua5.1 checking for LUA... no configure: error: checked for Lua via pkg-config: No package 'lua5.1' found. Make sure lua and its devel-package, which includes the lua5.1.pc (debian and friends) or lua.pc (all others) file, is installed
  8. To fix the dependency error, install LUA and the LUA mysql library.
    sudo apt-get install lua5.1
    sudo apt-get install liblua5.1 sudo apt-get install liblua5.1-sql-mysql2
  9. Rerun the configure, the next error is missing glib.
    checking pkg-config is at least version 0.9.0... yes checking for LUA... no ... checked for Lua via pkg-config: No package 'lua' found. retrying with lua5.1 checking for LUA... yes checking for GLIB... configure: error: Package requirements (glib-2.0 >= 2.16.0) were not met:
  10. Install the missing glib and glib libraries.
    sudo apt-get install glib2.0 sudo apt-get install libglib2.0-0
  11. Error still occurs, missing libevent error during configurationconfigure: error: libevent is required
  12. Install the missing depencies, libevent.sudo apt-get install libevent-2.0-5 sudo apt-get install libevent-dev
  13. After installing pk-config, lua, glib and libevent, all dependencies should be resolved, continue to rerun configure.
  14. Continue to run the compilation and installation after the is configure completed.
    sudo make
    sudo make install
  15. Test the mysql-proxy. Running mysql-proxy for the first timesudo mysql-proxy
  16. If there is a following error while running mysql-proxy, and the missing library is found proceed with next step.mysql-proxy: error while loading shared libraries: libmysql-chassis.so.0: cannot open shared object file: No such file or directory
  17. To fix the error, run ldconfig .sudo ldconfig
  18. Rerun mysql-proxy. If you are getting the output below means you have successfully installed mysql-proxy.Usage:
    mysql-proxy [OPTION...] - MySQL Proxy
    Help Options:
    -h, --help Show help options
    --help-all Show all help options
    --help-proxy Show options for the proxy-module
    Application Options:
    -V, --version Show version
    --defaults-file= configuration file
    --verbose-shutdown Always log the exit code when shutting down
    --daemon Start in daemon-mode
    --user= Run mysql-proxy as user
    --basedir= Base directory to prepend to relative paths in the config
    --pid-file= PID file in case we are started as daemon
    --plugin-dir=
    path to the plugins
    --plugins= plugins to load
    --log-level=(error|warning|info|message|debug) log all messages of level ... or higher
    --log-file= log all messages in a file
    --log-use-syslog log all messages to syslog
    --log-backtrace-on-crash try to invoke debugger on crash
    --keepalive try to restart the proxy if it crashed
    --max-open-files maximum number of open files (ulimit -n)
    --event-threads number of event-handling threads (default: 1)
    --lua-path= set the LUA_PATH
    --lua-cpath= set the LUA_CPATH

How to custom install AWSCli into linux based machine

Quote

Good new for AWS users, Amazon has release the new unified AWSCli was released in September 2013. Amazon did provide multiple ways to have the new AWSCli installed.

I have to admit the task of installation is more straight forward and simplified compared to the old AWS Cli.

At the time of this post, the AWSCli released version 1.2.6, and it runs on Python 2.6. Hence, this post will provide custom install of AWSCli into linux based machine.

For users who are planning to use the AWSCli bundle provided by Amazon here is the recommended steps in sequence. Disclaimer and note : I have not added any form of error catching or linux distro detection and I am assuming the linux distro used is redhat.

Installing AWSCli using the Amazon awscli-bundle

mkdir -p /opt/apps/tmp
cd /opt/apps/tmp
wget https://s3.amazonaws.com/aws-cli/awscli-bundle.zip
unzip awscli-bundle.zip
mkdir -p /opt/apps/$(ls awscli-bundle/packages/ | egrep -o 'awscli-[0-9]\.[0-9]\.[0-9]')
./awscli-bundle/install -i /opt/apps/$(ls awscli-bundle/packages/ | egrep -o 'awscli-[0-9]\.[0-9]\.[0-9]')
/opt/apps/awscli/bin/aws --version
ln -s /opt/apps/$(ls awscli-bundle/packages/ | egrep -o 'awscli-[0-9]\.[0-9]\.[0-9]') /opt/apps/awscli
ln -s /opt/apps/awscli/bin/aws /usr/bin/aws
ln -s /opt/apps/awscli/bin/aws.cmd /usr/bin/aws.cmd
cd ~
rm -Rf /opt/apps/tmp

Installing AWS via pip

python --version
apt-get install python-pip
yum install python-pip
cd /opt/apps/
mkdir tmp
cd tmp
wget https://bitbucket.org/pypa/setuptools/raw/bootstrap/ez_setup.py
wget https://raw.github.com/pypa/pip/master/contrib/get-pip.py
python ez_setup.py
python get-pip.py
pip install awscli==1.2.6
aws help
cd ~
rm -Rf /opt/apps/tmp

The advantage of AWSCli bundle over the pip method is, ease of install without need to get ez_setup and pip installed. Since the AWSCli bundle zip is hosted within Amazon Web Service network, it took me less than 1 seconds to download the 5MB AWSCli-bundle.zip file.

[root@ip-10-255-255-1 ~]# time wget https://s3.amazonaws.com/aws-cli/awscli-bundle.zip
--2013-11-28 05:25:16-- https://s3.amazonaws.com/aws-cli/awscli-bundle.zip
Resolving s3.amazonaws.com... 176.32.99.46
Connecting to s3.amazonaws.com|176.32.99.46|:443... connected.
HTTP request sent, awaiting response... 200 OK
Length: 5139105 (4.9M) [application/zip]
Saving to: `awscli-bundle.zip'

100%[================================================================================================================
===================================================================================>] 5,139,105 16.0M/s in 0.3s

2013-11-28 05:25:17 (16.0 MB/s) - `awscli-bundle.zip' saved [5139105/5139105]
real 0m0.611s
user 0m0.096s
sys 0m0.036s
[root@ip-10-255-255-1 ~]# time wget https://s3.amazonaws.com/aws-cli/awscli-bundle.zip
--2013-11-28 05:25:49-- https://s3.amazonaws.com/aws-cli/awscli-bundle.zip
Resolving s3.amazonaws.com... 176.32.99.46
Connecting to s3.amazonaws.com|176.32.99.46|:443... connected.
HTTP request sent, awaiting response... 200 OK
Length: 5139105 (4.9M) [application/zip]
Saving to: `awscli-bundle.zip'

100%[================================================================================================================
===================================================================================>] 5,139,105 19.6M/s in 0.2s

2013-11-28 05:25:49 (19.6 MB/s) - `awscli-bundle.zip' saved [5139105/5139105]
real 0m0.338s
user 0m0.076s
sys 0m0.036s

The downside of using the awscli bundle installation is users need to upload the awscli-bundle.zip into personal version control servers/services (such as github) in order to have version control of awscli. Therefore, there will be overhead of maintaining the version of the awscli and it will be labor intensive or makes processes complicated.

The only disadvantage of pip AWSCli is the pre-requisite of installing pip. And maybe in the future, would be a permanent removal of older awscli version from the pip public repository.

Administrator using pip will be able to make awscli to be installed into a customed directory such as /opt/apps by using the following pip command

pip install --install-option="--prefix=/opt/apps" awscli==1.2.6

Unfortunately, in doing so pip will no longer able to manage the awscli package. Administrators will need to have a small effort to remove the installed version manually before upgrading the AWSCli using the similar command.

As a closing, to my personal opinion pip is a better way to install and maintaining the version of AWSCli.

Adding Amazon Web Service EC2 instances IP and names into PuTTY session automagically

Introduction :

The motivation of creation of this script were due to non-persistent and ever changing state of Amazon Web Service(AWS) that causes my infrastructure changes more frequently. It will be labor intensive to create, update and remove session manually in PuTTY to reflect the changes in the AWS.

The pre-requisite :

The idea :

Using a batch scripting to warp and call the powershell. Then the powershell script will call the installed EC2 API tools provided by Amazon.


Then, powershell is too used to do the parsing of text returned by the EC2 API tools. In all the complexity of powershell will generate a new registry file for windows.


Finally, the batch script will call registry editor that would import the exported EC2 instance values into the PuTTY session repository.


In implementing the script, I have created 4 files, the batch script generate_putty_session.bat, the poweshell script generate_putty_session.ps1 , the registry file header reg_header.txt and lastly, the reg_putty.txt contains the text of default PuTTY configuration in a form of windows registry format.


Codes of generate_putty_session.bat :


@echo off
powershell -version 2.0 -ExecutionPolicy unrestricted %~dp0generate_putty_sessions.ps1
regedit.exe /s %userprofile%\putty_list.reg


Codes of generate_putty_session.ps1 :


#Preloading scripts
#Removing old reg file
if ( Test-Path $env:userprofile\putty_list.reg){
  del $env:userprofile\putty_list.reg
}

#Check environment for Windows x86 or x86_64
if ([IntPtr]::Size -eq 4){
  if ( Test-Path "C:\Program Files\AWS Tools\PowerShell\AWSPowerShell"){
    import-module "C:\Program Files\AWS Tools\PowerShell\AWSPowerShell\AWSPowerShell.psd1"
  }
  else{
    write-host "AWS Tools for PowerShell was not install, exiting. Download at http://aws.amazon.com/powershell/"
    exit
  }
}
else{
  if ( Test-Path "C:\Program Files (x86)\AWS Tools\PowerShell\AWSPowerShell"){
    import-module "C:\Program Files (x86)\AWS Tools\PowerShell\AWSPowerShell\AWSPowerShell.psd1"
  }
  else{
    write-host "AWS Tools for PowerShell was not install, exiting. Download at http://aws.amazon.com/powershell/"
    exit
  }
}

#Check env variable for required EC2 configuration
if (-not (Test-Path Env:\EC2_HOME)){
  write-host "Environment variable EC2_HOME was not found, please ensure your EC2 API Tools were properly installed or configured or setup."
  exit
}

if (-not (Test-Path Env:\EC2_CERT)){
  write-host "Environment variable EC2_CERT was not found, please ensure your EC2 API Tools were properly installed or configured or setup."
  exit
}

if (-not (Test-Path Env:\EC2_PRIVATE_KEY)){
  write-host "Environment variable EC2_PRIVATE_KEY was not found, please ensure your EC2 API Tools were properly installed or configured or setup."
  exit
}

#Get my script path
$myPath = split-path -parent $MyInvocation.MyCommand.Definition

if(-not (Test-Path -path $myPath\reg_header.txt)){
  write-host "Please make sure reg_header.txt is in " $myPath
  exit
}

if(-not (Test-Path -path $myPath\reg_putty.txt)){
  write-host "Please make sure reg_header.txt is in " $myPath
  exit
}

Copy-Item $myPath\reg_header.txt $env:userprofile
Copy-Item $myPath\reg_putty.txt $env:userprofile

#Main body and function of the script.
#Creating file to link instance ID with Public DNS
ec2-describe-instances --filter `"virtualization-type=paravirtual`" --filter `"instance-state-name=running`" --filter `"tag:Name=/*/*`" | Select-String -pattern INSTANCE -caseSensitive | foreach { "$($_.ToString().split()[1,3])" >> $env:userprofile\awsinstanceIP.tmp}

#Creating a file to link instance ID with Name tag
ec2-describe-instances --filter `"virtualization-type=paravirtual`" --filter `"instance-state-name=running`" --filter `"tag:Name=/*/*`" | Select-String -pattern Name -caseSensitive | foreach { "$($_.ToString().split()[2,4])" >> $env:userprofile\awsinstanceName.tmp}

# Clean up results, removing RenderWorkerGroup
Get-Content $env:userprofile\awsinstanceName.tmp | Select-String -pattern RenderWorkerGroup -NotMatch | foreach { "$($_.ToString().split()[0,1])" >> $env:userprofile\awsinstanceNameClean.tmp}

#$awsInstanceIDIP = Get-Content $env:userprofile\awsinstanceIP.tmp
$awsInstanceCleanName =  Get-Content $env:userprofile\awsinstanceNameClean.tmp
$count = 0

# Create HashTable from File.
ForEach ($line in $awsInstanceCleanName) {
  if ($count -le 0 ) {
    $myHash = @{ $line.ToString().Split()[0] = $line.ToString().Split()[1]}
  }
  else{
    $myHash.Set_Item($line.ToString().Split()[0], $line.ToString().Split()[1])
  }
  $count = $count + 1
}
$count = 0

Get-Content $env:userprofile\awsinstanceIP.tmp | ForEach-Object {

  $line = $_
  $myHash.GetEnumerator() | ForEach-Object {
    if ($line -match $_.Key)
    {
      if ($_.value.ToString().Contains("render-worker")){
        $replacement = $_.Key.ToString() + " " + $_.Value.ToString() + "/" + $_.Key.ToString()
      }
      else{
        $replacement = $_.Key.ToString() + " " + $_.Value.ToString()
      }
      $line = $line -replace $_.Key, $replacement
    }
  }
  $line
} | Set-Content -Path $env:userprofile\awsinstanceResult.tmp

del $env:userprofile\awsinstanceIP.tmp
del $env:userprofile\awsinstanceName.tmp
del $env:userprofile\awsinstanceNameClean.tmp

$awsinstanceResult = Get-Content $env:userprofile\awsinstanceResult.tmp

#Adding header into file content.
Add-Content $env:userprofile\awsinstanceReg_List.tmp $(Get-Content $env:userprofile\reg_header.txt)
Add-Content $env:userprofile\awsinstanceReg_List.tmp "`r"

# Populating body of the file before converting into registry file.
foreach ($line in $awsinstanceResult){
  $reg_line = "`[HKEY_CURRENT_USER\Software\Simontatham\PuTTY\Sessions\" + $line.ToString().Split()[1] + "]"
  Add-Content $env:userprofile\awsinstanceReg_List.tmp $reg_line
  $reg_line = "`"HostName`"=`"" + $line.ToString().Split()[2] + "`""
  Add-Content $env:userprofile\awsinstanceReg_List.tmp $reg_line
  # Add fillers to the sessions
  Add-Content $env:userprofile\awsinstanceReg_List.tmp $(Get-Content $env:userprofile\reg_putty.txt)
  Add-Content $env:userprofile\awsinstanceReg_List.tmp "`r"
}

Get-Content $env:userprofile\awsinstanceReg_List.tmp | Add-Content $env:userprofile\putty_list.reg

#Removing all temporary files
del $env:userprofile\awsinstanceReg_List.tmp
del $env:userprofile\awsinstanceResult.tmp
del $env:userprofile\reg_header.txt 
del $env:userprofile\reg_putty.txt
Before running the script, pay special attention to the powershell code of generate_putty_sessions.ps1 at line 61, 64, 67 and 91. Make needed change to the format of your AWS Tag “Name”.


The filter in line 61, 64 would create 2 different files using the same ec2 api tools command. It is working under assumption that you have named your AWS instances using format as such /[product_name]/[environment]/[sub-system]/[server-number] .


Line 67 would use the similar pattern that I have used in my environment to remove unwanted servers from being added into the PuTTY sessions. In my code I am removing output that contains RenderWorkerGroup.


Line 91, just enforcing the format name for instances which is generated by AutoScaling /[product_name]/[environment]/[sub-system]/[aws-instance-id]


Using the script :

Place all the files into a single folder in your Windows machine.


Run the generate_putty_sessions.bat in the Administrator command prompt. In less than 2 minutes


Your PuTTY should contains all the session imported from Amazon Web Service EC2.


Code Download :

putty_session_generator