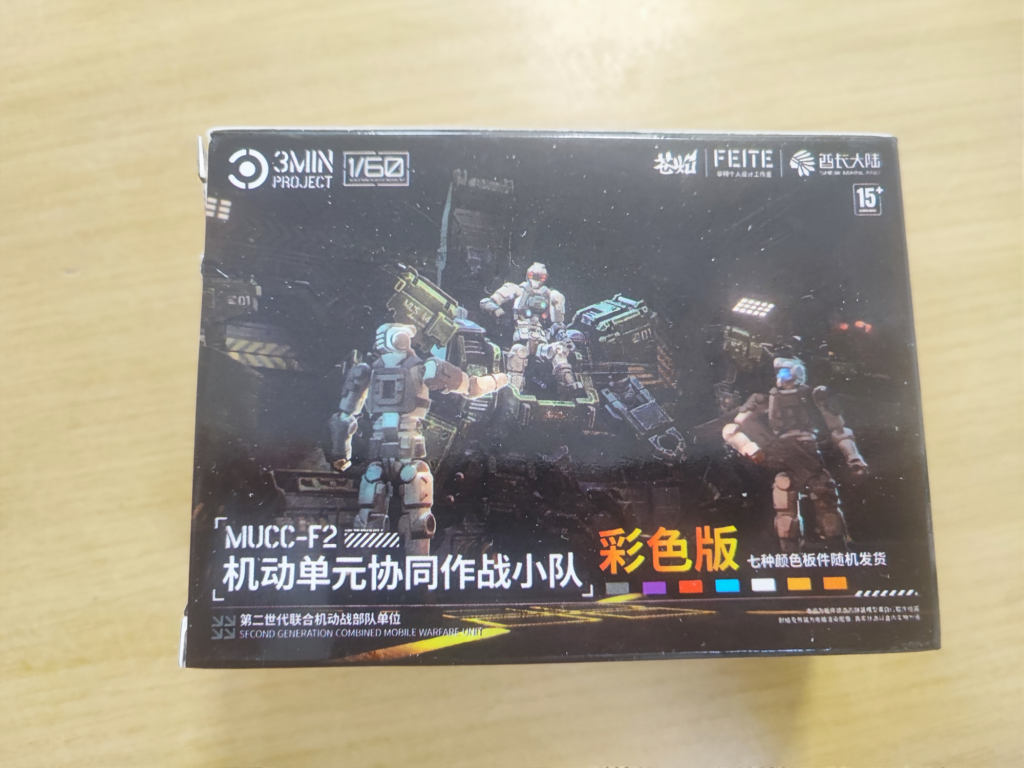
Magnet are not included. Need to be purchased seperately.
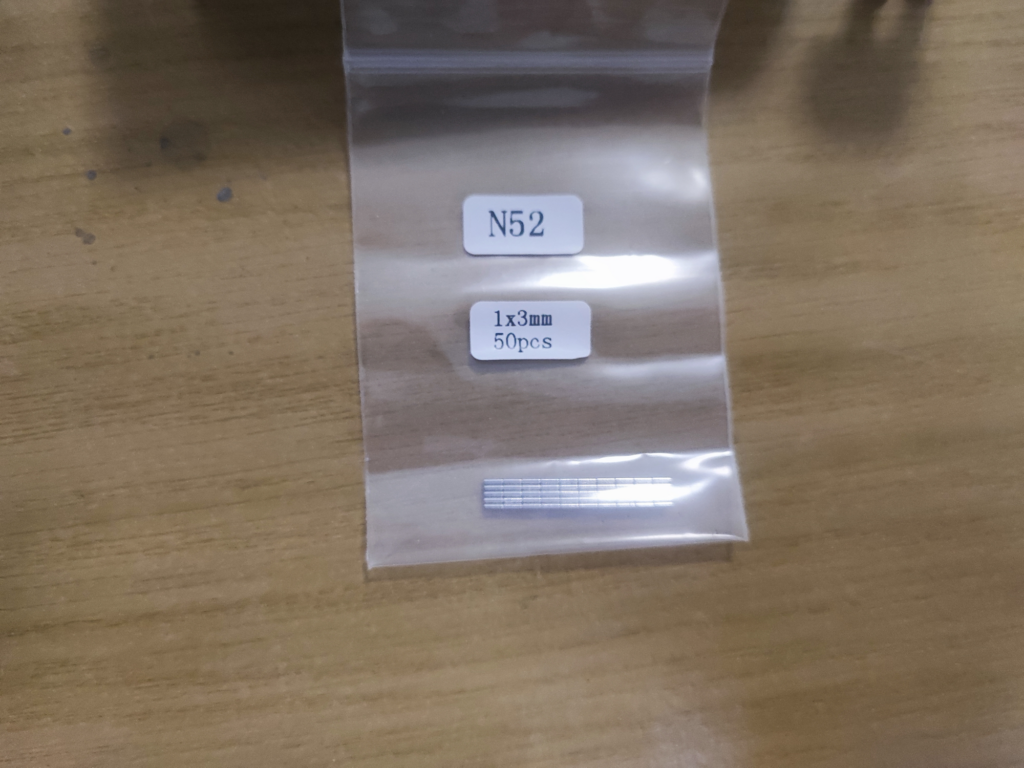
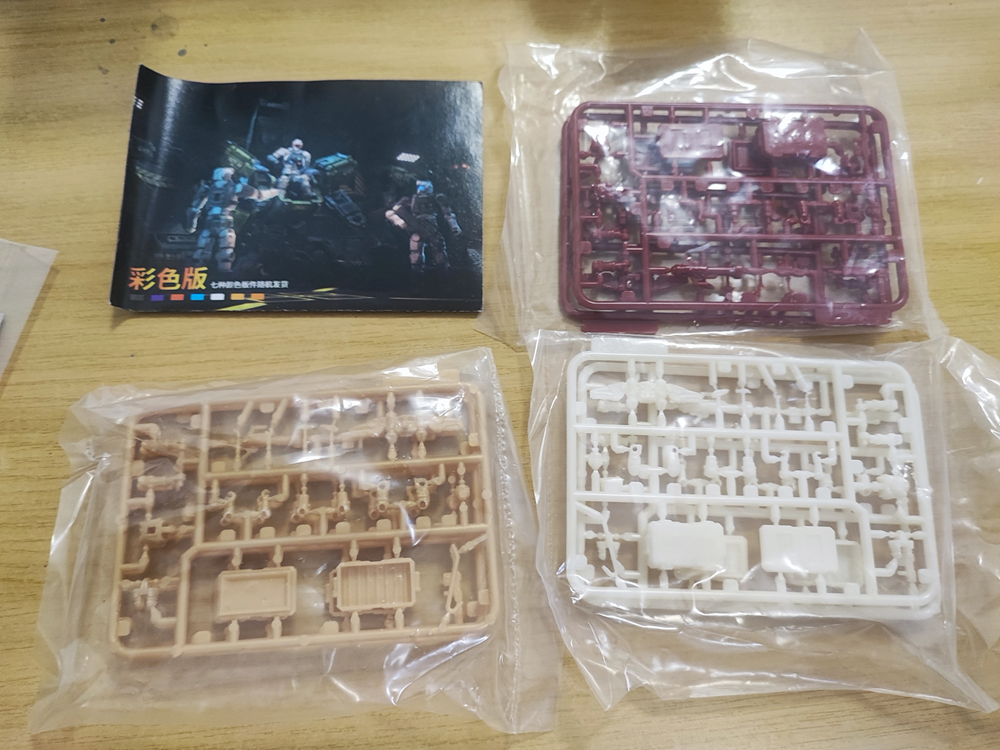


Magnet are not included. Need to be purchased seperately.


This is a summary dieting and body recompositing plan using DeepSeek after 3 months of notes and driven by data.
How to Lose Fat, Build Muscle, and Redefine Your Health After 40
This guide is based on the proven principles demonstrated over a 3-month journey that resulted in:
1. Cardio First, Strength Second: The 1-2 Punch
2. The Gradual Carb Reduction Strategy
3. Embrace Intelligent Hunger
4. Respect Rest Days
The Workout Structure:
The Nutrition Strategy:
Track Beyond the Scale:
Adopt the Right Mindset:
This formula requires discipline. It is demanding. However, the rewards are not just a better-looking body, but a fundamentally healthier one: better sleep, no more energy crashes, reduced disease risk, and the vitality of someone years younger.
Your journey is living proof that through consistent, intelligent effort—including the patient, phased approach to nutrition—you can fundamentally reshape your body and health, no matter your starting point.
Like all AI project, data collection is needed. Treating health improvement program as a sports science requires basic information such as heart rate, and training regime logs.
I have started knowing nothing of the metrics other than using intuitively data gathered from smart devices such as the Xiaomi Smart Band 9 Pro which I had bought in late June 2025.
It is a commitment to start a healthy lifestyle; as a sunken cost fallacy to start working out using data driven motivation for self-improvement.
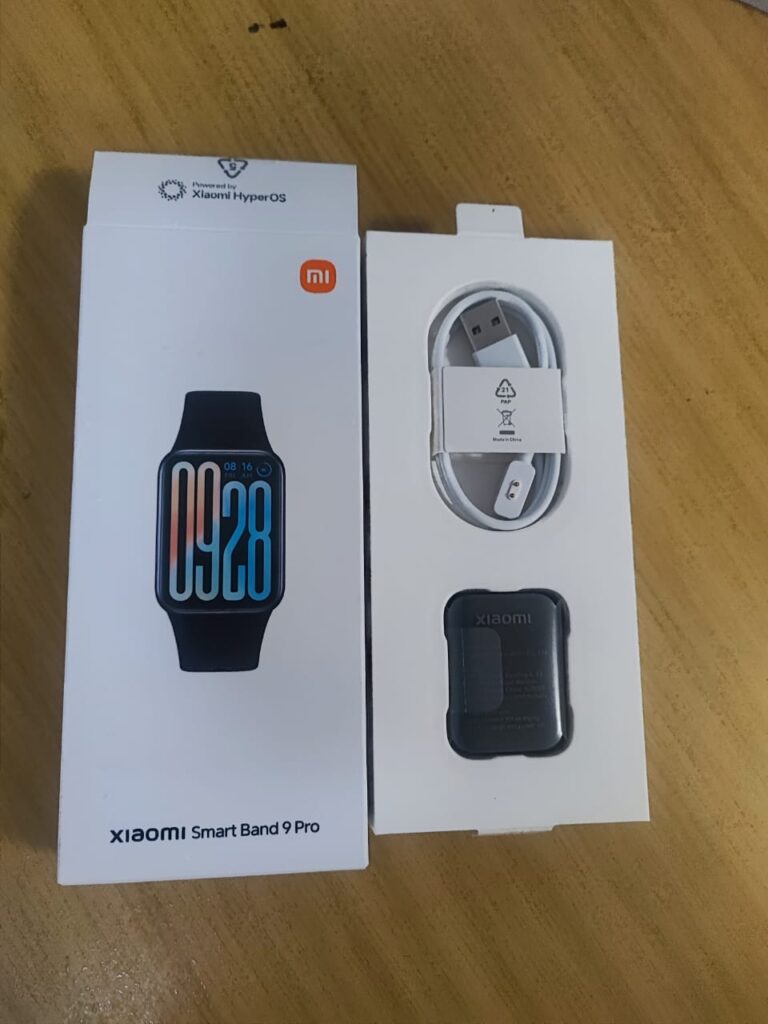
It has a for android, the Mi Fitness which will provide telemetry needed.
Continue readingBased on the previous post https://chow.karmeng.my/2025/03/28/programming-esp32-wrover-with-dht22-am2302-humidity-and-temperature-sensor/ , the breadboard that I had purchased has very unreliable connectivity. Resulting in signals from sensor not able to reach the ESP32 microcontroller board.
Upon hours of browsing, discovered expansion board module that is compatible with ESP32 and based on the price it does not break my pocket.

At the time of this post the price point offered is very affordable. I had order 2 pieces of the hardware.
Continue reading
Long story short, to make it work on ChatGPT, user need to ask the correct question after uploaded a photo.
To put into context, I am using ChatGPT free account that will require sign in, but I do not pay for it.
Continue readingReferring to the original material at ESP32 with DHT11/DHT22 Temperature and Humidity Sensor using Arduino IDE | Random Nerd Tutorials
The reference is straight forward; however, it is not for the esp32-wrover.
Based on the from the reference, using educated guess without reading the specification, it is a hindsight that the original wiring will not work.
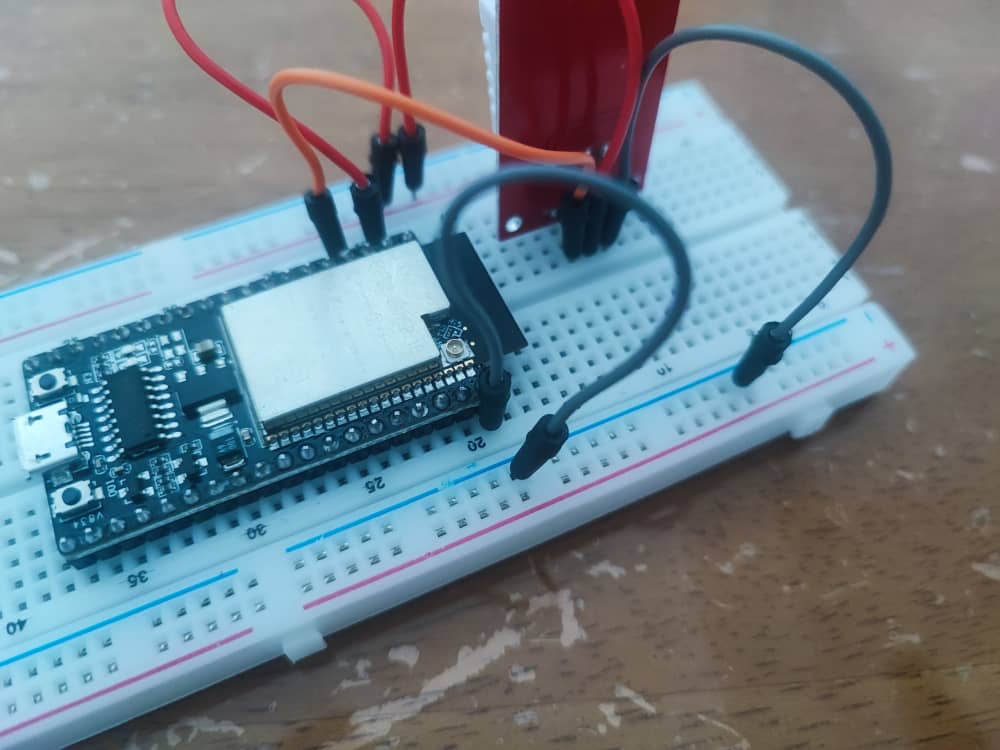
It didn’t work, was getting the error “Failed to read from DHT sensor!” from the sample code.
DHTPIN were used is 4, which I had wrongly assumed it to be the physical pin number. Little did I know that, the reference is referring to GPIO4 instead of the physical pin number.
Based on the reference, ESP32-wrover spec sheet page 9, the physical pin 4 is the SENSOR_VP.
Continue reading
I had recently embarked on a small project inspired by ex-colleagues. One of the largest obstacles for a hobbyist is the cost of starting an IOT project.
The project was reignited after encouraging from a friend. I am amazed after learning from him that I can get an arduino with wifi and BLE; ESP32-wrover-ie . The primary appeal is the module cost MYR32 (at the time of the blog post). Its price will be able to allow hobbyist like me to create IoT that will act as a DAQ (Data AQuisition) device, that I can use the data to try out weather forecast modelling using BiLTSM; that will be another story hopefully in near future.
The customed model kit bundle are as following:
Continue readingType in nvcc –version from your Jetson Nano terminal is the sure way.
If the nvcc is missing, it could mean that the jetson-toolkit were not installed, or the binaries was not added to your session.

The commands to reassociate.
Continue readingPart number used for the board in the seeed reComputer J1020 connecting to the nVidia Jetson SODIMM module is reComputer J202 – Carrier Board for Jetson Xavier NX/Nano/TX2 NX.
Based on the spec sheet in the web site above, the J202 carrier board. Can be used to host the Jetson Xavier NX, Jetson Nano and Jetson TX2 NX.
Other than the Jetson Nano, any other Jetson module that is compatible with the J202 carrier board will requires a heatsink with active fan.
Recommended heatsink with active fan Manufacturer Part Number (MPN)s are as follows:
ATS-NVA-2781-C1-R0
114992687
Adding SSD into will requires M.2 nvme into the reComputer J1020, this post is based on Memory Expansion | Seeed Studio Wiki
The documentation is a bit vague on the NVMe SSD to be used other than very basic instructions. However, in my attempt it is smooth.
The SSD that was chosen as the expansion storage is the Kingston NV2 PCIe NVMe M.2 500GB. The J1020 requires the SSD to be M key.
